
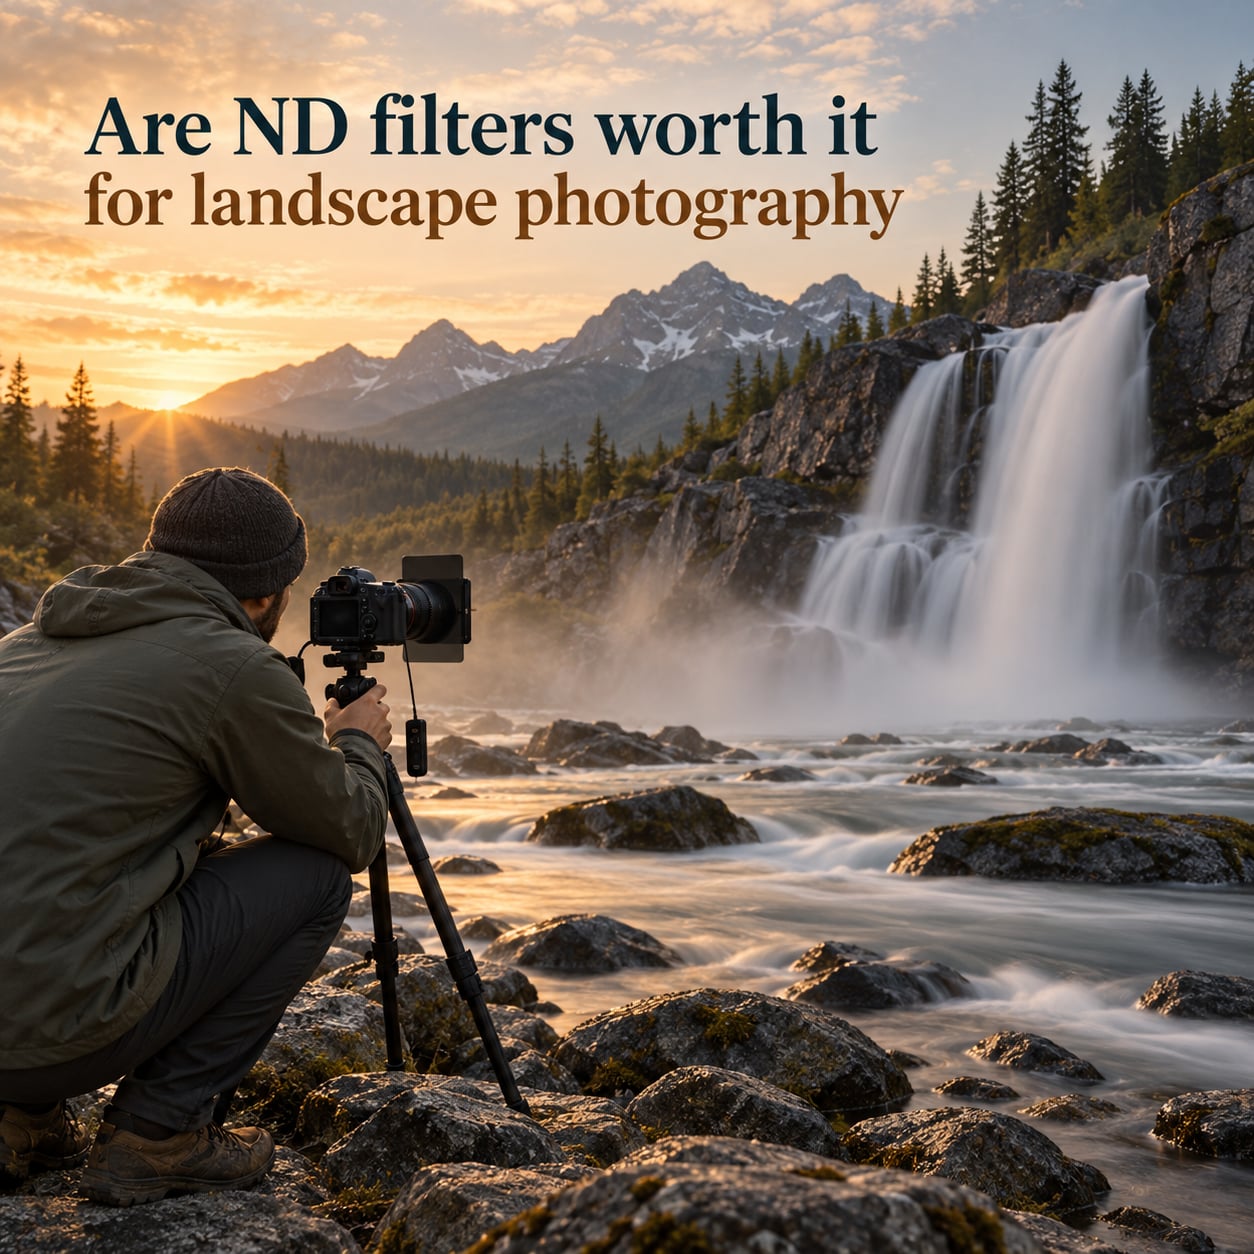
Yes, ND filters are worth it for landscape photography – but only if you actually shoot the scenes they unlock. If waterfalls, seascapes, and streaking clouds are part of your work, a neutral density filter pays for itself within a season. If you shoot mostly static subjects or prefer to blend exposures in post, you can skip it without missing much. The rest of this guide helps you figure out which camp you fall into, what strength to buy first, and the honest cases where ND filters are a waste of money.
Our team has been shooting long exposures for over a decade, from Pacific Northwest waterfalls to midnight Atlantic seascapes. Below is what actually matters when deciding whether an ND filter belongs in your bag.
Table of Contents
- What Is an ND Filter and How Does It Work?
- What Creative Effects Do ND Filters Actually Deliver?
- Are ND Filters Worth It for Landscape Photography? The Honest Verdict
- When ND Filters Are NOT Worth Using
- ND Filter Strengths Explained: 3-Stop vs 6-Stop vs 10-Stop
- Screw-On vs Filter Holder: Which System Makes Sense?
- Equipment You Need Alongside an ND Filter
- ND Filter vs Polarizer vs Graduated ND: When to Use Each
- How to Shoot Your First Long Exposure With an ND Filter
- Frequently Asked Questions
- Final Verdict: Is an ND Filter Worth It for You?
What Is an ND Filter and How Does It Work?
An ND (neutral density) filter is a piece of darkened glass or optical resin that sits in front of your lens to cut down the light reaching the sensor. Think of it as sunglasses for your camera – it reduces intensity without changing color. That single property is what makes it so useful for landscape photography.
Filters are rated in stops of light. One stop halves the incoming light; a 3-stop ND lets in 1/8 the light, a 6-stop lets in 1/64, and a 10-stop lets in roughly 1/1000. The darker the filter, the longer your shutter has to stay open to hit the same exposure.
That longer shutter is the whole point. At 1/250 second, water freezes mid-droplet. At 8 seconds, the same waterfall turns into silk. The filter is what lets you choose shutter speed independently of how bright the scene is – which is something aperture and ISO alone cannot do once the light gets strong.
The two physical form factors matter too. Screw-on ND filters thread onto the front of your lens like any other filter, one thread size per lens. Filter holder systems use a square or rectangular filter that slides into an adapter ring on the lens, which lets you stack multiple filters and rotate graduated NDs. Screw-ons are simpler; holders are more flexible.
What Creative Effects Do ND Filters Actually Deliver?
This is the part that makes the gear question easier to answer – here are the five effects that are difficult or impossible to fake in post.
Silky water. A 6-stop or 10-stop ND on a moving river or waterfall turns choppy, distracting water into a soft, milky surface. Most landscape photographers buy an ND filter for this single effect, and it is the one beginners notice first.
Streaking clouds. Mount the camera on a tripod, dial in a 30-second or 2-minute exposure with a 10-stop ND, and cumulus clouds blur into long painterly streaks across the sky. The effect cannot be replicated in Photoshop without significant effort and loss of realism.
Empty crowds. Set up a 10-stop ND at a busy viewpoint, expose for 30 seconds, and tourists walking through the frame effectively disappear. Anyone who has tried to shoot a famous overlook knows this is more than a gimmick.
Glassy lakes and mirror reflections. Long exposures on still water turn chop into a perfect mirror of the sky and shoreline. This is a 6-stop or 10-stop effect and is the visual signature of much modern landscape work.
Selective motion blur. Stack an ND with a graduated ND or use a variable ND to slow only one part of the scene – waterfalls in motion while rocks stay sharp, for example. This is where a filter holder system starts to earn its cost.
Are ND Filters Worth It for Landscape Photography? The Honest Verdict
For most landscape photographers, yes – an ND filter is worth the investment. It is the single cheapest piece of gear that has the biggest impact on how your images look. The catch is that “most” depends entirely on what you shoot.
Beginners shooting their first waterfalls or seascapes: Worth it. A single 6-stop screw-on ND for your main lens will be in your bag for years and you will use it often.
Enthusiasts who already own a tripod: Definitely worth it. You already have the support gear; the filter is the missing piece.
Travel and street photographers: Often not worth it. You will not stop long enough to set up a long exposure, and the filter adds bulk. A polarizing filter will serve you better.
Studio or controlled-light shooters: Skip it. ND filters are designed for the opposite of your situation – bright outdoor light.
Pros who lean heavily on post-processing: A nuanced maybe. If your workflow is already built around exposure blending and simulated long exposures in Photoshop, an ND filter may add little. If you still want authentic optical silk in your water, get one anyway.
The simplest test: look at the last 100 landscape photos you took and counted the ones with moving water, clouds, or people. If the answer is more than 20, you will use an ND filter often enough to justify the cost.
When ND Filters Are NOT Worth Using
There are real situations where an ND filter actively makes your image worse or wastes your time. Knowing these is the difference between buying gear you love and gear that gathers dust.
Static subjects in low light. If you are shooting a foggy forest at dusk with no moving water, an ND filter adds nothing. A tripod alone will get you a long enough exposure for smooth shadow tones without any filter.
Bright midday without a tripod. Hand-holding a 10-stop ND requires shutter speeds measured in full seconds, which produces motion blur from your own hands. Skip the filter unless you have a tripod with you.
When you can stop down instead. If you are at f/8 and want more motion blur, dropping to f/11 or f/16 is often free. The cost: diffraction softening above f/11 on most modern sensors. So this only works for a stop or two before image quality suffers.
When post-processing can fake it. Modern Photoshop and Lightroom can simulate a 5-second exposure from a stack of short exposures with surprising realism. For waterfalls you visit once, this is a valid alternative to carrying a filter.
Wide-angle lenses with cheap variable NDs. Many variable ND filters produce an X-shaped cross pattern at maximum density on wide-angle glass. If you must use a variable ND on a 16-35mm, stop at 6 stops and accept the limitation.
ND Filter Strengths Explained: 3-Stop vs 6-Stop vs 10-Stop
Choosing your first filter is mostly about matching strength to the scenes you actually shoot. Here is the practical breakdown.
| Filter Strength | Light Reduction | Typical Use Case | Example Shutter Speed at Midday |
|---|---|---|---|
| 3-stop ND (ND8) | 1/8 the light | Slight motion blur on water, wide apertures in bright light | 1/30 sec becomes 1/4 sec |
| 6-stop ND (ND64) | 1/64 the light | Silky waterfalls, smooth rivers, golden-hour slow shutters | 1/250 sec becomes 4 sec |
| 10-stop ND (ND1000) | ~1/1000 the light | Streaking clouds, empty crowds, glassy seas | 1/500 sec becomes 30 sec |
| Variable ND | 1 to 8+ stops adjustable | Video, run-and-gun light control, one filter for many strengths | Adjustable on the fly |
Best single starter filter: A 6-stop screw-on ND for your most-used lens. It is the most versatile single strength and covers roughly 70 percent of the long-exposure work most landscape photographers do.
If you shoot mostly wide seascapes and clouds: Add a 10-stop as your second filter. The extra two minutes of exposure are where the dramatic streaking happens.
If you shoot video or want one filter for everything: A high-quality variable ND is worth considering, but read the cross-pattern caveats below before buying.
Screw-On vs Filter Holder: Which System Makes Sense?
Screw-on ND filters are the simplest choice. One filter per lens thread size, no extra parts, no setup. They are perfect for shooters who use one or two lenses and want to keep their kit minimal.
Filter holder systems use a square or rectangular filter inside an adapter ring. They cost more up front but let you stack filters, rotate graduated NDs, and swap strengths in seconds. Landscape photographers who own two or more wide-angle lenses and shoot graduated work usually end up here within a year.
The honest rule: buy screw-on if you have one lens, buy a holder if you have two or more wide-angle lenses and you anticipate stacking a polarizer with an ND.
Equipment You Need Alongside an ND Filter
An ND filter is useless without the rest of the kit. Here is the minimum loadout.
Sturdy tripod. Anything that holds the camera still for 30 seconds without vibration. Aluminum is fine; carbon fiber is lighter for hiking.
Remote release or 2-second self-timer. Pressing the shutter button with your finger introduces enough shake to blur a 30-second exposure. An inexpensive wired remote or the camera’s built-in 2-second timer solves this completely.
Manual exposure mode. Autoexposure will not work with a dark filter in front of the lens – you need to set shutter speed, aperture, and ISO yourself. Bulb mode is required for any exposure over 30 seconds.
Lens cloth and a good filter case. Filters attract dust and water spots. Cleaning a quality filter carefully is part of the ownership experience.
ND Filter vs Polarizer vs Graduated ND: When to Use Each
These three filters solve different problems and are often confused by beginners. Here is the clean breakdown.
ND filter: Reduces total light to allow longer shutter speeds. Best for motion blur effects – silky water, streaked clouds, empty crowds. Use any time you want to slow time down.
Polarizing filter (CPL): Cuts glare and boosts contrast in skies and foliage. Best for removing reflections on water and deepening blue skies. Use for static landscape work where you want richer color and stronger contrast.
Graduated ND filter: Dark on top, clear on bottom. Best for balancing a bright sky against a darker foreground. Use at sunrise and sunset when the dynamic range exceeds your sensor’s ability to capture in one exposure.
Many photographers carry both a CPL and an ND filter. A polarizing filter is a smarter first purchase for beginners, but if your goal is long exposures, start with the ND and add the CPL later.
How to Shoot Your First Long Exposure With an ND Filter
Once you have the filter and tripod, the actual workflow is short.
Step 1: Compose and meter without the filter. Set your base exposure – typically 1/125 sec at f/11, ISO 100 in midday light.
Step 2: Mount the filter and switch to manual mode. Calculate the new shutter speed. A 6-stop ND on a 1/125 base exposure means 8 seconds. There are free apps for this calculation if you do not want to do the math.
Step 3: Set up the tripod, frame up, and use a 2-second self-timer or remote release to avoid shake.
Step 4: Take the shot, check the histogram, and adjust. Highlights from the sky should not be clipped; shadows should retain detail.
Step 5: Shoot a control image without the filter at the same composition. Comparing the two is the fastest way to learn what your ND is actually doing.
Frequently Asked Questions
Can ND filters be used for landscape photography?
Yes. Neutral density filters are one of the most common tools in landscape photography, used to enable long shutter speeds for silky water, streaked clouds, and empty crowds in bright daylight.
What filter is best for landscape photography?
For long-exposure work, a 6-stop ND is the most versatile single filter. For color and contrast in static scenes, a circular polarizer does more. Many landscape shooters carry both.
Are ND filters really necessary?
They are necessary if you shoot moving water, clouds, or crowds in daylight and want effects you cannot easily fake in post. They are not necessary for static low-light scenes or for photographers who prefer to blend exposures digitally.
Did Ansel Adams use filters?
Yes. Ansel Adams regularly used colored filters, particularly red and yellow, to control contrast and darken skies on black-and-white film. Modern ND filters serve a similar but more neutral role in color landscape photography.
Do ND filters affect image quality?
Quality ND filters have a negligible effect on sharpness. Cheap ND filters can introduce color cast, reduce contrast, and soften fine detail, which is why most experienced shooters avoid the lowest-priced options.
Can you do long exposure without an ND filter?
Yes. In low light, at dusk, or at night, a tripod alone is enough. During bright daylight, the only way to fake a long exposure without an ND filter is by stopping down the aperture – which causes diffraction above f/11 on most modern sensors.
Final Verdict: Is an ND Filter Worth It for You?
ND filters are worth it for landscape photography if you shoot any combination of moving water, drifting clouds, or busy scenes in daylight. They are not worth it for static subjects, low-light work, or shooters who already build their look in post.
The most reliable first purchase is a single 6-stop screw-on ND for your main lens, paired with the tripod you should already own. Add a 10-stop later if you find yourself chasing streaking clouds. That simple kit covers roughly 80 percent of the long-exposure work most landscape photographers will ever do, and it is the setup we still carry ourselves even after a decade of shooting.