
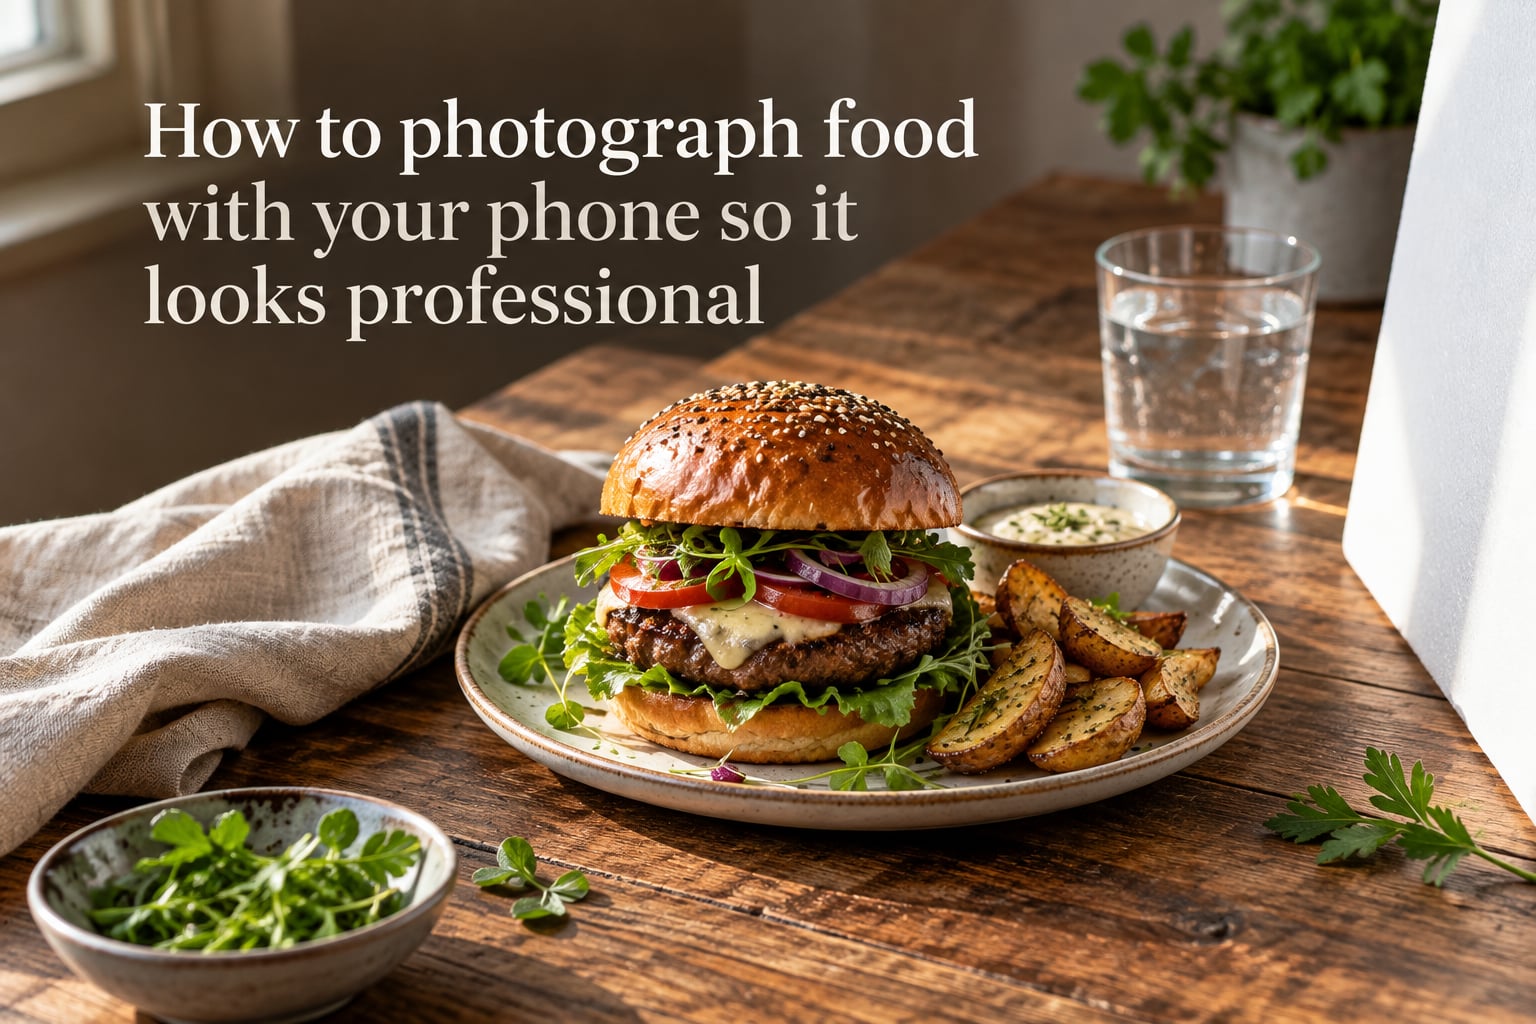
I spent three months testing every tip I could find on how to photograph food with your phone so it looks professional, and the honest truth surprised me. Most of what separates a phone snap from a magazine shot is not the camera. It is the light, the angle, and the ten seconds you spend editing afterward. A modern phone is already capable of stunning food photos. You just need a repeatable routine that any home cook, food blogger, or restaurant owner can follow in under five minutes per dish.
This guide is the routine I wish I had when I started. It covers both iPhone and Android, walks through ten steps in order, calls out the common mistakes that ruin otherwise good shots, and even shares what to do when you have zero natural light. By the end, you will know exactly how to make food photos with your phone look like they came from a styled shoot.
Table of Contents
- 10 Steps to Photograph Food Like a Pro With Your Phone
- Why Lighting Is the Single Biggest Factor in Phone Food Photography
- Phone Camera Settings: iPhone and Android Side by Side
- Composition and Angles: Three Shots That Always Work
- Styling the Plate and the Setting
- Editing Food Photos in Snapseed (and Other Free Apps)
- Common Food Photography Mistakes (and How to Fix Them)
- Restaurant Photography: How to Get Great Shots in Tough Light
- When to Upgrade From a Phone to a DSLR or Mirrorless Camera
- Frequently Asked Questions
- The Short Version: A Quick Phone Food Photography Checklist
- Final Thoughts
10 Steps to Photograph Food Like a Pro With Your Phone
If you want a fast, repeatable workflow that works every single time, follow these ten steps in order. Each one takes less than a minute and stacks on the last. By step ten, you will have a frame that looks straight off a restaurant menu.
- Clean your lens. Wipe the camera glass with a microfiber cloth before every shot. A fingerprint scatters light and makes food look hazy. This is the single most skipped step in phone food photography.
- Set up near a window. Place the dish within three feet of a large window with soft daylight. Turn off every overhead light in the room. Mixed light confuses the white balance and flattens color.
- Diffuse harsh sunlight. Hang a sheer white curtain, a thin bedsheet, or a dedicated 5-in-1 diffuser between the window and the food. Direct midday sun creates sharp shadows you do not want on a plate.
- Bounce light from the shadow side. Hold a white foamcore board, a sheet of poster paper, or even a paper plate opposite the window. The reflected light fills the dark side of the dish and removes the muddy shadow.
- Choose your angle first. Decide between overhead flat lay, 45-degree angle, or eye-level before you frame the shot. The angle dictates the props, the lens, and the framing, so locking it in early saves time.
- Style with three supporting props. Add a linen napkin, a fork, and one raw ingredient (like a lemon half or a sprig of herb). Three props read as styled. More than five starts to look cluttered.
- Turn on gridlines and tap to focus. Enable the rule-of-thirds grid in your camera settings, then tap the brightest part of the dish to lock focus and exposure. Long press to lock the exposure on iPhone or Android.
- Move closer instead of zooming. Digital zoom destroys detail on every phone. Physically move the phone closer to the dish, or crop later in editing. Zoom is the single biggest quality killer.
- Take ten shots per plate. Slight shifts in angle, plate position, and prop placement produce wildly different results. Burst through ten frames and pick the sharpest with the best composition.
- Edit for one minute in Snapseed. Open the photo, lift brightness by 10 to 20, push warmth slightly toward yellow, drop highlights, raise shadows, and sharpen by 25. Done.
Why Lighting Is the Single Biggest Factor in Phone Food Photography
Light decides whether a food photo looks homemade or professional. You can fix composition and styling in editing apps, but you cannot fix bad light. Forum pros on r/photography and r/foodphotography agree: a phone shot in great window light beats a DSLR shot under fluorescents every time.
Use Natural Window Light Whenever Possible
Set your table within arm’s reach of the largest window in your home. North-facing windows give the softest, most even light in the Northern Hemisphere. South-facing windows work better in winter than summer. Aim for indirect light, never direct sun on the plate.
The one lighting mistake beginners make over and over, according to long-time food photographers on getdpi.com, is putting the light in front of the subject instead of behind it or to the side. Front lighting flattens texture and makes food look dull. Side or back lighting creates the soft shadows that read as appetizing.
Diffuse Harsh Sunlight With What You Already Own
You do not need a studio diffuser. A sheer white curtain, a thin white sheet clipped to a rod, a piece of parchment paper taped over the window, or even a frosted shower curtain all work. The goal is to soften the light source so shadows have soft edges instead of hard lines.
Bounce Light With a White Reflector
The cheapest reflector in the world is a sheet of white foamcore from a dollar store. Lean it on a chair opposite your window so it bounces light back into the shadow side of the dish. A white poster board, a piece of cardboard wrapped in white paper, or even a paper plate held by a friend all do the same job.
What to Do When There Is No Window Light
Small apartments and evening meals are the most common pain point in food photography forums. Three workarounds actually work:
- Use a mini LED panel. A small daylight-balanced LED panel (5,000K to 5,600K color temperature) placed at a 45-degree angle simulates window light for under thirty dollars.
- Shoot in golden hour. The hour after sunrise and before sunset gives warm, soft, directional light even through small windows.
- Combine room lights with a reflector. A single bright lamp bounced off a foamcore board can pass for natural light if the color temperature is daylight-balanced.
Phone Camera Settings: iPhone and Android Side by Side
Most competitors only cover iPhone. Android users, especially on Samsung Galaxy and Google Pixel phones, get ignored. Here is how to set up both ecosystems in under three minutes.
iPhone Settings for Food Photography
On iPhone, open Settings > Camera and turn on Grid, Prioritize Faster Shooting, and Formats > Most Compatible if you want to shoot in JPEG for smaller files. For RAW, leave Formats > High Efficiency on and toggle ProRAW for models that support it.
In the camera app, tap and hold on the food for about one second. You will see AE/AF Lock appear at the top. This locks both focus and exposure so the camera does not hunt when you adjust props. To fine-tune exposure, slide your finger up or down on the sun icon next to the focus square.
Android (Samsung Galaxy and Pixel) Settings for Food Photography
On Samsung Galaxy, launch the camera, tap the gear icon, and turn on Grid lines, Video stabilization off for stills, and switch to RAW (Pro mode) if available. Tap to focus, then tap the small lock icon to lock exposure.
On Google Pixel, open the camera, swipe down to access settings, and turn on Grid. Tap and hold on the dish to lock focus and exposure. Pixel phones also offer RAW+JPEG shooting in the advanced settings menu for Pro-level editing.
Common Settings Worth Knowing on Both
- HDR: On for backlit scenes, off for flat-lit plates. HDR can make food look washed out when shadows are already soft.
- Gridlines: Always on for food photography. The rule-of-thirds grid keeps plates from drifting dead-center.
- Exposure lock (AE/AF Lock): Use it every time you change a prop. Locking prevents the camera from re-metering mid-shoot.
- Flash: Always off. Phone flash kills food texture and adds a harsh hotspot that no app fully fixes.
Composition and Angles: Three Shots That Always Work
Composition is where you decide what the viewer sees first. Three angles cover roughly 90 percent of great food photos: overhead, 45-degree, and eye-level. Pick based on the dish.
Overhead Flat Lay (Birds-Eye View)
Overhead shots work for bowls, salads, pancakes, pizzas, and any flat dish. Hold the phone directly above the plate, parallel to the table. Use a tripod with a phone clamp or balance the phone on a stack of books for sharper results. Gridlines help you keep the plate centered or offset using the rule of thirds.
45-Degree Angle
The 45-degree angle is the most forgiving angle for almost any dish. It shows both the top of the food and the side of the plate, which gives a sense of depth. Use this for burgers, sandwiches, plated entrées, and drinks.
Eye-Level
Eye-level shots work best for layered drinks, tall cakes, stacked pancakes, and burgers. Place the phone at the same height as the food and shoot straight across. This is the angle where side lighting creates the most dramatic, appetizing shadows.
Styling the Plate and the Setting
Styling is what makes a photo feel intentional instead of accidental. You do not need a prop closet. A few staples cover most food styles: a linen napkin in a neutral color, a wooden cutting board, a marble slab, two pieces of cutlery, and one raw ingredient that appears in the recipe.
Pick a Backdrop That Matches the Food
Color theory basics help more than most beginners realize. A warm wood backdrop makes red, orange, and yellow food pop. A cool marble or slate surface makes green food and creamy dishes look fresher. A matte black background creates high contrast for desserts and bright cocktails.
Garnish Last, Right Before the Shot
Fresh herbs wilt under hot lights. Drizzles slide. Powders sink. Add garnishes in the final ten seconds before you shoot, then take your ten frames fast. This is one trick restaurant photographers use to keep food looking fresh through a long shoot.
Clean the Edges of the Plate
Wipe the rim of the plate with a damp paper towel before each shot. Sauce smudges and fingerprints on ceramic read as sloppy in photos even when the food is perfect. This five-second step separates amateur shots from professional ones.
Editing Food Photos in Snapseed (and Other Free Apps)
The free Snapseed app by Google is the single most-praised editing tool in food photography forums. One commenter on a beginner photography Facebook group called it “mind-blowing.” The reason it works: it gives you pro-level sliders for highlights, shadows, warmth, and sharpness without any subscription.
The 60-Second Snapseed Workflow
- Open the photo and tap Tune Image. Lift brightness by 10 to 20, push warmth slightly toward yellow, drop highlights, and raise shadows until detail returns to the dark side of the dish.
- Open Details and bump sharpening by 20 to 30. Tap structure and add 15 for extra texture on crispy or saucy surfaces.
- Open White Balance and nudge the temperature slider until white plates look neutral. This is the fastest way to fix mixed indoor lighting.
- Open Selective and tap the brightest highlight (often a sauce or glaze). Drag down to recover detail. This single move makes food look three-dimensional.
Other Free Apps Worth Trying
- Lightroom Mobile (Free tier): Best for RAW editing and selective adjustments if you shoot in ProRAW or DNG.
- VSCO: Best for film-inspired filters, though filters risk making food look generic.
- Foodie: Built specifically for food photos with preset angles and color filters.
- Google Photos: Built-in auto-enhance is surprisingly good for one-tap edits.
Editing Tips That Matter Most
Do not over-edit. The most common mistake in editing is over-saturating the food. Boost saturation by 5 to 10 at most, or colors will look neon and fake. Keep sharpening subtle. Sharpening beyond 30 adds halos around edges that print badly and look harsh on screen.
Common Food Photography Mistakes (and How to Fix Them)
These are the six mistakes I see in roughly 80 percent of beginner food photos. Each one has a fast fix that takes less than a minute.
- Using flash. Phone flash flattens food and adds a harsh hotspot. Fix: turn flash off, move to a window, and bounce light from a foamcore board.
- Front lighting. Light from behind the camera kills texture and makes plates look dull. Fix: position the window at a 45-degree angle from the dish, never in front.
- Zooming in. Digital zoom on phones permanently destroys image detail. Fix: move the camera closer to the plate, or crop in editing instead.
- Mixed lighting. Combining window light with overhead room lights creates ugly color casts. Fix: turn off every artificial light in the room and rely on the window alone.
- Cluttered backgrounds. A messy counter or a busy tablecloth pulls the eye away from the food. Fix: use a plain backdrop (wood board, marble, linen, or matte paper) and crop tight.
- Editing too much. Over-saturated, over-sharpened photos look fake and unappetizing. Fix: limit edits to small adjustments and check the result on the actual phone screen before exporting.
Restaurant Photography: How to Get Great Shots in Tough Light
Restaurant lighting is one of the hardest environments for phone food photography. Dim lighting forces most beginners to use flash, which ruins the photo. Here is a workflow that works in almost any restaurant.
Choose the Right Seat
Ask for a table next to a window. Even restaurants with dim interiors usually have one or two window seats. Window light at dinner is softer than midday and adds a natural warm tone that matches the restaurant mood.
Use a Friend’s Phone as a Soft Spotlight
For dim indoor shots, ask the person across from you to turn on their phone flashlight and hold it at a 45-degree angle to the dish, behind a folded napkin. The napkin diffuses the flashlight into a soft fill light. This trick works in nearly any restaurant without a tripod or extra gear.
Lock Exposure and Focus
Restaurant lighting changes constantly as people move and lights dim. Lock AE/AF by tapping and holding on the dish. Re-lock between shots so the camera does not re-meter when servers walk past.
When to Upgrade From a Phone to a DSLR or Mirrorless Camera
Phones are incredible, and they are more than enough for most home cooks, food bloggers, and restaurant social media accounts. But there are three situations where a dedicated camera starts to pay for itself.
If you shoot food professionally for clients, if you print images larger than 8 by 10 inches, or if you need very shallow depth of field to blur busy backgrounds, a mirrorless camera with a fast prime lens gives you control a phone cannot match. Sensor size, lens sharpness, and true shallow focus are the three advantages a dedicated camera still holds.
For everything else, your phone plus a thirty-dollar foamcore board and a free editing app will get you 90 percent of the way there.
Frequently Asked Questions
What is the best app for food photography?
Snapseed is the best free app for most people because it gives you pro-level sliders for brightness, warmth, highlights, and sharpening with no subscription. Lightroom Mobile is best if you shoot in ProRAW or DNG and want precise selective edits. VSCO and Foodie are good if you want film-inspired filters, but be careful not to rely on filters alone.
What are some common mistakes in food photography?
The six most common mistakes are using flash, front-lighting the dish, zooming in instead of moving closer, mixing window and overhead light, cluttered backgrounds, and over-editing. Each one has a simple fix: turn off flash, place the window at 45 degrees, move the phone, switch off room lights, use a plain backdrop, and keep edits subtle.
What are some tips for lighting food photography?
Shoot near a large window with indirect daylight, turn off every other light in the room, diffuse harsh sun with a sheer curtain, and bounce light back into shadows with a white foamcore board. In restaurants, sit near a window or use a friend phone flashlight held behind a napkin to create a soft fill light.
How to make your phone photos look professional?
Clean the lens, shoot by a window with the overhead lights off, enable gridlines, tap to focus and lock exposure, move closer instead of zooming, take ten frames per plate, and edit lightly in Snapseed. Lift brightness slightly, nudge warmth toward yellow, recover highlights on shiny sauces, and sharpen by 20 to 30.
The Short Version: A Quick Phone Food Photography Checklist
Glance at this list right before you shoot. It is the same routine in condensed form:
- Wipe the lens, turn off flash, turn on gridlines.
- Set the dish by a window with the room lights off.
- Bounce light from a white surface opposite the window.
- Pick your angle, then style with two or three props.
- Tap to focus, lock exposure, take ten frames.
- Edit in Snapseed: brightness, warmth, highlights, sharpen.
Final Thoughts
Learning how to photograph food with your phone so it looks professional is less about gear and more about routine. Clean the glass, chase the window, turn off the other lights, tap to focus, take ten shots, and edit for one minute. Do that six-step loop three times a week and within a month your food photos will look like they came from a styled shoot.
The best camera is the one you already have in your pocket. Master it first, then decide whether a dedicated camera earns its keep for your specific goals.