
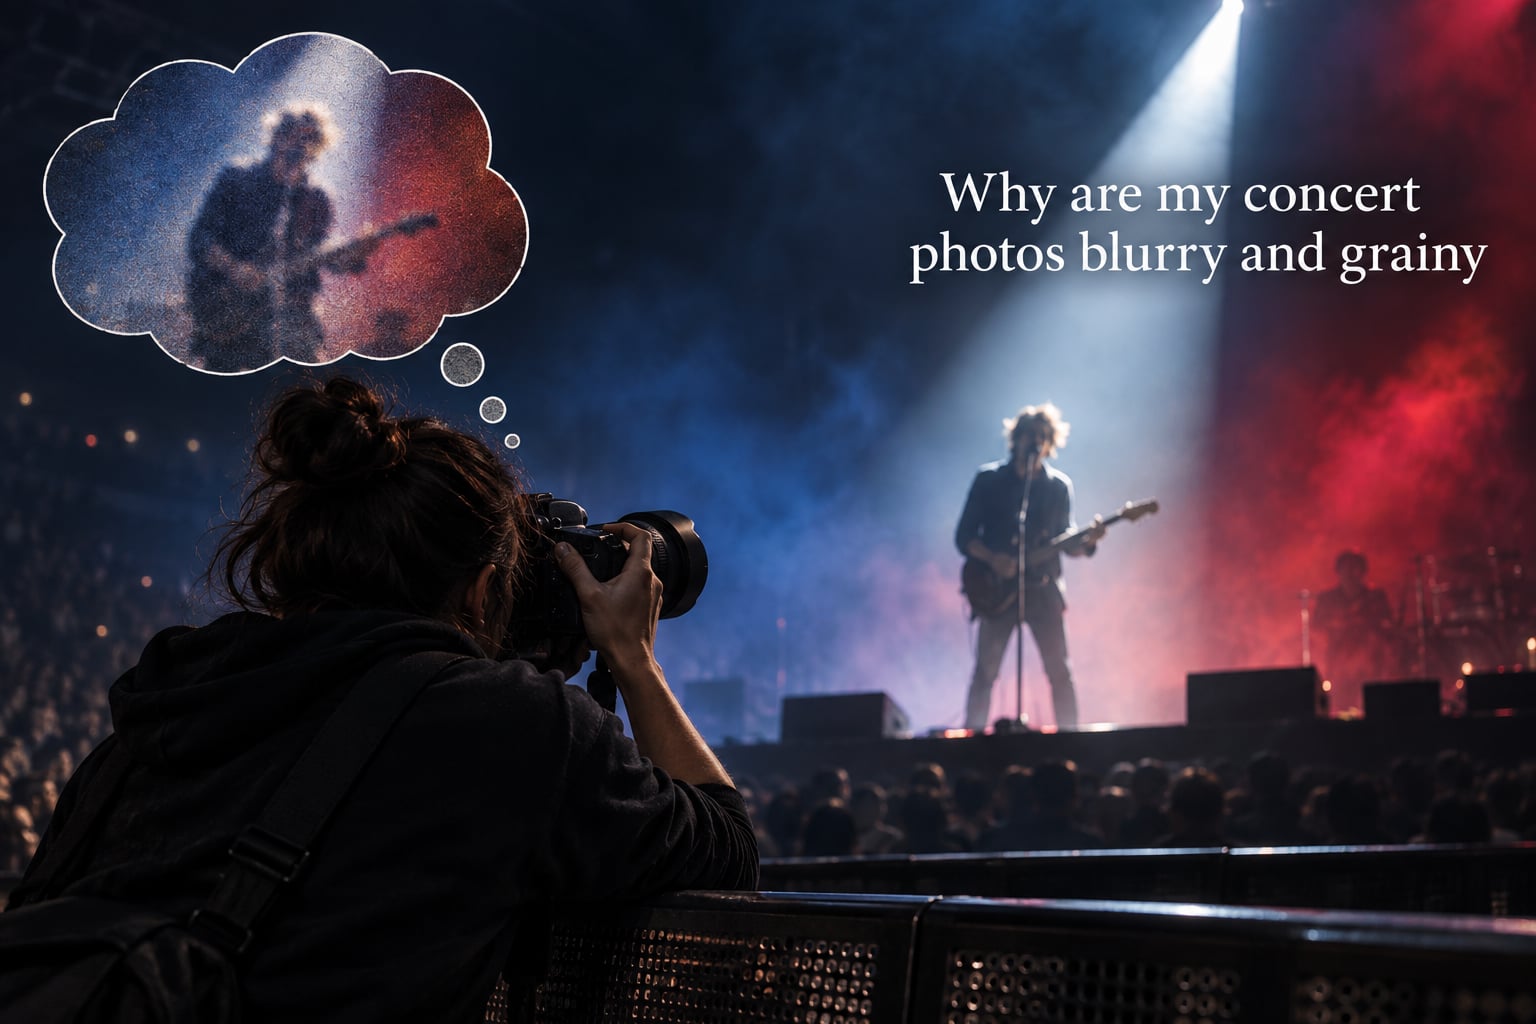
Concert photos are blurry and grainy because dim stage lighting forces your camera into compromises it can’t escape. In a dark venue, your camera has to amplify the sensor signal to brighten the image, and that amplification is what we see as grain. If it can’t get enough light that way, it lengthens the shutter to gather more, and a moving performer during that longer shutter is what we see as blur. The fix is to balance the exposure triangle so the shutter stays fast, the aperture stays wide, and only the ISO rises.
I hear this question almost every week from parents and clients who tried their first concert shoot on a phone or an entry-level camera and came home with a memory card full of muddy, soft photos. The good news: the cause is almost always one of three settings, and once you know which, the fix is straightforward.
Table of Contents
- Blur or Grain? How to Tell What’s Actually Wrong
- ISO and Grain: Why High ISO Creates Noise
- Shutter Speed for Concerts: Freeze the Motion
- Aperture and Lens Choice: Let In More Light
- Autofocus, Burst Mode, and Metering
- iPhone and Smartphone Concert Photography
- Fixing Blur and Grain in Post-Processing
- Concert Photography Cheat Sheet: Starting Settings
- Frequently Asked Questions
- How to fix a blurry, grainy photo?
- How to make concert photos look better?
- How to improve camera quality on iPhone for concerts?
- Why are my photos grainy even though I’m using a low ISO?
- How to fix grainy photos on iPhone?
- How to fix camera settings for concerts?
- What settings should I use for concert photography?
- Bringing It All Together
Blur or Grain? How to Tell What’s Actually Wrong
Before you change anything, you need to know what you’re fixing. “Blurry and grainy” gets lumped together, but the two problems have completely different causes and different solutions. Diagnose this first, and you’ll save yourself hours of guessing.
Motion blur looks like ghosting and smearing
If a guitar neck, microphone, or singer’s face is dragged in a single direction across the frame, you have motion blur. The shutter was open too long while the subject was moving. Stage performers almost never stand still, and a shutter slower than about 1/200s will record their motion as a streak. To confirm, look at a hand, hair, or drumstick at the edge of the frame. If those are sharp but the body is soft, it’s motion blur, not focus blur.
Out-of-focus blur looks soft everywhere
If the entire image looks soft, dreamy, and nothing snaps into sharpness, the camera missed focus. This is most common on phones, where continuous autofocus can hunt in low light, and on DSLRs using a single autofocus point that drifts off the performer’s face. Stage lighting also confuses contrast-detection autofocus because the sensor can’t find edges to lock onto.
Grain looks like static speckles
Grain (also called sensor noise) is a fine speckled pattern that looks like TV static, especially in shadows and dark backgrounds. Unlike blur, the image is sharp. You can see edges clearly, but they’re noisy. Grain is caused by high ISO, and at dark venues ISO climbs fast.
Once you know which one you’re fighting, you can change one specific setting and actually fix it. The rest of this guide walks through each cause.
ISO and Grain: Why High ISO Creates Noise
ISO is the amplification dial on your camera. Turn it up, and the sensor signal gets boosted, which brightens the image but also amplifies the random electronic noise in that signal. That noise is grain. There’s no way to use high ISO without adding some noise. The trick is to use the lowest ISO that still gives you a properly exposed, sharp shot.
How high should ISO go at a concert?
On modern mirrorless and recent DSLRs, ISO 3200 to 6400 is usually fine. Reviewers on r/concertphotography routinely shoot at ISO 3200–6400 and recover noise in post. Older cameras and small-sensor phones will show grain much earlier, often by ISO 1600. If your camera is from before about 2018 and you’re already seeing grain at ISO 800, that may simply be the sensor’s ceiling.
Why low-ISO photos can still look grainy
This is one of the most-asked questions in concert forums: “Why is my photo grainy when I shot at ISO 100?” The answer is that ISO is not the only source of noise. If you underexpose at low ISO and then push the shadows in post, you amplify the same kind of noise. Small sensors in phones and compacts also show shadow noise even at the base ISO. In-camera noise reduction can mask it, but the moment you edit a JPEG, it reappears. Shooting in RAW preserves more detail in the shadows so the noise reduction software has more to work with.
The practical rule: if grain is your problem, the answer is almost always “let more light hit the sensor” through wider aperture or faster lens, not “lower the ISO further.” Lowering ISO in a dark venue just trades grain for motion blur.
Shutter Speed for Concerts: Freeze the Motion
Shutter speed controls how long the sensor collects light. At concerts, two things are usually moving: the performer and your hands. You need a shutter that’s fast enough to freeze both.
Minimum shutter speeds that work
For most live music, 1/200s is the floor, and 1/320s to 1/500s is much safer. Faster performers (metal, punk, headbanging, jumping) need 1/500s or higher. Slower genres (acoustic, jazz, classical) can sometimes get away with 1/160s if the performer is mostly stationary, but I’d still aim for 1/200s as a starting point. Anything slower than that almost guarantees motion blur on a moving subject.
What to change when shutter is too slow
If your shutter is dropping below 1/200s, you have two options: raise the ISO or open the aperture. Both of those let in more light per unit of time, which lets the camera shorten the shutter. Raising ISO is usually the right move at concerts because it doesn’t change the look of the shot. Opening the aperture on a wide lens (f/1.8 or f/2.8) helps too, but also thins your depth of field, which can make focus harder.
If your shutter is fast but you’re still getting blur, you have a hand-shake or focus problem, not a shutter problem. Check the next sections.
Aperture and Lens Choice: Let In More Light
Aperture is the size of the opening in your lens. A wide aperture (small f-number like f/1.8 or f/2.8) lets in a lot more light than a narrow one (f/5.6 or f/8). At dark concerts, the lens matters more than the camera body. A cheap body with a fast prime lens will beat an expensive body with a slow kit lens.
The classic concert lens: a 50mm f/1.8
The 50mm f/1.8 (often called the “nifty fifty”) is the most recommended affordable lens for first concerts. It lets in roughly 8x more light than an f/5.6 kit zoom, which lets your ISO stay lower and your shutter stay faster. It’s small, cheap, and sharp wide open. The trade-off is that 50mm on a crop sensor is a tight 75mm equivalent, so you’ll be in the middle of the crowd, not at the barricade.
When to pick a zoom instead
If you’re shooting from the crowd and can’t get close, a 24-70mm f/2.8 or 70-200mm f/2.8 gives you reach without giving up too much light. The f/2.8 zooms are heavier and more expensive than a 50mm prime, but they’re the workhorse lenses of working concert photographers. If you have to choose, a wider aperture always beats a longer focal length for low-light sharpness.
Depth of field trade-off
Wide apertures give you shallow depth of field, which means focus has to be precise. If your subject is moving toward or away from you, even a slight miss on focus will look soft. Continuous autofocus (next section) solves most of this, but expect a wider margin of soft frames when shooting at f/1.8 than at f/4.
Autofocus, Burst Mode, and Metering
Settings don’t stop at the exposure triangle. How your camera focuses, fires, and meters often makes the difference between a keeper and a throwaway at the same shutter and ISO.
Continuous autofocus is essential
Set your camera to continuous AF (AI Servo on Canon, AF-C on Nikon and Sony, AF-Tracking on others). Single-shot AF locks once and stays locked, which is fine for portraits but useless for moving musicians. Continuous AF keeps adjusting as the performer moves. Combine it with a single autofocus point placed on the performer’s face or eye if your camera supports eye-detect. On phones, tap the face on screen to lock focus there, and the camera will track it as long as you hold the tap.
Burst mode gets the keeper
Turn on burst mode (continuous high) and hold the shutter for the moments when a song hits hard. Out of a five-frame burst, expect one or two sharp shots and the rest throwaways. That’s normal. Reviewers on r/concertphotography say the keeper rate is usually 20–30% even for experienced shooters.
Spot metering for stage lighting
Stage lighting is constantly changing. A bright white spotlight can blow out a face, and a moody red wash can leave everything black. Spot metering measures light from a small area (usually the center point) instead of the whole frame, so the camera exposes for the face you actually care about. If your shots are too dark or too bright and you can’t fix it with exposure compensation, switching from evaluative metering to spot metering often solves it.
Image stabilization: when it helps, when it doesn’t
In-body or lens image stabilization (IBIS, VR, IS, OS) helps with hand shake, but it does nothing for subject motion. If your shutter is 1/200s and your subject is still slightly blurred, turning stabilization on or off won’t matter. Stabilization is most useful at slower shutters (1/30s to 1/125s) when you, not the performer, are the cause of the motion. For concerts where the subject is the main movement, prioritize a fast shutter over stabilization.
iPhone and Smartphone Concert Photography
Phone users are an underserved group in concert guides. Four of the top PAA questions for this topic are iPhone-specific, so let’s give this its own section. The principles are the same as a dedicated camera, but the controls are different.
Turn off Night Mode
This is the number one fix from r/iPhoneography and r/concertphotography. Night Mode takes a long, stacked exposure to brighten low-light shots. For a static scene (a city skyline at night) it’s brilliant. For a moving performer, it’s a disaster, because any movement between the stacked frames becomes motion blur. Most users report Night Mode as the cause of soft concert shots. Tap the Night Mode icon to switch it off before the show.
Lock focus and exposure on a face
Tap and hold on the performer’s face on screen. You’ll see “AE/AF Lock” appear. This locks both focus and exposure for as long as you hold. It stops the camera from re-exposing for every strobe flash and from hunting focus into the background between songs. This single trick solves a huge share of soft phone shots.
Shoot in ProRAW or a third-party app
The default JPEG pipeline applies heavy noise reduction and sharpening that smears fine detail. On iPhone 12 Pro and later, switch to ProRAW in Settings → Camera → Formats. ProRAW keeps the sensor’s full data, and apps like Lightroom Mobile or Halide can push the ISO higher and recover more in post. On older phones, a third-party app (Halide, ProCamera, Blackie) gives you manual control over ISO and shutter.
Use burst, then pick the sharpest frame
Swipe the shutter to the left to fire a burst on iPhone. The same 20–30% keeper rule applies. Pick the sharpest frame later. Bursts are especially useful because phone autofocus is slower than a DSLR and is more likely to miss on a moving face.
Why your iPhone photos are grainy
Small sensors (even in the iPhone 17 Pro Max) show noise earlier than full-frame cameras. Add in the fact that phones apply aggressive noise reduction to JPEGs, and you get a muddy, smeared look. The fix is the same as on a camera: shoot RAW, push the ISO only as high as you need to, and apply noise reduction selectively in post.
Fixing Blur and Grain in Post-Processing
Even with perfect settings, you’ll still have noisy or slightly soft frames. The good news is that modern denoise software can recover a remarkable amount of detail, especially from RAW files.
Lightroom’s AI Denoise
Lightroom’s built-in AI Denoise (since Lightroom Classic 12.3 and Lightroom CC) is the easiest starting point. Open a RAW file, click Denoise in the Detail panel, and let it run. It produces much cleaner images than the legacy Luminance and Color sliders. Use it as your default denoise step before any other adjustments. For best results, batch-process all your shots at once.
Topaz Photo AI and DxO PureRAW
Topaz Photo AI and DxO PureRAW are stronger on very high-ISO files (ISO 6400+) and on older cameras. They cost extra but recover detail that Lightroom leaves behind. DxO PureRAW is especially good as a pre-processor: it generates a new, denoised DNG that you then edit in Lightroom as usual.
Sharpening after denoise
Denoise softens fine detail, so always apply a small amount of sharpening afterward. Capture Sharpening in Lightroom (Amount 40–60, Radius 1.0, Detail 25) puts the edge back. Don’t oversharpen, or you’ll get halos around the singer’s hair.
When to give up on a frame
No denoise tool can fix motion blur. If a frame has visible ghosting on the face or hands, no amount of sharpening will help. Culling matters as much as processing: keep the sharp 20% and let the rest go. Reviewers on r/AskPhotography say they typically return from a concert with 1,500 frames and end up keeping 40–80.
Concert Photography Cheat Sheet: Starting Settings
Here are the settings I’d start with for a typical concert venue. Adjust from there based on the actual stage lighting and how fast the performer is moving.
| Setting | DSLR / Mirrorless | iPhone / Smartphone |
|---|---|---|
| Mode | Manual (M) | ProRAW / third-party manual app |
| ISO | Start at 3200, raise as needed | Auto, or lock manually in app |
| Shutter | 1/200s minimum, 1/320s preferred | Auto, but turn off Night Mode |
| Aperture | Widest available (f/1.8 or f/2.8) | Fixed by lens |
| Focus | Continuous AF, single point on face | Tap and hold to lock AE/AF on face |
| Drive | Burst / Continuous High | Burst (swipe shutter left) |
| Metering | Spot metering | Locked by tap |
| White Balance | Auto, adjust later | Auto, adjust later |
| Format | RAW | ProRAW if available |
| Stabilization | On, but don’t rely on it | On |
For high-energy shows (metal, punk, EDM, hip-hop), bump the shutter to 1/500s and accept higher ISO. For acoustic and classical, you can usually drop to 1/160s and ISO 1600.
Lighting cheat sheet: bright white spotlights need exposure compensation of about -1 stop to avoid blown faces. Red stage light almost always needs +2/3 to +1 stop of exposure compensation to keep skin from going black. Strobes need fast shutter (1/250s or faster) and burst mode to catch the lit frames.
Frequently Asked Questions
How to fix a blurry, grainy photo?
Open the file in Lightroom and run AI Denoise on the RAW. If the blur is motion blur, no denoise tool will fully fix it. For new shots, raise ISO, open the aperture to f/2.8 or wider, and keep the shutter at 1/200s or faster. Use continuous AF, spot metering, and burst mode.
How to make concert photos look better?
Use the exposure triangle correctly: ISO 3200 or higher, shutter 1/200s or faster, widest aperture your lens offers. Shoot RAW, use continuous AF, and burst mode. Edit in Lightroom with AI Denoise and gentle sharpening. Most of all, shoot more frames and pick the sharpest 20 percent.
How to improve camera quality on iPhone for concerts?
Turn off Night Mode before the show, switch to ProRAW in Settings, tap and hold on the performer’s face to lock focus and exposure, swipe the shutter left to fire a burst, and pick the sharpest frame later. Edit with Lightroom Mobile or Snapseed for stronger noise control than the default Photos app.
Why are my photos grainy even though I’m using a low ISO?
Low ISO does not mean zero noise. Underexposing at low ISO and pushing the shadows in post amplifies the same kind of grain as a high ISO shot. Small phone and compact sensors also show shadow noise even at the base ISO. Shoot in RAW so the noise reduction software has more data to work with.
How to fix grainy photos on iPhone?
Switch to ProRAW in Settings, turn off Night Mode, and lock exposure on a face. Edit in Lightroom Mobile, Snapseed, or Topaz Photo AI and apply noise reduction selectively. Avoid the built-in Photos app for heavy edits because its denoise smears fine detail.
How to fix camera settings for concerts?
Switch to Manual mode, set ISO to 3200 as a starting point, shutter to 1/200s or faster, and aperture as wide as your lens allows. Turn on continuous AF with a single point on the face, switch to spot metering, fire in burst mode, and shoot RAW. Adjust ISO and shutter based on how dark the venue is.
What settings should I use for concert photography?
For DSLR or mirrorless: Manual mode, ISO 3200 to 6400, shutter 1/200s to 1/500s, widest aperture on a fast lens, continuous AF with face detect, spot metering, burst mode, RAW. For iPhone: turn off Night Mode, ProRAW, tap to lock AE and AF on a face, burst mode.
Bringing It All Together
Concert photos are blurry and grainy because dim stage lighting forces a trade-off your camera can’t avoid: ISO goes up (creating noise) or shutter goes down (creating blur). The fix is to make a balanced choice on the exposure triangle, pair it with continuous AF and burst mode, and shoot RAW so you can clean up the rest in post. Diagnose the problem first. If it’s motion blur, speed up the shutter. If it’s focus blur, switch to continuous AF. If it’s grain, let more light in or use AI denoise. Try these settings at your next show, and you’ll come home with keepers instead of disappointment.