
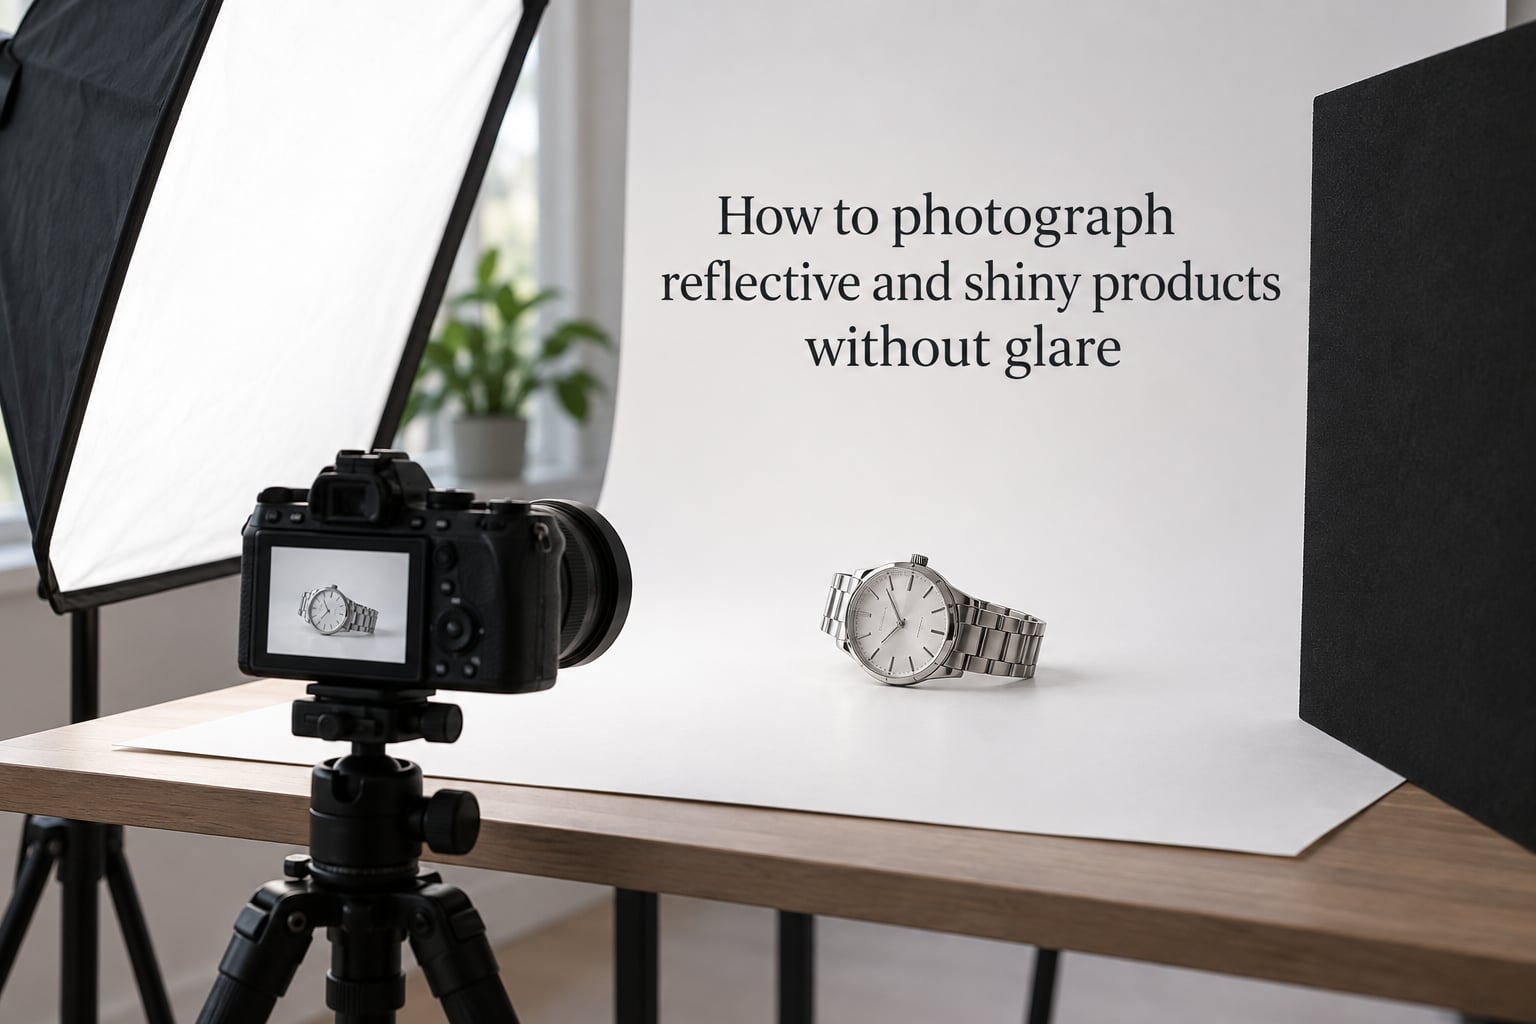
Photographing reflective and shiny products without glare comes down to controlling three things: the size of your light source, the direction it travels, and how soft it hits the surface. Swap a small, hard light for a large, diffused one, angle it so the reflection bounces away from your lens, and use white and black foam boards to shape the result. The rest of this guide walks through each step in the order I actually use it during a shoot.
I have spent the past three years photographing jewelry, watches, perfume bottles, and ceramics for small e-commerce shops, and the same handful of techniques fix roughly 90% of glare problems. Whether you shoot with a mirrorless camera or an iPhone, the rules below will save you the trial-and-error I went through.
Table of Contents
- Why Reflective Products Are Tricky to Photograph
- Studio Setup Checklist for Reflective Product Photography
- Lighting Techniques: The Core of Shiny Object Photography
- Best Camera Settings for Reflective Photography
- Using Reflectors and Negative Fill
- Dulling Spray and DIY Workarounds
- Post-Processing to Remove Glare
- Smartphone and iPhone Tips for Shiny Objects
- Common Mistakes and How to Fix Them
- Frequently Asked Questions
- How do you photograph a reflective surface?
- What are the best camera settings for reflective photography?
- Why are reflective surfaces difficult to photograph?
- How do you remove glare from product photos?
- How do you take a picture of something reflective without glare?
- How do professional photographers shoot reflective objects?
- How do you photograph shiny objects with a phone?
- What is dulling spray used for in photography?
- Final Thoughts
Why Reflective Products Are Tricky to Photograph
A polished metal surface, a glass perfume bottle, and a chrome faucet all behave like mirrors because their surface is smoother than the wavelength of visible light. When light hits that surface, it obeys the law of reflection: the angle of incidence equals the angle of reflection. In plain terms, if your light hits the product at a 30-degree angle from the left, the bright reflection exits at a 30-degree angle to the right. Your camera is sitting in that exit path, so it captures the light source instead of the product.
This is why bare bulbs, on-camera flashes, and overhead ceiling lights produce such brutal hot spots. They are small, bright, and almost always positioned in exactly the wrong spot. Hot spots are the bright, washed-out patches on a shiny product where the light source itself shows up in the reflection.
The second problem is the photographer. Reddit users on r/photography routinely report seeing themselves, their camera, or their ceiling in the final image. If you can see a hint of yourself in a watch face or a polished ring, you have become part of the reflection.
The third is color casting. Reflective surfaces pick up the tint of everything around them. A gold ring photographed near a green wall will look sickly. A silver watch photographed under warm tungsten light will look yellow. You are not just controlling brightness; you are controlling the color environment the product is mirroring.
The good news: every one of these problems has a known fix, and most of them are cheaper than a new lens.
Studio Setup Checklist for Reflective Product Photography
Before any lighting trick works, you need a clean space and a clean product. Our team shoots in a corner of a home studio with a 6-foot sweep of white paper, and that is enough for most small reflective items.
Clear the Room
Remove anything that could appear in the reflection. Cluttered shelves, colored posters, and other shiny objects all become part of your image. Shoot against a neutral wall, a white foam board, or a rolled paper sweep. Many photographers I work with drape a black curtain over a window to kill outside reflections entirely.
Prepare the Product
Wear cotton gloves or microfiber cloths when handling jewelry, watches, and glassware. Fingerprints show up instantly on shiny surfaces under direct light. Use a rocket blower or compressed air to remove dust; wiping often smears more than it cleans.
Wear Dark Clothing
This is one of the simplest tricks from forum photographers. Wear a black long-sleeve shirt so your own body does not appear in curved reflections. A white shirt creates bright reflections on metal and chrome that look like a ghost in the final image.
Essential Gear (Budget Tiers)
You can start with very little and add gear as you go.
- Starter (under $100): A white foam board, a black foam board, a sheet of white tissue paper or a thin white bed sheet for diffusion, a window with indirect daylight, and a piece of white card stock as a bounce.
- Mid-range: Add a continuous LED light with a softbox attachment, a light tent or lightbox for small items, and a sturdy tabletop tripod.
- Pro setup: Two strobes with large softboxes, a polarizing filter, a roll of seamless paper, and a remote trigger.
Skip the gear you do not need yet. Most beginners can shoot excellent jewelry and glassware with one diffused light, two foam boards, and a window.
Lighting Techniques: The Core of Shiny Object Photography
If you only remember one rule from this whole guide, make it this: larger, softer light sources are easier to control on reflective surfaces than small, hard ones. A bare lightbulb is a point source, which creates a sharp, focused reflection. A 24-inch softbox turns that point source into a soft gradient, which you can shape into the product.
Use Diffusion on Every Light
Diffusion spreads light out and softens it, so the reflection on your product becomes a gentle gradient instead of a sharp bright spot. Softboxes, photography umbrellas with diffusion covers, and white bed sheets all work. One Reddit user in r/photography reported great results with three diffused softboxes arranged left, right, and above the product, just outside the camera’s view.
Backlighting for Glass
Glassware, perfume bottles, and clear drinking glasses photograph best when the main light comes from behind and slightly to the side. Place a softbox or bright continuous light behind the glass and aim your camera so the front of the glass looks darker than the lit edge. The result shows the shape and thickness of the glass without the front surface blowing out.
For colored glass, layer a white card in front of the glass to bounce some light back into the camera-facing surface. Without that bounce, the bottle looks hollow.
Side Lighting for Metal
Polished metal catches light beautifully from the side. Position one softbox at a 45-degree angle to the left of the product and a white foam board at 45 degrees to the right. The left light creates the highlight, the right board fills in the shadow side. This is the classic two-source setup for chrome and silver.
Double Overhead Lighting for Jewelry and Watches
Jewelry, watches, and small reflective ornaments need light coming from above and from both sides so the curved surfaces show form instead of a single hot spot. Two softboxes angled down at 45 degrees from above, one on each side, gives you controllable highlights on every face of the piece.
Use a Light Tent for Small Items
A light tent (also called a lightbox) is a small fabric cube with translucent white sides. Place the product inside, put one or two lights outside, and the walls diffuse the light into a soft, even glow. Light tents are excellent for rings, earrings, and small gadgets under 6 inches. They are also the cheapest way to get professional-looking reflections on a budget.
Add a Polarizing Filter for Extra Control
A circular polarizing filter screws onto your lens and reduces glare by filtering out light waves traveling at certain angles. Rotate the filter while looking through the viewfinder; the glare on metal and glass will visibly drop at one orientation. Polarizers do not eliminate glare entirely, but they cut it by roughly 50% and reduce overall reflections on water, glass, and shiny plastic. They also deepen sky and color saturation if you are including any background.
Best Camera Settings for Reflective Photography
Manual mode is non-negotiable for shiny products. Auto modes misread the bright reflections and underexpose the actual product, leaving you with a dark, muddy image.
Manual Mode Settings
- ISO: 100 for the cleanest image. Bump to 200 only if your shutter speed gets too slow to handhold.
- Aperture: f/8 to f/11. This range keeps the entire product sharp and gives you a deep depth of field so front and back of the item are both in focus.
- Shutter speed: Match your light. With strobes at typical power, 1/125 to 1/200 second is safe. With continuous LEDs, you may need 1/60 to 1/30 second, which is why a tripod matters.
- White balance: Set it manually using a gray card or your camera’s custom WB function. Auto white balance will shift color as you move the lights around, and your silver will start looking yellow.
- File format: Shoot RAW so you can recover highlights and adjust color casting in post without losing detail.
Use a Tripod
A tripod locks your framing so you can fine-tune lighting between shots without recomposing. It also lets you shoot at slower shutter speeds without camera shake, which is helpful when your aperture is small and your ISO is low.
Watch the Histogram
The histogram is your best friend on shiny products. The left side shows shadows, the right side shows highlights. If the right edge of the histogram is touching or clipping the wall, you have blown out a highlight that you cannot recover in editing. Pull your light power down or close your aperture until the histogram sits comfortably inside the right edge. This single habit will save more reflective product shots than any other technique.
Manual Focus or Single-Point AF
Autofocus often hunts on flat reflective surfaces because there is no contrast to lock onto. Switch to manual focus, use live view zoomed in to 100%, and carefully focus on the most important detail of the product, like the face of a watch or the label on a bottle.
Using Reflectors and Negative Fill
Once your main light is in place, the foam boards around the product decide what the final image looks like.
White Foam Board as a Reflector
A white foam board bounces light back into the shadow side of your product. Place it opposite your main light, angled to bounce light into the dark side of the product. This lifts shadows without changing the shape of the highlights.
Black Foam Board for Negative Fill
Negative fill is the opposite: you place a black foam board where you want to absorb light and deepen a shadow. This sounds counterintuitive, but on shiny products, too much bounce light creates a milky, flat look. Pulling a black card in close to one side of a curved metal object sharpens the edge contrast and shows the form of the curve. Pro photographers use negative fill constantly because it gives the product a sense of dimension and weight.
The simplest way to remember the difference: white cards add light, black cards subtract it. Both are shaping tools.
Dulling Spray and DIY Workarounds
Dulling spray (also called matte spray) is a clear aerosol coating that takes the shine off a reflective surface for the duration of a shoot. Photographers spray a light, even coat across metal, glass, and ceramic items, let it dry for a few minutes, and photograph the now-satin surface. After the shoot, the spray wipes off with a soft cloth.
This is a workaround, not a substitute for good lighting, but it works brilliantly when you cannot control the lighting environment or when a client wants a specific look. Use it sparingly and let the area be well-ventilated; most dulling sprays contain solvents.
DIY Diffusion Alternatives
If you do not have a softbox yet, drape a thin white bed sheet or a roll of white tracing paper over a window or a lamp to create instant diffusion. Many e-commerce photographers I have interviewed shoot their entire catalog this way. A sheet of white tissue paper taped over a cheap LED panel does almost the same job as a $200 softbox.
For negative fill at home, use a piece of black foam core, a black t-shirt, or even an open laptop showing a black screen. Any matte black surface close to the product will absorb unwanted bounce light.
Post-Processing to Remove Glare
Good lighting gets you 90% of the way there. The final 10% happens in your editing software, and it matters for shiny products. Editing will not fix a blown-out highlight; that data is gone. But it can clean up minor reflections, correct color casting, and bring the product closer to what the eye actually sees.
Reduce Glare in Editing
- Open the RAW file in Lightroom, Capture One, or your editor of choice.
- Pull the Highlights slider down to recover detail in the brightest reflections.
- Push the Shadows slider up slightly to bring back detail in the dark sides.
- Increase Whites and decrease Blacks if the image looks flat.
- Use the Adjustment Brush or Radial Filter to dodge specific areas, like the face of a watch.
Remove Stubborn Reflections with Clone and Heal
If a small reflection is impossible to remove with lighting, use the Clone Stamp or Healing Brush in Photoshop. Sample a clean area of the same surface and paint over the reflection. Use a soft brush at low opacity for natural transitions. For jewelry and watches, this trick saves shots that would otherwise be unusable.
Correct Color Casting
Reflective surfaces often pick up a green, yellow, or magenta tint from the surrounding environment. Fix this in editing by adjusting the Temperature and Tint sliders until whites look neutral. For silver, target a true gray in the image. For gold, leave a slight warm bias.
Sharpen for the Final Output
Product photos need to look crisp on a phone screen. Apply selective sharpening to the edges and details of the product, not to the background. A radius of 1.0 to 1.5 pixels with an amount of 60 to 80 works well for web output.
Smartphone and iPhone Tips for Shiny Objects
You can absolutely photograph reflective products with a phone. Most modern iPhones and Android flagships handle small shiny items well when you control the environment.
Smartphone Setup
- Find a window with indirect daylight. Direct sun is too harsh.
- Drape a thin white sheet over the window for instant diffusion.
- Place a white foam board on the unlit side of the product to bounce fill light.
- Use a small black card (a black notebook works) as negative fill on the opposite side.
- Set your phone on a stack of books or a mini tripod so it does not move.
Use a Dedicated App for Manual Control
Apps like Halide, ProCamera, and the stock iPhone camera in manual mode let you lock ISO, shutter speed, and white balance. Set ISO to the lowest value (usually 50 or 100), tap to focus on the product, and lock exposure by long-pressing on the focus point.
Wear Dark Clothing and Stay Out of the Reflection
This applies to phone shooters even more than DSLR shooters. Your body is close to the product, so it shows up easily in the reflection. Lean to one side, shoot around a corner, or drape a black cloth over yourself if needed.
Forum photographers report that getting physically closer to the reflective surface eliminates the surrounding scene from the reflection, which works on phones just as well as on mirrorless cameras.
Common Mistakes and How to Fix Them
Most reflective product photos fail for the same handful of reasons. Here is a quick troubleshooting guide.
Bright White Blob on the Product
Why it happens: Your light source is too small, too close, or pointed directly at the product. How to fix it: Use a softbox or diffusion panel and angle the light so the reflection bounces away from the camera instead of into it.
Camera or Photographer Visible in the Reflection
Why it happens: You are standing in the angle of reflection path. How to fix it: Move your shooting position, wear black clothing, or use a longer lens and shoot from farther away so your body stays out of the bounce line.
Curved Metal Looks Milky and Flat
Why it happens: Too much bounce light is filling the shadow side of the product. How to fix it: Add negative fill by placing a black foam board close to the shadow side to deepen contrast and reveal the curve.
Gold Looks Orange or Silver Looks Yellow
Why it happens: Wrong white balance or mixed lighting color temperatures. How to fix it: Set a custom white balance using a gray card and switch to lights that share the same Kelvin rating.
Glass Bottle Looks Hollow or Dark
Why it happens: Light is only behind the glass with nothing filling the front face. How to fix it: Bounce a white card into the front of the glass to lift the camera-facing surface and round out the shape.
Reflections in the Background Paper
Why it happens: The sweep or wall has its own sheen and is bouncing light back into the frame. How to fix it: Switch to matte seamless paper, not glossy, and angle the key light so the background is not hit directly.
Editing Cannot Fix the Highlights
Why it happens: The highlights were blown out during capture, so the detail is gone. How to fix it: Lower the light power, close the aperture a stop, and watch the histogram next time so nothing clips the right edge.
Bonus Tip for E-commerce Platforms
If you are shooting for Amazon, Shopify, or Etsy, check each platform’s image requirements before you start. Amazon requires the main image on a pure white background (RGB 255, 255, 255), so use a white foam board or seamless paper for the background. Shopify and Etsy are more flexible, but a clean white background still converts best. Build your background lighting into the shoot, not after, so the white is actually white and not gray.
Frequently Asked Questions
How do you photograph a reflective surface?
To photograph a reflective surface, use a large diffused light source such as a softbox or umbrella, angle it so the reflection bounces away from your lens, and place white and black foam boards around the product to shape the highlights. Shoot in manual mode at ISO 100, f/8 to f/11, with custom white balance for accurate color.
What are the best camera settings for reflective photography?
The best camera settings for reflective photography are manual mode at ISO 100, an aperture between f/8 and f/11 for full sharpness, a shutter speed that matches your light source (1/125 to 1/200 with strobes), and a custom white balance set with a gray card. Shoot RAW so you can recover highlights and adjust color casting without losing detail.
Why are reflective surfaces difficult to photograph?
Reflective surfaces are difficult because they act like mirrors and obey the law of reflection: the angle of incidence equals the angle of reflection. Your camera ends up capturing the light source, the photographer, or surrounding clutter instead of the product itself, which creates hot spots, ghosting, and unwanted color casts.
How do you remove glare from product photos?
Remove glare by lowering the Highlights slider in your editing software, then using the Clone Stamp or Healing Brush to paint over any leftover reflections with a clean sample of the same surface. For stubborn glare, fix the source by reducing light power, closing the aperture, or watching the histogram so highlights do not clip during capture.
How do you take a picture of something reflective without glare?
Take a picture of something reflective without glare by diffusing your light with a softbox, white sheet, or umbrella, and angling the light so the reflection bounces away from your camera. Adding a black foam board as negative fill and wearing dark clothing prevents extra reflections from showing up on the surface.
How do professional photographers shoot reflective objects?
Professional photographers shoot reflective objects by combining large diffused light sources (softboxes, light tents) with negative fill from black foam boards and bounce light from white cards. They shoot in full manual mode, watch the histogram for highlight clipping, and frequently use a polarizing filter to cut glare by roughly 50%.
How do you photograph shiny objects with a phone?
Photograph shiny objects with a phone by placing them near a window with indirect daylight, draping a thin white sheet over the window for diffusion, and using a small white card to bounce fill light onto the shadow side. Lock focus and exposure in your phone’s manual or pro mode, set ISO as low as possible, and wear dark clothing so you do not appear in the reflection.
What is dulling spray used for in photography?
Dulling spray is a clear aerosol coating that temporarily removes shine from reflective surfaces like metal, glass, and ceramic so they photograph without glare. Photographers spray a light, even coat, let it dry, shoot the now-satin surface, and wipe the spray off after the session with a soft cloth.
Final Thoughts
Photographing reflective and shiny products without glare is a craft, but it is one you can pick up quickly once the core ideas click. Larger, softer light sources, deliberate angles so reflections bounce away from the lens, white and black foam boards to shape the result, manual camera settings, and a careful eye on the histogram will get you professional-looking shots for jewelry, watches, glassware, perfume bottles, sunglasses, and chrome.
Start with what you have: a window, a white sheet, two foam boards, and your phone. Photograph the same item five times with five different lighting setups and compare the results. You will learn faster from those five frames than from any tutorial. Once you see the difference, the techniques become second nature.
If you want to keep going, our photography guides on the site walk through specific setups for jewelry, glassware, and on-location product shots. Save this guide, pick one product from your own inventory, and shoot it today.