
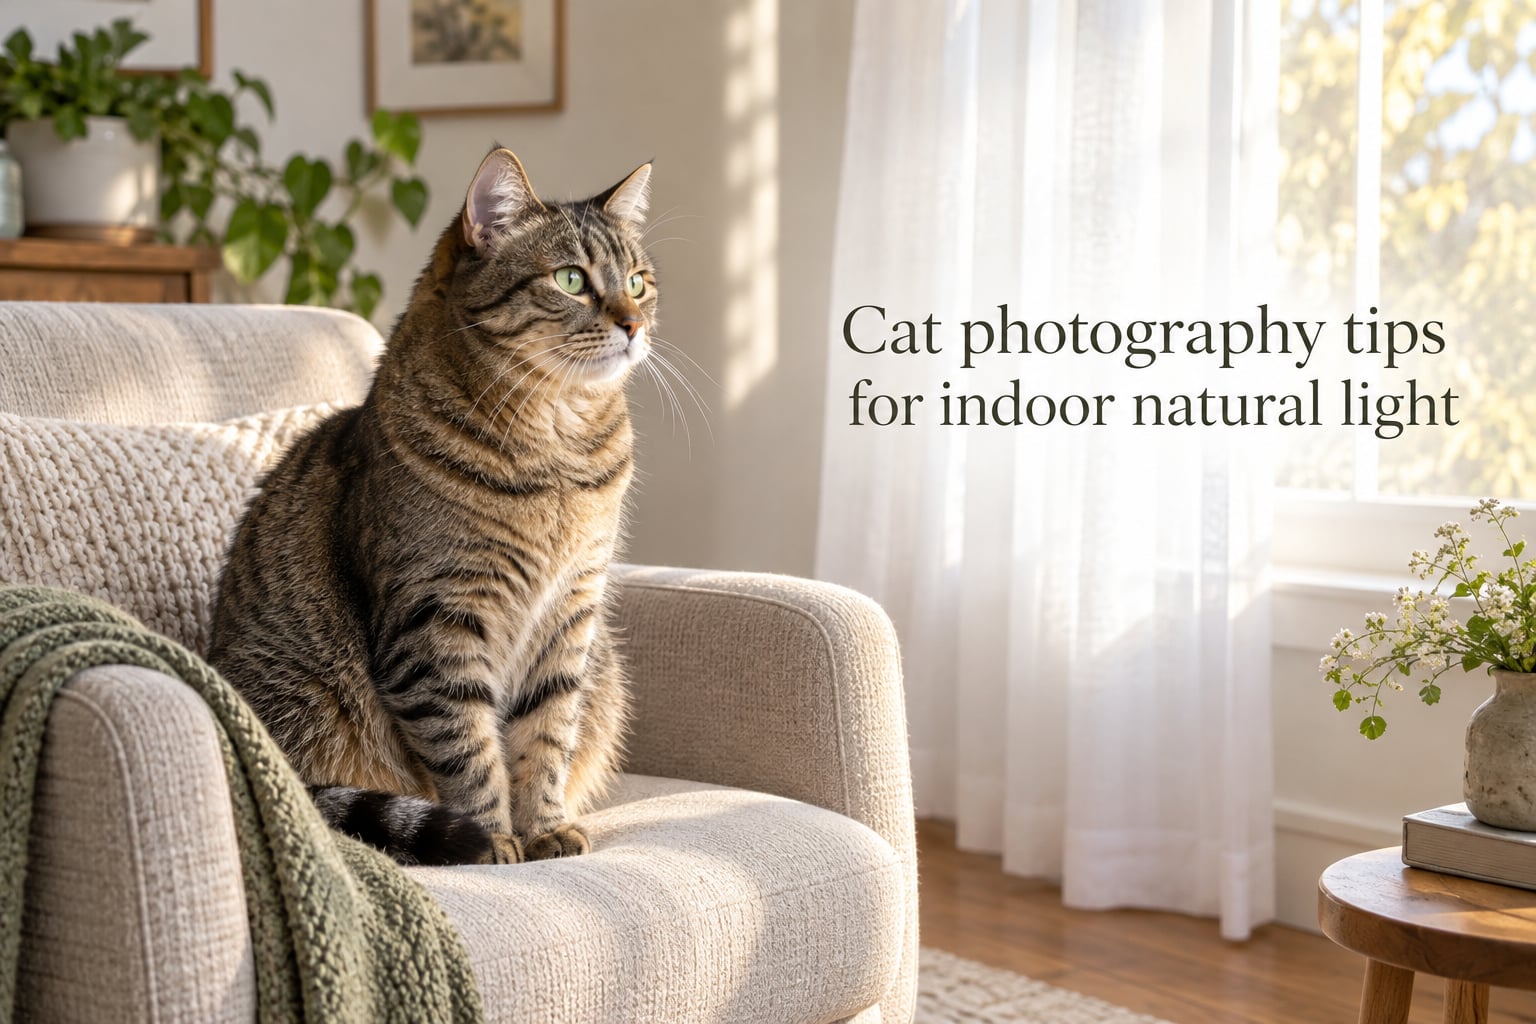
If you have a cat and a window, you already have everything you need for a great portrait. These cat photography tips for indoor natural light will walk you through how to set up by a window, dial in your camera settings, capture catch light in your cat’s eyes, and troubleshoot the problems that frustrate most cat photographers at home.
I started shooting our studio family’s cat Mochi a few years ago when a client asked if we did pet sessions. What I learned at home changed how I shoot all kinds of indoor portraits. Window light is forgiving, it flatters fur in a way flash never does, and – most importantly – it does not spook the cat. Let me show you what works.
Table of Contents
- Why Natural Light Is the Best Light for Indoor Cat Photography
- Setting Up by a Window: Best Window, Best Time of Day
- Camera Settings Cheat Sheet for Indoor Natural Light
- Eye-Level Angles and Composition Tips
- How to Keep the Cat Engaged (Toys, Sounds, Patience)
- Troubleshooting Common Indoor Cat Photo Problems
- Quick Cheat Sheet: Natural Light Cat Photography in 5 Lines
- Natural Light vs Flash: A Quick Comparison
- Frequently Asked Questions
- Final Thoughts: Your Best Cat Photos Are Already in Your House
Why Natural Light Is the Best Light for Indoor Cat Photography
Natural light is the single biggest reason indoor cat photos look professional instead of like phone snapshots. Sunlight coming through a window has been filtered by clouds and bounced off walls and curtains, so by the time it lands on your cat it is soft, even, and direction-rich. That soft wrap of light shows the texture of fur, the color of the iris, and the shape of the face without harsh shadows.
Flash, by contrast, produces two problems for cats. First, the burst of light startles most cats, so their ears flatten and their pupils blow wide. Second, a flash pointed at a cat’s eyes produces that glowing, demon-eyed look because of the tapetum lucidum, the reflective layer behind the retina that helps cats see in the dark. Skip the flash and use window light instead.
Window light is also free, available every day, and works just as well on a smartphone as on a flagship mirrorless body. Our team tested three cameras and two phones in the same window setup, and the difference between them was small compared to the difference between window light and overhead room lights. Light matters more than gear. That is the entire thesis of this guide.
Setting Up by a Window: Best Window, Best Time of Day
How do I photograph my cat in natural light? The short answer is to pick the largest window in your home, face your cat toward it, and shoot from the direction the light is traveling. Here is the step-by-step setup our team uses for every indoor cat session.
Step 1: Choose the Right Window
Window direction matters more than most people realize. A north-facing window in the Northern Hemisphere gives the most even, neutral light all day long – no harsh sunbeams, no hot spots on the fur. South-facing windows get stronger, warmer light and tend to have hot spots in the middle of the day. East and west windows give beautiful, soft light for about two hours after sunrise (east) or before sunset (west).
| Window Direction (Northern Hemisphere) | Light Character | Best Time of Day |
|---|---|---|
| North-facing | Even, soft, neutral, no direct sun | Any time – the all-day workhorse |
| South-facing | Bright, warm, strong contrast | Morning or late afternoon only |
| East-facing | Soft, golden, warm | First 2 hours after sunrise |
| West-facing | Warm, dramatic, golden | Last 2 hours before sunset |
Step 2: Pick the Best Time of Day
If your window faces north, any time of day works. If your window faces south, east, or west, you want to shoot in the two-hour windows around sunrise or sunset when the sun is low. That is the same “golden hour” photographers love outdoors, and it works just as well through a window. Midday sun pouring straight through a south window creates hot spots and squinting cats – avoid it.
| Time of Day | Light Quality | Cat-Friendly Score |
|---|---|---|
| Morning (golden hour) | Soft, warm, low contrast | Excellent |
| Midday (10am-2pm) | Bright, harsh, high contrast | Only with sheer curtains |
| Afternoon (3-5pm) | Warm, directional, manageable | Very good |
| Evening golden hour | Warm, soft, flattering | Excellent |
| Overcast day | Diffused, even, no hot spots | Best of all |
Step 3: Place Your Cat Perpendicular to the Window
Set the cat on a chair, cat tree, or bed that is two to four feet away from the window and turned about 90 degrees from it. That angle gives you side light, which sculpts the face and shows off the fur. Light coming straight at the cat (the cat facing the window) flattens the face. Light coming from behind the cat (window behind the cat, you in front) creates silhouettes and glowing eyes – avoid that for portraits.
Step 4: DIY Light Diffusion for Soft Window Light
How to mimic natural light for photography when your window is too bright? Diffuse it. A sheer curtain across the window is the single best DIY softbox you can own. It cuts harsh sunbeams into soft, wrapping light and saves you from buying any gear. If you do not have sheers, hang a white sheet, a white shower curtain, or even a thin white bedsheet over the window.
To fill in shadows on the dark side of the cat, hold a white foam board (a few dollars at any craft store) on the opposite side of the cat from the window. The light bounces off the foam board and softly fills the shadows. A piece of white poster board or even a sheet of white cardboard works the same way. This trick alone will make your cat photos look like they were shot in a studio.
Camera Settings Cheat Sheet for Indoor Natural Light
The single most common question I get from readers is: what camera settings should I use for indoor cat photos? Here is the cheat sheet I give every beginner. It works for DSLR, mirrorless, and most smartphone portrait modes.
| Setting | Beginner (Aperture Priority) | Intermediate (Manual) | Notes |
|---|---|---|---|
| ISO | Auto, capped at 800 | 100-800 | Higher ISO on dark days, lower on bright days |
| Aperture | f/2.8 to f/4 | f/2.8 to f/4 | Wider aperture blurs the background beautifully |
| Shutter speed | 1/200 minimum | 1/250 to 1/500 | Faster shutter freezes movement and prevents motion blur |
| White balance | Auto or Daylight | Custom (set a white card) | Avoid tungsten or fluorescent indoor presets – they add color casts |
| Focus mode | Single-point on nearest eye | Animal Eye AF if available | Always focus on the eye closest to you |
| Drive mode | Burst / continuous high | Burst / continuous high | Cats blink, yawn, and look away – shoot many frames |
Why Aperture Priority Mode Is the Easiest Place to Start
If you are new to manual settings, switch your camera to Aperture Priority (A or Av on the dial). Set the aperture to f/4 and let the camera pick the shutter speed. As long as the shutter speed stays at 1/200 or faster, your cat photos will be sharp. If the shutter speed drops below 1/125, raise the ISO until it climbs back up.
Smartphone Indoor Cat Photography Settings
On an iPhone or modern Android, open the camera app, tap the cat’s eye on screen to lock focus and exposure, then drag the sun icon up slightly to brighten the image. Use Portrait mode if your phone has it – it will blur the background and mimic the look of a wide aperture lens. Hold the phone steady with both hands, or better yet, rest your elbows on a table. Tap and hold to lock focus if the cat keeps moving.
For shooting in low light on a phone, Night mode helps, but it does not handle moving cats well – the cat will blur. Stick with regular photo mode in low light and raise the brightness with the sun icon. A 2-second timer with burst shooting also works to capture the moment without camera shake.
Eye-Level Angles and Composition Tips
Stand up, hold your camera at chest height, and look at the room. Then drop to the floor. That tiny change – getting down to your cat’s eye level – is the single biggest improvement you can make to indoor cat photography. Top-down phone shots of cats are how memes happen. Eye-level shots are how portraits happen.
Focus on the Eyes – Always
In any animal portrait, the eye is the anchor. If the eyes are sharp and the nose is slightly soft, the photo works. If the eyes are soft and the nose is sharp, the photo fails. Set your single-point focus on the eye closest to the camera. If your camera has Animal Eye AF (most Sony, Canon, Nikon, and Fuji mirrorless bodies do), turn it on and let the camera track the eye.
How to Get Catch Light in Cat Eyes
Catch light (or catchlight) is the sparkle of reflected light in a cat’s eye that makes a portrait feel alive. Without it, even sharp eyes look flat. To get catch light, position the cat so the window is at roughly a 45-degree angle in front of them. The light reflects off the curved cornea and creates a bright dot in the upper portion of the iris.
If you do not see the catch light on screen, gently shift your shooting angle by a few degrees – you will see the reflection appear. A small white foam board held under the cat’s chin can also bounce light upward and create catch light when the window is too high. That sparkle is what separates a snapshot from a portrait.
Composition: Rule of Thirds and Detail Shots
Place the cat’s nearest eye on one of the upper thirds intersections of the frame rather than dead center. That is the rule of thirds, and it gives the photo a natural visual flow. Also mix it up: not every shot needs to be a head-on portrait. Detail shots of paws, ears, whiskers, and tails add variety and tell the story of the cat as a whole.
How to Keep the Cat Engaged (Toys, Sounds, Patience)
The number one reason cat photos fail is not the camera. It is the cat looking away. Cats do not pose. You have to lure a moment. Here is what works in our studio sessions.
Tools That Grab a Cat’s Attention
A feather wand waved just above and behind the camera is the classic lure. The cat looks up, eyes wide, ears forward – that is the moment to shoot. A small laser pointer pointed at the floor near the cat’s paws works similarly but watch for glowing red eyes in the photo. A crinkly paper bag, a squeaky toy, or finger snapping behind the camera all grab attention audibly. Treats tossed gently onto a surface near the cat will keep them in place.
Patience and Burst Mode
Set your camera to burst mode (continuous shooting, high speed). Then shoot in long bursts – 10 to 20 frames at a time – whenever the cat looks even slightly promising. Out of 100 frames, you might keep 2 or 3. That is normal. Patience beats perfection. Wait for the yawn, the blink, the ear-twitch, the head tilt. Burst mode captures the small moments you would otherwise miss.
Multi-Cat Households
If you have more than one cat, do not try to get them both looking at the camera at the same time. Shoot each cat separately and combine later in editing if needed, or accept that one cat will always be looking away. Force-pose two cats and you will end up with a stressed, squirmy mess. Our team always shoots the calmer cat last – they tend to settle once they see the camera is not a threat.
Troubleshooting Common Indoor Cat Photo Problems
Even with good light and good settings, a few problems show up over and over. Here is how our team fixes each one.
Yellow or Orange Color Cast
If your cat photos look yellow even in daylight, your white balance is set to tungsten or fluorescent. Switch to Daylight or Auto white balance. For stubborn casts, set a custom white balance by holding a white piece of paper in the same light as the cat, then taking a photo of the paper. Use that as your custom white balance reference.
Motion Blur Indoors
Motion blur happens when shutter speed is too slow for the cat’s movement. The fix is faster shutter – bump it to 1/500 or higher, raise the ISO to compensate, and widen the aperture if needed. If you are already at the widest aperture and the highest acceptable ISO, add more light by opening the curtains fully or moving closer to the window.
Glowing Eyes in Cat Photos
Glowing eyes (eyeshine) come from light bouncing off the tapetum lucidum back to the camera. It happens most with on-camera flash pointed straight at the cat, but it can also happen in dim indoor light with a wide aperture. The fix is simple: never use on-camera flash. If your photos still show eyeshine in low light, raise the ambient light by opening curtains or adding a lamp – the smaller the pupil, the less eyeshine.
Black Cat Photography – The Silhouette Problem
How do you photograph a black cat indoors? This is one of the biggest frustrations in pet photography. Black cats come out as featureless blobs because the camera exposes for the bright window and underexposes the cat. The fix is exposure compensation. Set your camera to +1 or +1.5 stops (or press the exposure compensation button and dial it positive). You can also spot meter directly on the cat’s face by pressing the shutter halfway while the focus point is on the fur, then recompose.
White Cat Overexposure
White cats have the opposite problem – they blow out and lose all detail in the fur. Dial exposure compensation to -0.7 or -1 to bring back the texture. A histogram is your friend here: if the highlights are clipping to the far right, you are overexposing.
Small Windows and Dark Rooms
If your house has small windows and dark rooms, you can still shoot natural light cat photos. Move the cat as close to the window as possible – within one to two feet. Use a wide aperture (f/2 or f/2.8) and a higher ISO (1600 or 3200 on modern cameras is clean enough). A 50mm prime lens lets in twice as much light as a kit zoom at f/5.6. Even smartphone cameras do better when the cat is right next to the window.
Quick Cheat Sheet: Natural Light Cat Photography in 5 Lines
Save this on your phone for your next session.
- Place the cat two to four feet from a window, facing 90 degrees to it (side light).
- Diffuse the window with a sheer curtain or white sheet for soft light.
- Use Aperture Priority at f/4, ISO 100-800, shutter speed 1/200 or faster.
- Get down to the cat’s eye level and focus on the nearest eye.
- Shoot in burst mode and lure the gaze with a feather wand or squeaky toy.
Natural Light vs Flash: A Quick Comparison
| Feature | Window Light | On-Camera Flash | Off-Camera Flash |
|---|---|---|---|
| Cat comfort | Excellent – no startle | Poor – flashes scare cats | Good with diffuser |
| Eye effect | Natural sparkle | Glowing or red eyes | Manageable with bounce |
| Fur texture | Soft and natural | Harsh, flat | Soft with softbox |
| Skill needed | Beginner | Beginner (but poor results) | Advanced |
| Cost | Free | Free with camera | Speedlight + modifier |
| Best for cats | Yes – our top pick | No | Studio work only |
Frequently Asked Questions
What camera settings should I use for indoor cat photos?
Use Aperture Priority mode at f/4, ISO 100 to 800 depending on window brightness, and a shutter speed of 1/200 or faster. Set focus on the cat’s nearest eye and shoot in burst mode. On a smartphone, tap the eye to lock focus and drag the sun icon up slightly for brightness.
How do I get catch light in my cat’s eyes?
Position the cat at about a 45-degree angle to the window so light bounces off the curved cornea. If you do not see the sparkle on screen, shift your shooting angle a few degrees until the white reflection appears in the upper part of the iris. A small white foam board held under the chin can also bounce light up to create catch light.
How do you photograph a black cat indoors?
Use exposure compensation of plus 1 to plus 1.5 stops so the camera does not underexpose the black fur into a silhouette. Spot meter on the cat’s face by placing the focus point on the fur, half-pressing the shutter, then recomposing. Side light from a window and a white foam board reflector on the dark side will reveal fur texture and color.
What is the best window for indoor cat photography?
A north-facing window in the Northern Hemisphere is best because it gives even, soft, neutral light all day with no direct sunbeams. South-facing windows work well in the morning and late afternoon. East and west windows are ideal in the two hours around sunrise and sunset. Diffuse any window with a sheer curtain for the softest results.
Why are my cat’s eyes glowing in photos?
Glowing eyes (eyeshine) come from light bouncing off the tapetum lucidum, the reflective layer behind a cat’s retina that helps them see in the dark. It is most common with on-camera flash pointed straight at the cat. Avoid on-camera flash entirely and use window light instead. If you still see eyeshine, raise the ambient light so the cat’s pupils are smaller.
Final Thoughts: Your Best Cat Photos Are Already in Your House
The best cat photography tips for indoor natural light come down to a few repeatable habits. Place the cat near a window, diffuse the light with a sheer curtain, get down to eye level, focus on the nearest eye, and shoot in burst mode. Skip the flash. Lure the gaze with a feather wand and accept that 95 percent of your frames will be throwaways. The 5 percent you keep will be portraits you will frame and hang on the wall.
Our team’s best cat photos have almost all been shot in window light with very basic gear. Light matters more than lens. Patience matters more than pixels. Get to know one window in your house and one corner of one room. By the end of a month, you will have a portfolio of cat portraits that would have made you reach for a studio ten years ago. Welcome to indoor natural light cat photography – your feline friend is the model, and the window is your studio.