
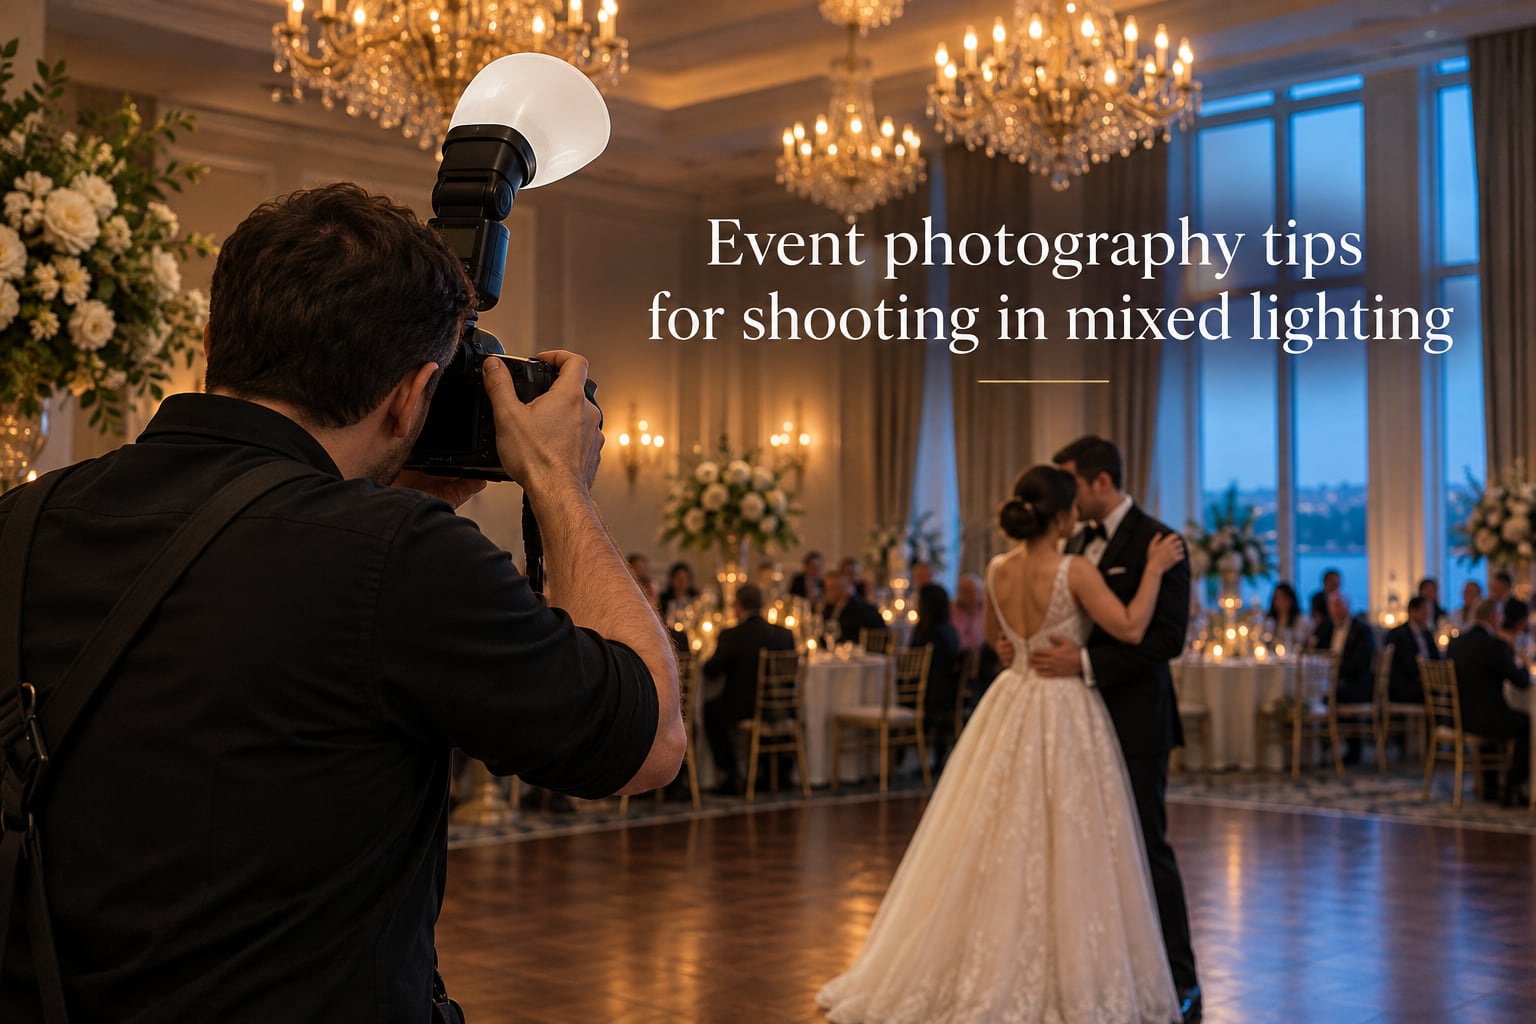
Mixed lighting in event photography is when a single scene is lit by multiple sources with different color temperatures, like warm tungsten bulbs mixing with cool daylight from a window or fluorescent overheads combining with LED uplighting. I have shot hundreds of weddings, corporate galas, and family events where the room held three or four different light sources at once, and the photos only looked consistent when I had a plan before I clicked the shutter. This guide shares the exact event photography tips for shooting in mixed lighting that I teach every new shooter on our team.
By the end, you will know how to identify each light source, set a custom white balance that works, decide whether to gel your flash or fix white balance in post, and choose camera settings that hold up in unpredictable venues. These are the same steps our studio uses on a Saturday wedding reception and a Monday corporate awards night.
Table of Contents
- What Is Mixed Lighting in Event Photography?
- Step-by-Step: How to Shoot in Mixed Lighting
- Step 1: Scout the venue and identify every light source
- Step 2: Pick a dominant light source for white balance
- Step 3: Set a custom white balance on the dominant source
- Step 4: Meter for the dominant light and dial in exposure
- Step 5: Decide your flash strategy before the first shot
- Step 6: Shoot RAW so post can rescue edge cases
- Step 7: Review and adjust during the event
- Color Temperature Cheat Sheet for Event Photographers
- White Balance Strategy: Custom WB, Kelvin, and Gels
- Camera Settings Baseline for Mixed Lighting
- Flash and Bounce Technique to Unify Mixed Light
- Gel Your Flash vs Fix White Balance in Post: A Decision Rule
- Real-World Scenarios: Receptions, Corporate Ballrooms, and Indoor-Outdoor Crossovers
- Editing Workflow for Mixed Lighting in Lightroom
- Frequently Asked Questions
- Conclusion
What Is Mixed Lighting in Event Photography?
Mixed lighting happens whenever two or more light sources with different color temperatures illuminate the same subject. Common combinations at events include tungsten or warm LED venue bulbs paired with daylight streaming through windows, fluorescent overheads mixing with stage gels, and candlelight or string lights crossing with on-camera flash.
Your camera sees these sources as competing color casts. One side of a face can look orange while the other looks blue, and skin tones shift between frames as subjects move. Recognizing mixed lighting early is the first step toward consistent, polished event photos.
Why mixed lighting is harder than single-source lighting
A single light source gives you one color temperature to balance against. Mixed lighting gives you three or four, and no white balance setting can neutralize them all at once. The skill is choosing which source to make neutral and which to let drift, then shaping your flash or your edit to recover the rest.
Step-by-Step: How to Shoot in Mixed Lighting
These seven steps are the workflow I run on every mixed-light event. Following them in order keeps the gallery consistent even when the venue is anything but.
Step 1: Scout the venue and identify every light source
Arrive at least 30 minutes before guests. Walk the room with your camera raised to your eye and slowly pan around. Note each source: tungsten chandeliers, fluorescent cans, LED uplighting, candle clusters, big windows, and any stage or DJ lights. I keep a small note in my phone with the dominant source for each zone, because I will refer back to it all night.
Step 2: Pick a dominant light source for white balance
Identify the source that lights most faces most of the time. That is your anchor. At a ballroom reception, that is usually the tungsten overheads. At a corporate breakfast, that is the fluorescent ceiling. At a golden-hour cocktail hour, that is the daylight.
Step 3: Set a custom white balance on the dominant source
Place a gray card or a white napkin in the dominant light, fill the frame with it, and set a custom white balance through your camera menu. If you do not have a card, use the Kelvin value from the cheat sheet below. This locks skin tones to the source that matters most.
Step 4: Meter for the dominant light and dial in exposure
Switch to manual or aperture priority, set ISO to a level your camera handles cleanly, and meter for the faces in the dominant light. Use exposure compensation if the venue drifts brighter or darker during the event.
Step 5: Decide your flash strategy before the first shot
For each zone, choose one of three strategies: gel your flash to match the ambient and unify the cast, leave flash off and rely on the dominant source plus a fast lens, or use fill flash without a gel to add a clean catchlight without fighting the cast.
Step 6: Shoot RAW so post can rescue edge cases
Mixed lighting always produces a few frames where two sources fight harder than expected. RAW files let you shift white balance in post by thousands of Kelvin without quality loss, so always shoot RAW for events.
Step 7: Review and adjust during the event
Every 15 to 20 minutes, zoom in on the back of the camera and check faces. If a zone has shifted, reset your WB or swap gels. Pre-event scouting reduces this, but real rooms drift as lights dim and DJ colors change.
Color Temperature Cheat Sheet for Event Photographers
Color temperature is measured in Kelvin. Lower numbers are warm and orange, higher numbers are cool and blue. Use this cheat sheet to dial in a Kelvin white balance or to pick the right gel when you want to match your flash to the ambient.
| Light Source | Approximate Kelvin | Cast | Matching Gel |
|---|---|---|---|
| Candlelight | 1900 to 2000K | Deep orange | Full CTO |
| Tungsten bulb | 2800 to 3200K | Warm orange | Full or half CTO |
| Halogen | 3000 to 3400K | Warm yellow | Half CTO |
| Incandescent | 2700 to 2900K | Warm orange | Full CTO |
| Fluorescent warm white | 3200 to 3500K | Yellow-green | Half CTO plus minus green |
| Fluorescent daylight | 4000 to 5000K | Slight green | Minus green |
| LED warm white | 2700 to 3500K | Warm | CTO to taste |
| LED cool white | 4000 to 5000K | Neutral | No gel needed |
| Daylight direct sun | 5500 to 6000K | Neutral | No gel needed |
| Overcast sky | 6500 to 7500K | Cool blue | No gel needed |
Print this table or save it on your phone. On a fast-moving event floor, scrolling to find a Kelvin number costs you shots. Our team keeps it in a notes file labeled “WB cheat sheet” so it opens with one tap.
White Balance Strategy: Custom WB, Kelvin, and Gels
White balance is the single biggest lever you have for mixed lighting. Three tools work together: custom white balance, manual Kelvin, and flash gels.
Custom white balance for the dominant source
A custom white balance, made by photographing a gray card or white surface under the dominant light, gives the most accurate color for that specific source. Most modern cameras let you save one or two custom WB presets, which is perfect for events with a stable dominant source like a hotel ballroom.
Manual Kelvin when light drifts or shifts
When the room cycles between sources, like a reception that moves from daylight to tungsten to colored DJ lights, manual Kelvin is faster than custom WB. Dial in the Kelvin value from the cheat sheet and fine-tune by a few hundred Kelvin until faces look right on the rear LCD.
Flash gels to match your flash to the ambient
Gels are thin colored films you tape over your speedlight to change its color temperature. A full CTO (Color Temperature Orange) gel turns your flash’s 5500K output into roughly 3200K, matching tungsten bulbs. Half CTO gives a softer match. Use gels when you want your flash to look like it belongs to the venue rather than fighting it.
Combining the three tools
On a typical wedding reception, I set a custom white balance for the tungsten overheads, then add a half CTO gel to my on-camera bounce flash. The flash blends with the room, the WB keeps faces clean, and the gallery looks consistent from the first dance to the last song.
Camera Settings Baseline for Mixed Lighting
Mixed lighting demands settings that give you flexibility. These are the starting points I use on every event, then adjust zone by zone.
Aperture: wide open for ambient and shallow depth of field
Shoot at f/1.8 to f/2.8 depending on your lens. A fast prime like a 50mm f/1.4 lets in twice the light of a kit zoom at f/5.6, which is the difference between sharp faces and motion blur at receptions. A 24-70mm f/2.8 zoom is my go-to when I need to switch focal lengths fast.
Shutter speed: 1/125 or faster for people, 1/200 for flash sync
For non-flash shots, keep shutter at 1/125 minimum to freeze small movements and reduce camera shake. When firing flash, stay at or below your camera’s sync speed (usually 1/200 or 1/250). Going higher crops the flash exposure.
ISO: push until grain looks acceptable
Modern full-frame cameras handle ISO 3200 to 6400 cleanly. I start at ISO 1600 and push upward only as the room dims. Review frames at 100 percent on the back of the camera to check noise on faces before committing to a higher ISO.
Lens choice by scenario
A 35mm or 50mm f/1.4 prime is ideal for receptions and tight indoor venues where you can get close. A 24-70mm f/2.8 is the workhorse for corporate events and ceremonies where you cannot move. A 70-200mm f/2.8 covers the back of a ballroom for candid speeches.
Flash and Bounce Technique to Unify Mixed Light
On-camera bounce flash is the most-used technique among working event photographers. It adds clean fill light to faces without flattening the room, and it lets you control how much flash mixes with the ambient cast.
Bounce flash off the ceiling or a wall
Angle your flash head up at 45 degrees toward the ceiling (or at 90 degrees for a side wall), dial in TTL or manual flash exposure, and let the bounced light wrap the subject. This produces softer shadows than direct flash and matches the room’s lighting direction.
Fill flash at minus one or minus two stops
Set flash exposure compensation to minus 1 or minus 2 EV so the flash is a subtle fill, not the main light. The ambient sets the mood, the flash lifts shadows under eyes and chins, and the result looks like the room lit the subject on its own.
Modifiers for softer light
A small speedlight diffuser, a Flashbender, or a Gary Fong Lightsphere spreads and softens the bounced light. Modifiers cost almost nothing and dramatically improve skin tones under harsh overheads.
Off-camera flash when you can place a light
For headshots, family formals, or a step-and-repeat at a corporate event, an off-camera speedlight on a stand with a softbox gives you full control. Position it camera-left at 45 degrees, gel it to match the ambient, and the result looks like a studio shot in a venue.
When not to use flash
Concerts, ceremonies with officiant rules, museums, and some religious venues prohibit flash. In those cases, push ISO, open the aperture, and lean on fast primes. Some theater photographers lean into colored stage lights and let subjects be pink or yellow rather than fight the cast.
Gel Your Flash vs Fix White Balance in Post: A Decision Rule
This is the question our team gets asked the most, and no competitor article answers it directly. Here is the rule we use.
Gel your flash when the ambient color is consistent and dominant
If the room is one color temperature across most of the event (tungsten ballroom, fluorescent corporate hall, warm LED restaurant), gel your flash to match. The flash output blends with the room and your gallery looks uniform without post-correction.
Fix white balance in post when sources shift or change
If the room cycles through colors (DJ lights, stage washes, sunset fading to tungsten), leave the flash clean and shoot RAW. Correct WB in post frame by frame. Mixing geled flash with shifting ambients creates more problems than it solves.
Use both when faces need help but background cannot be gelled
Some scenes have a clean flash needed on the face and a colored background you want to keep (think a colored uplight wall behind a speaker). Bounce flash clean, then mask the background in post and shift only its white balance. This is where shooting RAW pays for itself.
Quick reference table
| Scenario | Flash Gel? | WB Strategy |
|---|---|---|
| Tungsten ballroom reception | Yes, full or half CTO | Custom WB on tungsten |
| Fluorescent corporate hall | No gel, use minus green if green cast | Custom WB on fluorescent |
| DJ colored lights, dancing | No gel | Shoot RAW, correct in post |
| Window daylight plus tungsten | Half CTO if faces near window | Custom WB on dominant source |
| Stage wash with multiple colors | No gel | RAW, accept colored cast intentionally |
| Candlelit dinner | Off, or very low power | Custom WB on candle |
Real-World Scenarios: Receptions, Corporate Ballrooms, and Indoor-Outdoor Crossovers
Different venues stress different parts of the workflow. Here is how our team handles the three most common mixed-lighting situations.
Wedding reception with windows plus tungsten
Late-afternoon receptions have daylight streaming in one wall and tungsten overheads everywhere else. I set a custom WB on the tungsten (faces near windows will look slightly cool, which reads as natural), gel the bounce flash with half CTO, and meter for the room. Once the sun sets, the room is fully tungsten and the same settings carry over.
Corporate ballroom with fluorescents and stage LEDs
Corporate awards nights mix fluorescent overheads, colored stage washes, and dim audience lighting. I set custom WB on the fluorescents, leave the flash clean or off-camera with a softbox, and shoot RAW for the speeches. The award winners under stage lights get a small WB nudge in post per frame.
Indoor-outdoor crossover during golden hour
A cocktail hour that spills from a patio into a tent during golden hour is a fast-moving mixed-light situation. I switch between two camera bodies: one dialed to daylight WB for the patio, the other set to tungsten WB for the tent. Reviewers on r/Photography and r/AskPhotography repeatedly cite a two-body setup as the fastest fix for these crossovers.
Family event at home
Home events are a special case because the lights are whatever the homeowner chose: warm living-room lamps, overhead fluorescents in the kitchen, blue TV light in the den. Shoot RAW, set WB to auto for the dominant room, and bracket a few frames at different Kelvin values. Post lets you pick the best frame per scene.
Editing Workflow for Mixed Lighting in Lightroom
Post-processing is your safety net when in-camera white balance cannot do it all. The RAW files from your shoot hold enough color data to recover most mixed-light frames.
White Balance dropper on a neutral gray
Open the image in Lightroom, select the White Balance eyedropper, and click on a card, napkin, or shirt that should be neutral gray under the dominant light. Lightroom shifts the entire frame to neutralize that cast. For skin, click on a forehead or cheek to land closer to true skin tone.
HSL panel to fine-tune conflicting channels
When two casts collide (aqua from fluorescents plus orange from tungsten), the HSL panel lets you desaturate one channel pair at a time. Drop aqua and orange saturation by 10 to 20 each, and watch the channel conflict quiet down without losing the warm look of the tungsten.
Masking the background from the subject
Use a radial or subject mask to apply WB correction only to the background while leaving faces untouched. This is the cleanest fix when flash was clean on faces but the room was a different color behind them.
Batch sync across similar scenes
Once you have one good edit, copy the settings and paste across all frames from the same zone. Event galleries look uniform when zones share a look, even if zones differ from each other.
Frequently Asked Questions
What is mixed lighting in photography?
Mixed lighting in photography is when a scene is lit by multiple light sources with different color temperatures, like warm tungsten bulbs combined with cool daylight from windows or fluorescent overheads. Your camera sees these sources as competing color casts, which causes mismatched skin tones and inconsistent galleries if not handled deliberately.
How do you shoot in mixed lighting?
You shoot in mixed lighting by first identifying every light source in the venue, then picking a dominant source for your custom white balance, metering for the faces in that source, and deciding whether to gel your flash to match the ambient or leave it clean and correct the cast in post. Always shoot RAW so post-processing can rescue edge cases.
What is the best white balance for mixed lighting?
There is no single best white balance for mixed lighting because each source pulls color in a different direction. The best approach is to identify the dominant light source, set a custom white balance on a gray card under that source, and use flash gels to match your flash output to the same temperature.
How do you balance flash and ambient light?
Balance flash and ambient light by dialing flash exposure compensation to minus 1 or minus 2 stops, bouncing the flash off the ceiling or a wall, and adding a CTO gel when the ambient is tungsten. This produces a subtle fill that lifts shadows under eyes without flattening the room’s natural lighting.
Should I gel my flash or fix white balance in post?
Gel your flash when the ambient color is consistent and dominant across the venue, such as a tungsten ballroom or a fluorescent corporate hall. Fix white balance in post when sources shift or cycle through colors, such as DJ lights or stage washes. Shooting RAW lets you switch strategies mid-event without quality loss.
What camera settings work best for indoor event photography?
The best camera settings for indoor event photography are a wide aperture between f/1.8 and f/2.8, a shutter speed of at least 1/125, and an ISO between 1600 and 6400 depending on your camera’s noise performance. Use a fast prime lens, push ISO as the room dims, and always shoot RAW for post-correction flexibility.
Conclusion
Mixed lighting does not have to mean chaotic galleries. These event photography tips for shooting in mixed lighting, from scouting the room and setting a custom white balance to choosing between gelled flash and post-correction, give you a plan that holds up across weddings, corporate events, and family gatherings. Start with the cheat sheet, build the workflow into your next shoot, and trust the process. Your future self in the editing chair will thank you.