
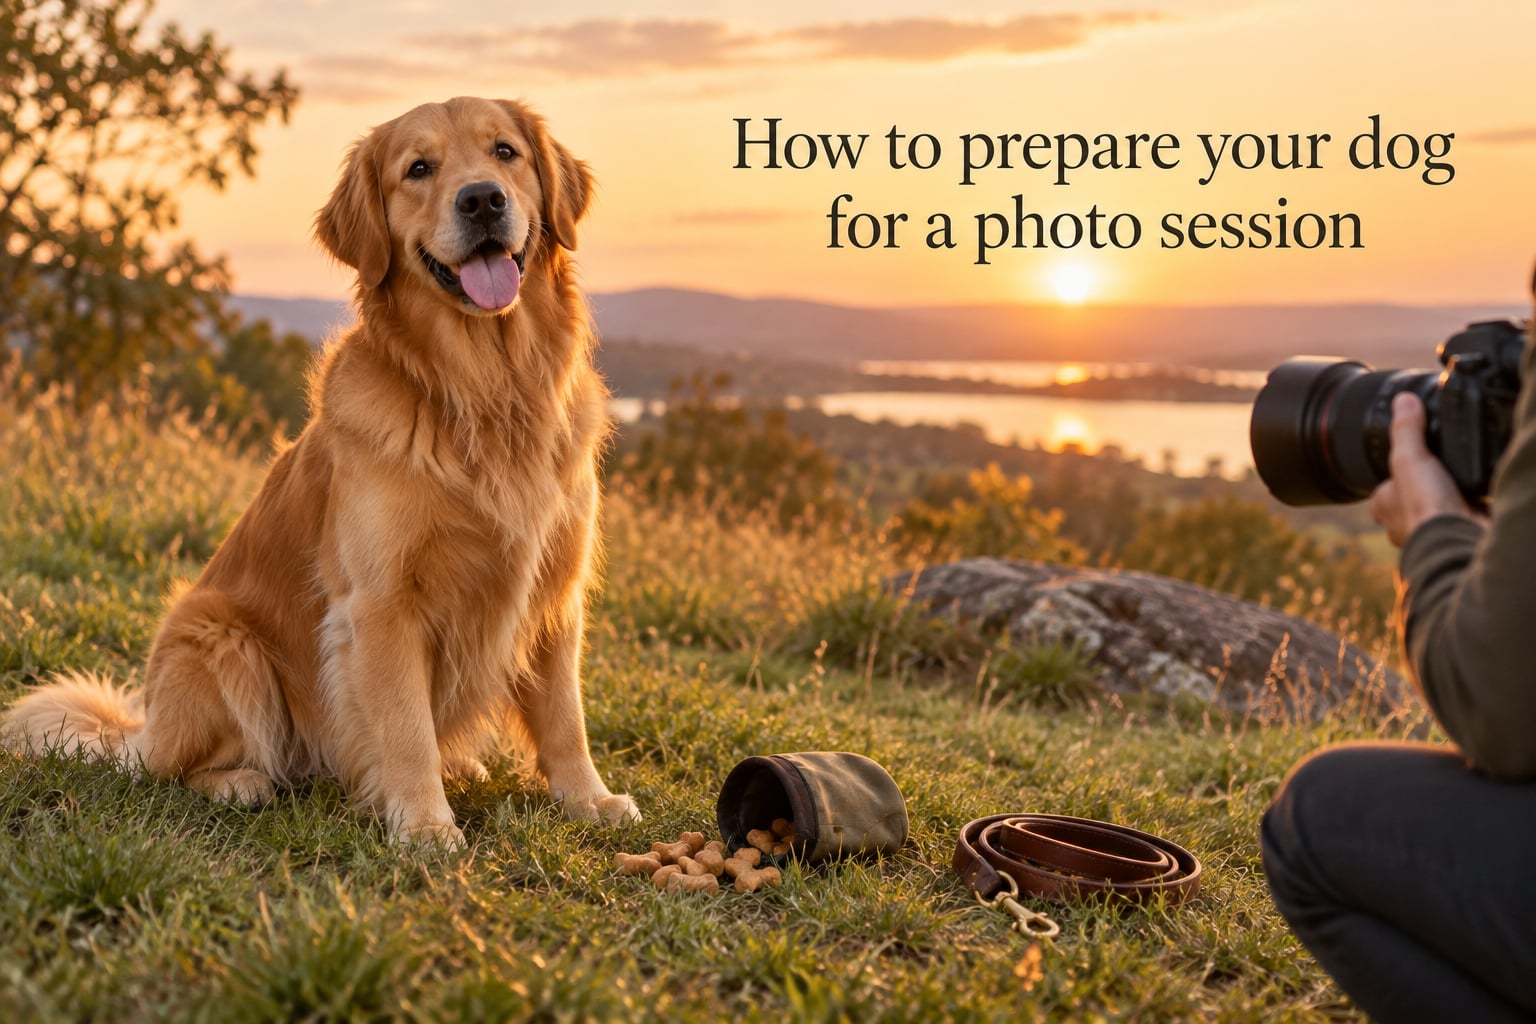
If you want to know how to prepare your dog for a photo session, the short answer is this: start the week before with exercise, grooming, treat prep, and command practice, then arrive 10-15 minutes early so your dog can warm up to the space. I have photographed hundreds of dogs in the studio and on location, and the shoots that look effortless always have owners who did this prep work at home.
This guide walks you through everything from a quick 10-step checklist to the photography rules most owners have never heard of (yes, there is a 7-second rule and a 20/60/20 rule for dog photos). Whether you are booking a professional pet photography session for the first time or trying to get better shots of your high-energy pup, the same preparation principles apply.
Table of Contents
- Quick Prep Checklist: 10 Things to Do Before the Shoot
- Burn Off Energy with Pre-Session Exercise
- Groom Your Dog One to Two Days Before
- Pack High-Value Treats and a Favorite Toy
- Practice Basic Cues in the Week Before
- Choose the Right Collar, Leash, and Harness
- Prepare Yourself: What to Wear and How to Stay Calm
- Photography Rules Worth Knowing Before the Shoot
- Puppies vs Adult Dogs: What’s Different
- Preparing an Anxious or Reactive Dog
- Day-Of Checklist: What to Pack
- Common Mistakes to Avoid at Your Dog Photo Session
- Frequently Asked Questions
- Wrapping Up: Your Dog Photo Session Starts at Home
Quick Prep Checklist: 10 Things to Do Before the Shoot
Run through this numbered list the week of your shoot and you will arrive prepared:
- Walk or play with your dog for 20-30 minutes the morning of the shoot to burn off energy.
- Bathe and brush your dog one to two days before (not the day of – freshly washed fur looks unnatural in photos).
- Trim nails, clean eye debris, and check ears for visible dirt.
- Pack high-value treats like chicken, cheese, or hot dogs in a sealed bag.
- Bring your dog’s favorite squeaky toy and a backup plush toy.
- Practice sit, stay, down, and a “look” or “watch me” cue for 5-10 minutes daily.
- Choose a well-fitted flat collar and a 6-foot standard leash (skip retractable leashes).
- Decide what you will wear and lay it out the night before.
- Pack water, a travel bowl, poop bags, and a small towel.
- Plan to arrive 10-15 minutes early so your dog can sniff and acclimate.
Burn Off Energy with Pre-Session Exercise
The single most effective thing you can do to prepare your dog for a photo session is a solid pre-shoot exercise session. A tired dog is a calm dog, and a calm dog holds a sit-stay long enough for the photographer to nail the shot.
I tell my clients to take their dog on a 20-30 minute walk or play a vigorous game of fetch the morning of the shoot. For high-energy breeds like Border Collies, Huskies, and Labs, I recommend closer to 45 minutes. The goal is to take the edge off without exhausting them completely – a dog that has zoomies left in the tank is hard to pose.
Puppies and senior dogs need a gentler approach. A short sniff-walk around the block is plenty. Avoid overly intense exercise right before the session – you want your dog alert and responsive, not flat and disinterested.
Groom Your Dog One to Two Days Before
Bathe your dog one to two days before the photo session, not the morning of. Freshly washed fur looks flat and unnatural on camera because the natural oils have been stripped. A day or two gives the coat time to recover its soft, healthy sheen.
Beyond the bath, work through this grooming checklist in the 24 hours before the shoot:
- Brush out tangles and loose fur, paying extra attention to feathering on legs and tail.
- Trim nails so they do not click awkwardly on hard floors or scratch the photographer’s gear.
- Wipe eye discharge and clean any tear stains with a damp cloth.
- Check ears for visible dirt and wipe the outer folds gently.
- If your dog has facial hair that covers the eyes, consider a careful trim so the catchlight (the sparkle in the eye) shows up.
The goal is polished but natural. Photographers retouch minor blemishes in post-production, so do not stress over every speck.
Pack High-Value Treats and a Favorite Toy
High-value treats are the secret weapon of every professional pet photographer. We mean treats your dog does not get every day – chicken, cheese, hot dogs, deli turkey, or freeze-dried liver. Dry biscuits and kibble lose their magic in a new environment with distractions.
Cut the treats into pea-sized pieces so your dog can eat them quickly between shots without filling up. I bring a clicker and a small treat pouch clipped to my belt so I can reward the dog instantly when they hold a pose or look at the camera.
Bring your dog’s favorite toy as a backup attention-getter. A squeaky toy is excellent for prompting that classic head tilt, but do not overuse it. Photographers on forums report that squeakers lose effectiveness after 5-10 minutes when the dog figures out the sound does not mean a real play session. Reserve the squeak for the moments you really need engagement.
Practice Basic Cues in the Week Before
You do not need a perfectly trained dog for a great photo session, but a few basic cues will make everything smoother. Spend 5-10 minutes a day in the week before the shoot reinforcing sit, stay, down, and a “look” or “watch me” command.
The “look” cue is the one most owners skip, and it is the single most useful behavior for dog photography. Hold a treat near your eye and reward your dog when they make eye contact. After a few sessions, your dog will respond to the verbal cue alone, which means the photographer can call their gaze without waving treats around the frame.
Here is the part where I reassure every nervous owner: your dog does not need to be perfect. We plan for movement, treats, and breaks. A wiggly dog often photographs better than a stiff one because the energy reads as personality. If your dog only knows sit and not stay, we can still get beautiful portraits.
Choose the Right Collar, Leash, and Harness
Bring a well-fitted flat collar and a standard 6-foot leash to the shoot. Skip retractable leashes, choke collars, prong collars, and harnesses with lots of buckles – all of these show up in photos and create distracting hot spots on your dog’s body.
A flat nylon or leather collar in a neutral color (black, brown, navy, or burgundy) photographs cleanly. If your dog wears a colorful bandana or a tag-heavy collar every day, leave the everyday gear at home and bring a simple backup for the session.
Worried the leash will end up in every shot? Do not be. Professional pet photographers remove leashes in post-production as a standard part of editing. The reason we still ask you to bring a leash is safety – we need to keep your dog secure between setups and during walks to the location. The leash comes off the moment we start shooting.
Prepare Yourself: What to Wear and How to Stay Calm
Your dog reads your energy better than you think. If you walk into the studio stressed and rushed, your dog will pick up on that anxiety within seconds. Take a breath, arrive early, and treat the session like a fun outing rather than a test you have to pass.
For your own outfit, coordinate with your dog rather than match exactly. If your dog is a golden retriever, soft blues and warm earth tones photograph beautifully together. If your dog is a black Lab, stay away from pure black – you will blend into one shape in portraits. Patterns should be small and subtle; large logos and bold stripes pull attention away from faces.
Wear something you can move in. You will be sitting on the floor, kneeling, leaning over your dog, and possibly getting licked. Leave the dry-clean-only outfit in the closet.
Photography Rules Worth Knowing Before the Shoot
Most owners walk into a photo session without knowing two simple rules that explain why photographers do what they do. Understanding them helps you set realistic expectations and stay relaxed during the shoot.
The 7-second rule for dogs: A dog can typically hold focus on a single task – like keeping eye contact with the camera – for about 7 seconds before their attention drifts. That is why photographers work in short bursts, capture a few frames, call for a break, and reset. If you have ever wondered why we do not just shoot continuously, the answer is your dog mentally checked out after 7 seconds.
The 20/60/20 rule in photography: In any portrait session, roughly 20% of images are keepers, 60% are usable with cropping or adjustments, and 20% are unusable. For dogs, the keeper rate drops because we are working with a subject that blinks, flicks its ears, and turns to chase a squirrel. A photographer who delivers 30-40 final edited images from a 60-minute session has done excellent work.
Puppies vs Adult Dogs: What’s Different
Preparing a puppy for a photo session is similar to preparing an adult dog, with a few key adjustments for their shorter attention spans and developmental stage.
- Keep the session short – 30 minutes is plenty for puppies under six months.
- Schedule around nap time. A well-rested puppy is a cooperative puppy.
- Wait until vaccinations are complete before booking a studio session with shared equipment.
- Bring a familiar blanket or crate pad for a safe spot between setups.
- Use softer, smaller treats sized for puppy mouths and digestion.
- Expect more breaks for potty, water, and decompression.
Socialization stage matters too. Puppies in their fear period (8-11 weeks and again around 6-14 months) may be warier of new environments, sounds, and people. If your puppy is in a fear window, an outdoor session at a quiet park often works better than a studio with unfamiliar lights and equipment.
Preparing an Anxious or Reactive Dog
For anxious or reactive dogs, the most important preparation happens before the shoot day. Talk to your photographer in advance about your dog’s triggers – other dogs, strangers, loud noises, flashing lights – and ask how they plan to manage the environment.
Fear Free certified photographers use a few proven techniques to help anxious dogs settle:
- Pre-session desensitization: visit the location briefly beforehand or ask for a video of the studio setup.
- Lighting test: let your dog explore the room with lights flashing and no camera pointed at them.
- Choice and control: allow your dog to hide, leave, or take breaks whenever they signal stress.
- Owner in frame: sometimes having you right next to the camera calms a worried dog.
- Outdoor alternative: an outdoor session at a quiet location may be far less stressful than a studio.
You are your dog’s advocate. If something feels off during the session – and you know your dog better than anyone – speak up. A good photographer will adjust the plan rather than push through a stressed dog.
Day-Of Checklist: What to Pack
Toss these items into a small bag the night before your dog photo session so you are not scrambling the morning of:
- High-value treats in a sealed container or zip bag
- Your dog’s favorite squeaky toy and a backup plush
- A 6-foot standard leash and a well-fitted flat collar
- Water bottle and a collapsible travel bowl
- Poop bags (yes, even for studio shoots)
- A small towel for wet paws, muddy noses, or drool
- A lint roller for your own outfit
- Your dog’s ID tags in case of a quick exit
- A familiar blanket or bed for nervous dogs
- Phone charger (sessions can run longer than expected)
Common Mistakes to Avoid at Your Dog Photo Session
After years of shoots and plenty of forum wisdom from fellow pet photographers, here are the mistakes that cost the most great images – and how to dodge each one.
- Overusing the squeaker. Save it for the moments that really matter; it loses power after 5-10 minutes.
- Bringing a retractable leash. The thin cord is impossible to edit out cleanly.
- Surprising your photographer with a “plus-one dog.” Always disclose the number of dogs in advance.
- Saying trigger words like “walk” or “grandpa” near the dog. Every dog in the county perks up at those words.
- Letting your dog chase squirrels. Photographers report losing 50% of usable frames to wildlife distractions.
- Arriving rushed and stressed. Your mood sets the tone; build in a 15-minute buffer.
- Skipping the warm-up window. Walk the property first and let your dog sniff before the camera comes out.
Frequently Asked Questions
How do I prepare my dog for a photo session?
Start the week before with exercise, grooming, treat prep, and command practice. On the day of the shoot, walk your dog for 20-30 minutes, bathe them one to two days prior, pack high-value treats and a favorite toy, and arrive 10-15 minutes early so they can acclimate to the location.
What should I bring to a dog photo shoot?
Pack high-value treats like chicken or cheese, a favorite squeaky toy, a 6-foot standard leash, a well-fitted flat collar, water and a travel bowl, poop bags, a small towel, and a lint roller. These items keep your dog comfortable and the photographer ready to capture great shots.
Should I bathe my dog before a photo shoot?
Yes, but one to two days before rather than the morning of. A freshly washed coat looks flat and unnatural in photos because the natural oils have been stripped. A day or two gives the fur time to recover its healthy sheen.
How do I keep my dog calm during a photo shoot?
Exercise your dog before the session, arrive 10-15 minutes early, let them explore the space, and stay calm yourself – dogs mirror their owner’s energy. Bring high-value treats and a favorite toy to reward cooperation, and ask for breaks if your dog shows stress signals.
What treats work best for dog photography?
High-value treats your dog does not get every day work best – chicken, cheese, hot dogs, deli turkey, or freeze-dried liver. Cut them into pea-sized pieces so your dog can eat them quickly between shots without filling up during the session.
Wrapping Up: Your Dog Photo Session Starts at Home
The truth about how to prepare your dog for a photo session is that the best work happens before you ever walk through the studio door. Exercise, grooming, treat prep, command practice, and a calm mindset are the five pillars that separate a stressful shoot from a fun one.
At Sparkfly Photography, our team guides families through every step of this preparation process – from the first phone consultation to the day-of warm-up window to the final gallery reveal. If you are ready to book a professional dog photo session or want to talk through your dog’s specific needs, reach out and we will walk you through the rest.