
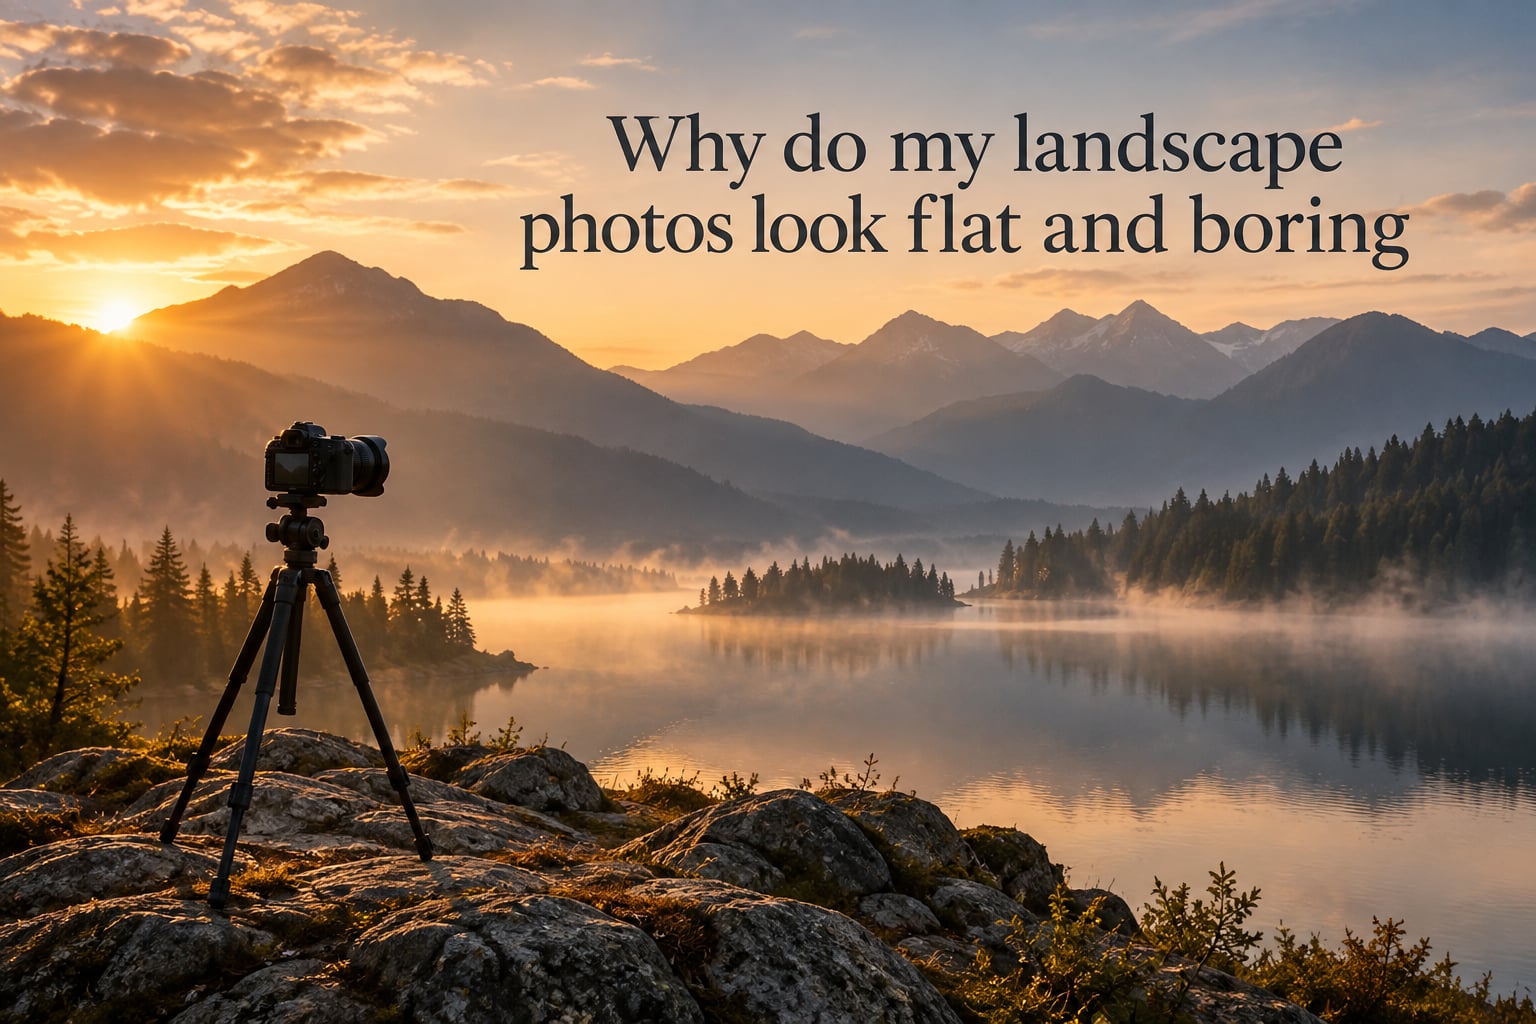
A landscape photo looks flat and boring when it has low contrast, no depth cues, and directionless light, leaving the foreground, middleground, and background mashed together on a single visual plane. Your eyes saw a sweeping vista with rich shadow and layered atmosphere, but the camera captured a muddy, evenly-lit frame. That gap between what you saw and what you saved is the entire problem, and it is fixable.
I’m a landscape photographer who has been on both sides of this frustration. I’ve come back from a trip with hundreds of files that felt lifeless, even when the scene in front of me had been breathtaking. After years of trial and error, I can tell you this: flat photos are almost never about your gear. They are about light, layering, and intent.
In this guide, I’ll walk you through every common reason your landscape photos look flat and exactly what to do about each one. You’ll learn the technical definition of “flat,” the lighting and composition habits that create dimension, and the editing workflow that pulls depth out of a RAW file. By the end, you’ll have a complete checklist you can run through before every shoot.
Here is what we will cover:
- What “flat” actually means in landscape photography
- Common causes at a glance
- How to choose light that creates dimension
- Adding depth with foreground, middleground, and background
- Composition techniques for stronger images
- Telephoto compression for flat terrain
- Camera settings that help
- Editing RAW files with intent
- A pre-shoot checklist
Table of Contents
- What “Flat” Actually Means in Landscape Photography
- Common Causes: Lighting, Depth, and Subject Clarity
- Choose Light That Creates Dimension
- Add Depth with Foreground, Middleground, and Background
- Strengthen Your Composition with Focal Points and Lines
- Use Telephoto Compression to Flatten Distance
- Camera Settings That Bring Landscapes to Life
- Editing: Develop Your RAW Files with Intent
- Quick Checklist Before You Press the Shutter
- Frequently Asked Questions
- Final Thoughts: Light, Depth, and Intent
What “Flat” Actually Means in Landscape Photography
“Flat” is a word photographers throw around a lot, but rarely define. Technically, a flat photo has a narrow tonal range, no clear separation between near and far elements, and lighting that comes from a directionless source. There are no shadows to anchor shapes, no atmospheric haze to suggest distance, and no bright highlights to pull your eye forward.
The second piece of the puzzle is the gap between your eyes and your sensor. Human vision is binocular, constantly scanning and rebuilding depth from two slightly different angles. Your eyes also have a much wider dynamic range than a camera sensor, so the bright sky and dark foreground look balanced to you but become a clipped mess on the file. That is why the scene felt glorious in person but reads as dull on screen.
There is also a useful distinction between “flat” and “boring.” Flat is a technical failure of contrast and depth. Boring is an emotional failure of intent, when the scene itself had no story, no mood, or no focal point to hold attention. A photo can be technically crisp and still boring, just as a flat file can become compelling once it is developed with care. Knowing which problem you have keeps you from fixing the wrong thing.
Common Causes: Lighting, Depth, and Subject Clarity
Most flat-looking landscape photos share a small handful of root causes. Here is the short list to scan before we dig into each one in detail:
- Even, directionless light. Overcast skies or harsh overhead midday sun flatten shapes because there are no shadows to define them.
- No layered planes. The image has only a foreground and a sky, with nothing bridging the two to suggest distance.
- A weak or missing focal point. Without a clear subject, the eye wanders and the scene reads as empty.
- Wide-angle lens on featureless terrain. A 16-35mm on a flat field creates a lot of empty foreground with nothing to anchor it.
- Harsh midday sun. Direct overhead light kills color saturation and washes out contrast.
- RAW files left underdeveloped. A flat RAW is a starting point, not a finished photo. Without editing, it stays flat.
If your photo looks dull, run through this list. Most beginners find two or three of these apply at the same time. The fixes stack, so solving even one of them tends to lift the whole image.
Choose Light That Creates Dimension
Light is the single biggest factor in whether a landscape reads as dimensional or flat. The reason is simple: shadows define shape, and directionless light gives you no shadows. If you want depth, you want light coming from the side, the back, or a low angle across the horizon.
Golden hour, the hour after sunrise and before sunset, is the most reliable light for landscape work. The sun sits low, throws long shadows across ridges, and rakes across textured surfaces to reveal every bump and crease. Blue hour, the 20-30 minutes before sunrise or after sunset, gives soft cool tones that pair beautifully with warm artificial lights in cities.
Harsh midday sun is the enemy. The sun sits directly overhead, shadows collapse under objects, and contrast disappears into a gray wash. If you must shoot at midday, look for shade, water, or scenes where the high sun actually helps. A river reflecting blue sky, a forest canopy filtering the light, or a colorful canyon wall in indirect light can still work.
Atmospheric conditions are also worth waiting for. Fog and mist create natural depth by fading distant objects into pale tones. Storm clouds at sunset can throw a single beam of light onto your subject while everything else stays dark. I have driven two hours for fog and come back with my best photo of the year. As one photographer on r/photocritique put it, visible haze or fog makes trees more dimensional, even when the scene looks dull to the eye.
Add Depth with Foreground, Middleground, and Background
The single most reliable way to add dimension to a landscape is to compose in three layers: foreground, middleground, and background. This is what separates a snapshot from a photograph.
The foreground is the anchor. It is the rock, flower, fence, or texture sitting closest to the lens, the element that gives the viewer a place to stand. The middleground is the bridge, a hillside, lake, or tree line that connects near to far. The background is the destination, the mountain, sky, or distant horizon that gives the eye somewhere to travel.
Without these three layers, the eye has no journey. The photo looks like a single plane with a sky glued on top. Get on the ground, walk left or right, change your angle, and find something in the foreground that adds scale and texture. Even a few stones at the bottom of the frame can transform an empty vista.
Atmospheric perspective is a built-in depth tool most beginners never think about. Distant objects naturally lose contrast and shift toward blue as the air between you and them absorbs light. You can lean into this by waiting for haze, by shooting toward distant ridges, or by including layers of hills that fade one into the next.
Color and tonal contrast work as depth cues too. Warm tones read as forward, cool tones as far away. Bright objects feel close, dim objects feel distant. When you spot a scene where warm rocks sit against cool distant mountains, you have already won half the depth battle before you press the shutter.
Strengthen Your Composition with Focal Points and Lines
Composition is the framework that holds a landscape together. Even the best light fails if there is no clear place for the eye to land.
Start with a focal point. In every landscape photo I keep, there is one element the eye returns to: a lone tree, a lighthouse, a peak, a person, a rock formation. Without one, the photo is wallpaper. Walk the scene until something stands out, then build the rest of the frame around it.
Leading lines pull the eye from foreground to background. A path, a river, a fence line, a row of trees, even shadows cast by clouds can all act as lines that lead the viewer toward your focal point. The rule of thirds is a starting point, not a rule, but placing your focal point off-center usually feels more dynamic than centering it.
Natural framing adds another layer of depth. Overhanging branches, rock arches, or doorway-shaped gaps create a frame inside the frame, telling the viewer exactly where to look. When you shoot flat terrain with no obvious subject, framing can also help you create the three layers we covered above.
Minimalist composition is the right answer when the scene is genuinely empty. Instead of cramming in more, commit to negative space: a single subject, a clean horizon, a sky that takes up two-thirds of the frame. Less becomes much more.
Use Telephoto Compression to Flatten Distance
Most landscape guides tell you to use a wide-angle lens. They are not wrong, but they leave out a powerful alternative for flat scenery: telephoto compression.
Telephoto lenses, anything from about 70mm to 200mm or longer, compress the apparent distance between objects. A distant mountain looks closer to a foreground tree than it really is, layers stack up on top of each other, and patterns emerge that your eye never registered at full scale. The result feels dense and intentional, like a painting.
This is the secret weapon for flat terrain. If you live somewhere with no mountains, no canyons, no dramatic features, a 70-200mm lens changes what you can photograph. A row of distant trees, a patchwork of fields, repeating shapes in a beach or desert all become layered compositions when shot at 100mm or longer.
I went through this exact realization myself a few years ago. I had given up on shooting the flat farmland near my home until I tried a 70-200mm at sunrise. Suddenly the rows of cypress trees formed a rhythm, the morning mist faded the back row into pale gray, and the whole frame sang. Same location, same light, completely different image, just from changing focal length.
Camera Settings That Bring Landscapes to Life
Camera settings rarely cause flat photos on their own, but they can make a flat scene flatter if you get them wrong. A few simple choices protect your depth.
Aperture controls depth of field. For most landscapes, f/8 to f/11 keeps everything from foreground to background acceptably sharp. Stopping down to f/16 or smaller introduces diffraction, which actually softens detail and can make the image feel slightly mushy. Stay in the f/8-f/11 sweet spot unless you specifically want shallow depth of field to isolate a subject.
ISO should be at its lowest native setting, usually 100, whenever light allows. Higher ISO adds noise and reduces the smooth tonal gradations that landscapes depend on. Use a tripod if shutter speed drops below what you can hand-hold cleanly, which is roughly 1 over the focal length for still subjects.
Shoot RAW, not JPEG. A JPEG is a developed, compressed, baked file. A RAW file is a digital negative that holds much more information in the shadows and highlights, which gives you the latitude to recover contrast and tone in editing. If your files look flat and you have been shooting JPEG, this single switch will help more than any other.
Watch your histogram. A flat-looking image often shows a histogram bunched in the middle with no real blacks or whites. That tells you the scene has no contrast to work with. Either adjust your exposure to push more toward the ends of the histogram, or accept that the contrast will need to come from editing.
Editing: Develop Your RAW Files with Intent
Editing is where flat files either stay flat or come alive. The key word here is intent, not presets.
Presets are templates other photographers built for their own scenes. Slapping a preset on your file does not make it match their scene, because your light, your colors, and your dynamic range are different. As Hamed Bank wrote recently, your landscape images look flat not because of editing software limitations, but because the fix is a process, not a slider combination.
Start with global contrast. In Lightroom or Capture One, the Tone panel lets you set the white and black points, then drop contrast to taste. Shadows and Highlights sliders recover detail in the dark and bright areas. From there, work your way toward the Clarity and Dehaze sliders, which add mid-tone contrast and depth in the distance, respectively.
Dodge and burn for selective depth. Dodging brightens a specific area, burning darkens it. Used locally, you can pull the eye toward your subject by darkening the edges and brightening the focal point, or you can lighten the foreground to make it feel closer. This is the single most powerful editing technique for flat-looking landscapes.
Color grading is the final pass. Warming the highlights and cooling the shadows adds tonal contrast that mimics atmospheric perspective. Pushing warm tones in the foreground and cool tones in the background reinforces the depth you composed in the field. A few minutes of color grading transforms a flat, neutral file into one with a clear sense of distance.
Quick Checklist Before You Press the Shutter
Run through this list before every landscape shoot. It is short on purpose, so you can actually use it in the field.
- Light direction. Is the light coming from the side, back, or a low angle? If it is overhead and flat, wait or move.
- Three layers. Do I have a clear foreground, middleground, and background? If not, get lower or move sideways.
- Clear focal point. Is there one element my eye can land on? Walk until I find it.
- Focal length chosen. Did I pick the lens that fits the scene? Wide for sweeping vistas, telephoto for flat or layered terrain.
- RAW enabled. Am I shooting RAW so I can develop the file properly later?
If you can answer yes to all five, you are already ahead of most landscape photos on the internet. If any answer is no, that is the next thing to fix before pressing the shutter.
Frequently Asked Questions
Why do my photos look so flat?
A photo looks flat when it has low contrast, no depth cues, and directionless light. The scene gets compressed onto a single visual plane because there are no shadows to define shapes, no layered foreground-to-background planes, and no clear subject. The fix is to wait for better light, compose in three layers, and develop the RAW file with intent.
Why do my photos look so dull?
Dull photos usually come from one of six causes: even, directionless light; no layered foreground, middleground, and background; a weak or missing focal point; wide-angle lens on featureless terrain; harsh midday sun; or RAW files left underdeveloped. Most photos have two or three of these at once, and the fixes stack.
What is the best depth of field for landscape photography?
For most landscapes, f/8 to f/11 keeps everything acceptably sharp from foreground to background. Going smaller than f/16 introduces diffraction, which softens detail and can make the image feel slightly mushy. Use a wider aperture only when you want shallow depth of field to isolate a specific subject.
What are the best settings for landscape photography?
Start with aperture between f/8 and f/11, the lowest native ISO (usually 100), and a shutter speed fast enough to hand-hold or use a tripod. Always shoot RAW rather than JPEG so you have the latitude to recover shadows and highlights in editing. Watch the histogram to confirm you are capturing a full tonal range rather than a flat middle gray.
What do you call foreground middleground background?
It is called layered composition or the three-plane technique. The foreground is the anchor closest to the camera, the middleground is the bridge that connects near to far, and the background is the distant horizon or sky. When all three layers are present, the eye has a journey through the frame, which is what creates a sense of depth.
How do I add dimension to landscape photos?
Add dimension by combining four things: directional light that creates shadows, three clear compositional layers from foreground to background, a focal point that anchors the eye, and intentional editing that develops contrast and tone. Atmospheric conditions like fog and haze also add depth by fading distant objects naturally.
Final Thoughts: Light, Depth, and Intent
If your landscape photos look flat and boring, the answer almost always lives in three places: the light you chose, the layers you composed, and the editing you applied afterward. Gear rarely matters. Intent matters a great deal.
Pick one fix from this guide and try it on your next shoot. Wait for side light, find a real foreground, shoot a flat field at 100mm, or spend ten minutes developing a RAW file with dodging and burning. One change at a time is how flat photos become dimensional ones. The view in front of you deserves the photo you remember.