
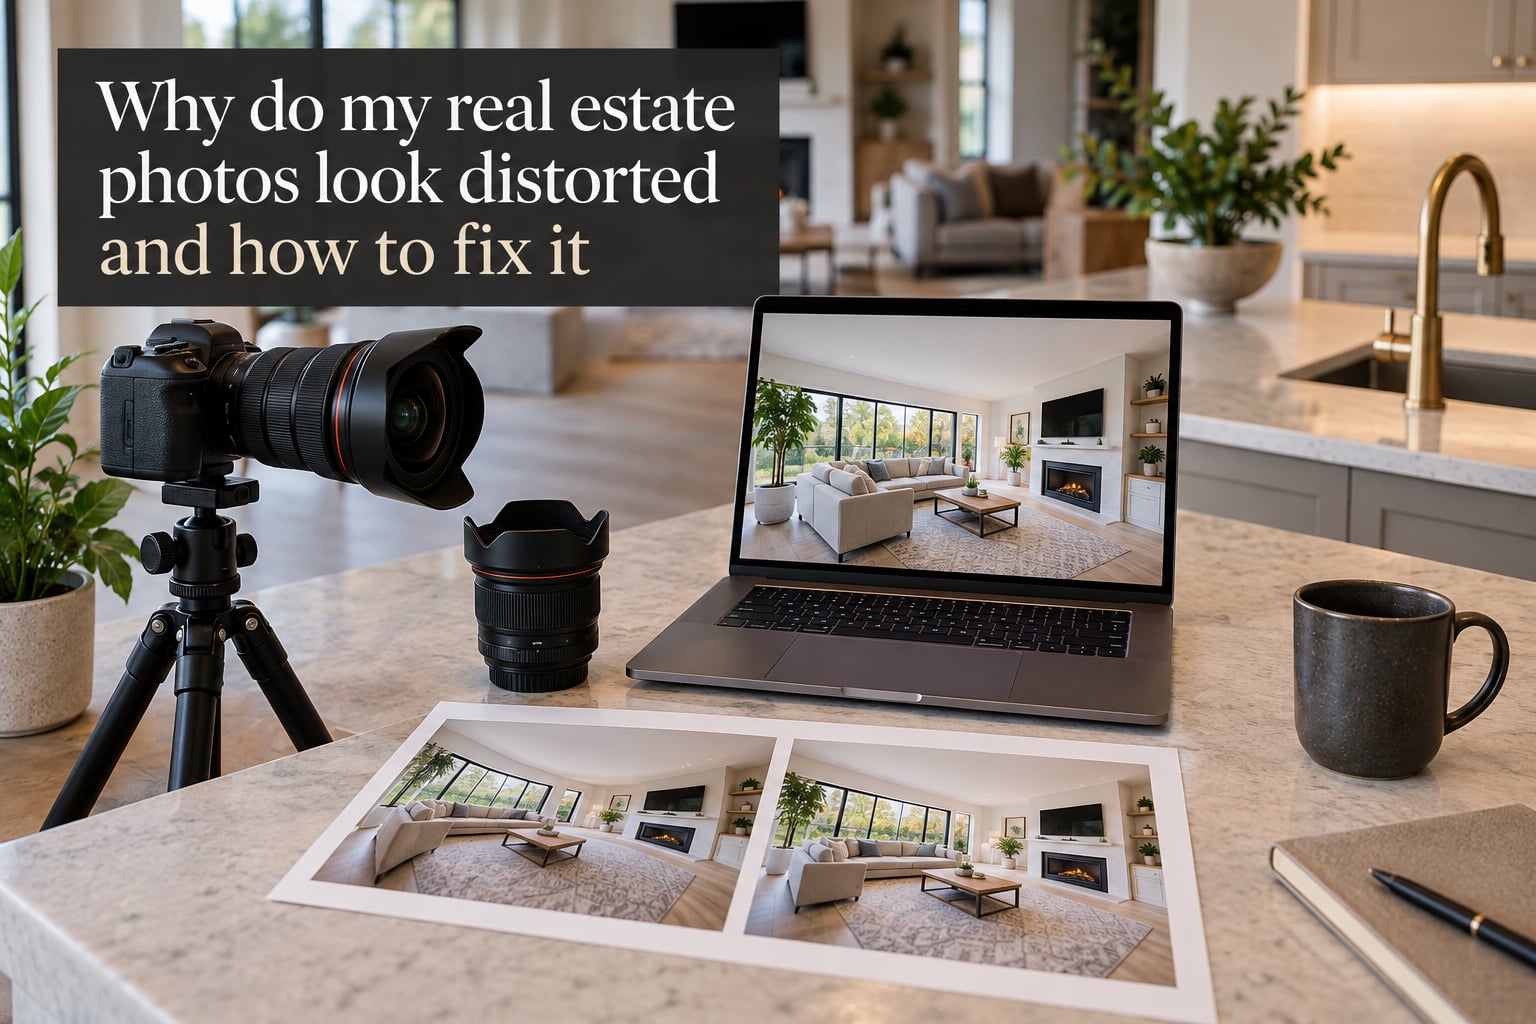
Real estate photos look distorted because ultra-wide-angle lenses bend straight lines (lens distortion) and because tilting the camera up or down makes vertical lines lean toward each other (perspective distortion). Both issues are fixable: Lightroom’s Lens Corrections panel handles lens distortion in one click, and the Transform panel with Guided Upright straightens converging verticals in seconds.
If you shoot interiors for listings, you’ve seen it: walls that bow outward, ceilings that melt into the corners, and door frames that look slightly drunk. None of it is wrong with the room. It’s how the camera recorded it. I’ve worked through this exact problem on hundreds of interior shoots, and the fix is faster than most people think once you understand what’s actually happening.
In this guide, I’ll walk you through the two main causes of real estate photo distortion, how to identify each type, and exactly how to correct them in Adobe Lightroom. I’ll also share the shooting techniques I use to keep distortion small in the first place, plus how to choose a wide-angle lens that minimizes the issue.
Table of Contents
- What Is Photo Distortion and Why Does It Happen in Real Estate?
- The 3 Types of Lens Distortion (Barrel, Pincushion, and Mustache)
- Keystone and Converging Verticals Explained
- How to Fix Lens Distortion in Lightroom (Lens Corrections Panel)
- How to Fix Converging Verticals in Lightroom (Transform Panel + Guided Upright)
- Shooting Tips to Minimize Distortion In-Camera
- Lens Choice for Low-Distortion Real Estate Photography
- Lightroom vs Photoshop vs AI Tools: Which Should You Use?
- Frequently Asked Questions
- How do I fix distortion in real estate photos?
- How do I enhance real estate photos?
- What are the most common mistakes in real estate photos?
- How do I clear a distorted image?
- How do I edit real estate photography in Lightroom?
- What is the 20-60-20 rule in real estate photography?
- How do I fix a skewed image?
- What F stop should I use for real estate photography?
- Conclusion
What Is Photo Distortion and Why Does It Happen in Real Estate?
Photo distortion in real estate is the visible warping of straight architectural lines caused by two different things: lens distortion (an optical flaw in wide-angle glass) and perspective distortion (a geometric effect of where you point the camera). Both are most obvious in interior shots because rooms are full of straight edges – baseboards, door frames, tile lines, ceiling corners.
Lens distortion comes from the lens itself. Wide-angle and ultra-wide-angle lenses (commonly 16-24mm on full-frame) use complex optical designs to fit a wide field of view into a sharp image, and those designs inherently bend straight lines at the edges of the frame. The wider the lens, the stronger the effect.
Perspective distortion is different. It isn’t a lens flaw at all – it’s geometry. When you tilt a camera up to capture a tall ceiling, the vertical lines in your scene no longer run parallel to the sensor. They converge toward a vanishing point, which makes walls look like they’re leaning inward. The same thing happens when you tilt down to capture a floor pattern.
The two issues often show up together in the same real estate photo. A bathroom shot with the camera tilted up might have both bowed tile lines at the edges (lens distortion) and walls that lean toward the ceiling (perspective distortion). Knowing which is which is the first step to fixing them.
The 3 Types of Lens Distortion (Barrel, Pincushion, and Mustache)
Lens distortion falls into three recognizable shapes. Each one has a signature look, and once you can spot it, you’ll know which Lightroom slider to reach for.
Barrel Distortion
Barrel distortion is the most common problem in real estate photography. Straight lines near the edges of the frame bow outward, as if the image were wrapped around a sphere. A doorway at the edge of the frame will curve like the rim of a barrel. The center of the image usually looks fine; the edges do not.
Wide-angle zooms and ultra-wide primes (anything under 24mm on full-frame) almost always produce some barrel distortion. It’s why a 16-35mm at 16mm makes small rooms look curved at the corners.
Pincushion Distortion
Pincushion distortion is the opposite: straight lines bend inward toward the center of the frame, like a pincushion being pulled at the corners. It’s much less common in real estate work because it shows up mainly in telephoto lenses. If your lens profile is over-corrected, though, you can accidentally introduce pincushion artifacts while trying to fix barrel.
Mustache (Wave) Distortion
Mustache distortion – also called wave or complex distortion – is a combination of barrel and pincushion in the same image. Lines curve outward near the middle of the frame and inward at the corners, or vice versa, producing an S-shape. Cheap ultra-wides are notorious for it, and Lightroom’s basic Distortion slider alone can’t always fix it. The Defringe and Constrain Crop tools help, but for stubborn cases you may need a custom lens profile or Photoshop’s Adaptive Wide Angle filter.
A quick comparison of the three:
- Barrel: Lines bow outward at the edges. Most common in wide-angle lenses.
- Pincushion: Lines pinch inward toward the center. Mostly telephoto, or over-correction.
- Mustache: Lines curve in an S-shape, mixing barrel and pincushion. Hardest to fix with basic sliders.
Keystone and Converging Verticals Explained
Keystone distortion – also called perspective distortion or converging verticals – happens when you point the camera up or down to fit a tall space into the frame. The sensor is no longer parallel to the vertical lines in the scene, so those lines converge on the sensor instead of running straight.
If you’ve ever shot a kitchen and the back wall looks narrower than the front wall, that’s keystone distortion. The room isn’t shaped like a trapezoid – your camera angle created that effect.
Converging verticals are the same problem, named for what you actually see: the vertical edges of walls, door frames, and cabinets lean toward each other as they rise. In a real estate listing, leaning walls make buyers subconsciously feel the room is “off,” even if they can’t articulate why. Several photographers on r/RealEstatePhotography have noted that agents complain about “bowing walls” in listing photos without realizing the cause is the lens angle, not the room.
The good news: keystone distortion is completely fixable in post, because it’s pure geometry. You’re not correcting an optical flaw – you’re rotating the image plane back to vertical.
How to Fix Lens Distortion in Lightroom (Lens Corrections Panel)
The fastest way to fix a real estate photo distortion is Lightroom’s Lens Corrections panel. It auto-detects your lens profile and applies a one-click correction.
- Open your image in Lightroom’s Develop module.
- Scroll down the right panel to Lens Corrections.
- Check Remove Chromatic Aberration to clean up color fringing at high-contrast edges.
- Check Enable Profile Corrections. Lightroom reads the EXIF data, finds your lens, and applies the manufacturer’s correction profile automatically.
- Open the Color tab if you want to defringe purple or green edges further.
- Open the Manual tab for fine control over Distortion, Vertical, Horizontal, Rotate, Scale, and Aspect sliders.
If your lens profile isn’t recognized – common with older manual lenses or third-party glass – manually pick it from the Make / Model dropdown. If no profile exists for your lens at all, use the Manual tab’s Distortion slider and pull it to the left for barrel, right for pincushion.
For heavy mustache distortion on cheap ultra-wides, Enable Profile Corrections will only get you partway there. In that case, switch to the Manual tab and combine small Distortion moves with Vertical/Horizontal tweaks. If that’s still not enough, jump to Photoshop and use the Adaptive Wide Angle filter, which can analyze and correct complex distortion curves that Lightroom’s basic sliders can’t reach.
How to Fix Converging Verticals in Lightroom (Transform Panel + Guided Upright)
Lens Corrections won’t fix keystone distortion because it’s not a lens flaw – it’s geometry. That’s what the Transform panel is for. This is the panel I use on virtually every interior shot.
- In Lightroom’s Develop module, scroll down to the Transform panel.
- Try Guided Upright first – it’s the fastest path. Click the Guided tool icon, then click and drag along the four edges of a vertical element in your image (a door frame or wall corner works well). Lightroom draws four guides and snaps the verticals to plumb.
- If Guided Upright over-corrects or crops too aggressively, try Auto. It’s less aggressive than Guided and works well for mildly leaning shots.
- For full control, use the manual Vertical and Horizontal sliders, plus Rotate, Aspect, and Scale. Pull Vertical positive to spread walls outward; pull Horizontal to widen or compress the side-to-side perspective.
- Check the Constrain Crop box to keep the new edges straight, and use the Scale slider if the corrected image leaves white triangles around the edges.
A common frustration – especially for new users on r/RealEstatePhotography – is that the corrected image looks stretched or unnatural, like the room was suddenly inflated. That’s almost always caused by over-correcting. Real rooms have slightly converging verticals in person; you only need to remove enough to make the lines read as parallel, not to force perfect math. Pull back if the back wall starts looking wider than the front wall.
For exterior listing shots and architectural details where you can’t tilt the camera at all, a tilt-shift lens (Canon TS-E 24mm, Nikon PC-E 24mm, or third-party alternatives) does this correction optically in-camera. They’re expensive, but several forum users report they cut post-production time in half for high-volume listing work.
Shooting Tips to Minimize Distortion In-Camera
The fastest distortion fix is the one you don’t have to do in post. A few simple shooting habits dramatically reduce real estate photo distortion.
- Keep the camera level. Use a tripod with a bubble level, or enable the in-camera electronic level if your camera has one. Tilting up is the #1 cause of converging verticals.
- Step back and zoom in. Instead of a 16mm at the doorway, try a 24mm from two steps back. Longer focal lengths produce less lens distortion.
- Shoot from chest height, not eye height. Around 47-52 inches keeps vertical lines from converging as dramatically.
- Use the 20-60-20 rule for room framing: 20% of the frame above the subject, 60% on the subject, 20% below. It creates balanced compositions that hide small distortion.
- Aim for f/8 to f/11. Most real estate photographers shoot between f/8 and f/11 for sharpness across the room. F/16 or smaller introduces diffraction softening without any depth-of-field benefit for interior work.
- Turn off in-camera distortion correction on mirrorless cameras. It can confuse Lightroom’s profile application and produce inconsistent results. Shoot RAW and let Lightroom handle it.
The single biggest in-camera fix is keeping the camera level. I can’t overstate this. Once you stop tilting up, half your keystone problems disappear before you open Lightroom.
Lens Choice for Low-Distortion Real Estate Photography
If you’re buying or renting glass specifically for real estate, look for lenses known for low barrel distortion at their widest setting. The most common recommendations on r/RealEstatePhotography are the 16-35mm f/4 (various brands), the 17-40mm f/4L, the Canon RF 15-35mm, and the Nikon NIKKOR Z 14-30mm. A 24mm or 35mm prime is even lower in distortion, though harder to use in tight spaces.
Tilt-shift lenses are the gold standard for low distortion because they correct perspective optically, but the price puts them out of reach for most beginners. A tilt-shift adapter (such as the Venus Optics Laowa Magic Shift Converter) is a more affordable middle ground.
Lightroom vs Photoshop vs AI Tools: Which Should You Use?
For most real estate shoots, Lightroom alone is enough. Lens profile correction handles barrel and pincushion distortion, and the Transform panel fixes converging verticals. Photoshop is only needed for stubborn mustache distortion or heavy edits that Lightroom can’t reach.
AI tools like ReimagineHome, Imagen AI, and similar services now offer automatic straightening and distortion correction as part of broader editing workflows. They’re fast – turnaround can be minutes – and useful for high-volume listing photographers who batch-process hundreds of shots per week. The trade-off is less manual control. For one-off hero shots where you want a specific look, manual Lightroom still wins.
Frequently Asked Questions
How do I fix distortion in real estate photos?
Open the image in Lightroom’s Develop module. In the Lens Corrections panel, check Remove Chromatic Aberration and Enable Profile Corrections to auto-fix lens distortion. Then open the Transform panel and click Guided Upright, then drag along the vertical edges of a wall or door frame to fix converging verticals. This handles most real estate photo distortion in under a minute.
How do I enhance real estate photos?
Start with lens and perspective correction, then move to exposure and white balance. Brighten dark interior shots using the Shadows slider, neutralize yellow tungsten lighting with the White Balance eyedropper on a neutral gray card, and add a touch of clarity and dehaze for crispness. Finish with a gentle saturation boost and sharpening for web export.
What are the most common mistakes in real estate photos?
The most common real estate photo mistakes are tilting the camera up (causing converging verticals), using too wide a focal length (causing barrel distortion), shooting into backlit windows without exposure bracketing, leaving color casts from mixed lighting, and forgetting to straighten the horizon. Most of these are visible to buyers as something feeling ‘off’ even when they can’t name it.
How do I clear a distorted image?
To clear a distorted image in Lightroom, enable Lens Corrections profile correction first, then use the Transform panel’s Guided Upright tool to drag along vertical edges. For very warped ultra-wide shots, use the Manual tab sliders (Distortion, Vertical, Horizontal) and finish with Scale and Constrain Crop to clean up the resulting white edges.
How do I edit real estate photography in Lightroom?
Step 1: Apply lens profile correction in the Lens Corrections panel. Step 2: Use Transform u0026gt; Guided Upright to fix converging verticals. Step 3: Adjust white balance with the eyedropper on a neutral reference. Step 4: Lift shadows and pull highlights for balanced interior exposure. Step 5: Add a final crop, horizon straighten, and export sharpening for web delivery.
What is the 20-60-20 rule in real estate photography?
The 20-60-20 rule is a framing guideline: 20% of the frame above the main subject, 60% on the subject, and 20% below. It creates balanced compositions that read naturally and helps hide minor distortion at the edges of the frame. It’s most useful for interior room shots where you want a clean, professional look.
How do I fix a skewed image?
A skewed image means vertical lines are tilted off-plumb. The fastest fix is Lightroom’s Transform panel: click Guided Upright, then drag two guides along the vertical edges of a wall or door. Lightroom will rotate the image plane to plumb in one click. Constrain Crop keeps the new edges clean.
What F stop should I use for real estate photography?
Most real estate photographers shoot between f/8 and f/11. This range keeps the entire room acceptably sharp from foreground to background without introducing the diffraction softening you get at f/16 or smaller. For exteriors with sun in the frame, f/8 paired with a polarizing filter is a common starting point.
Conclusion
Real estate photo distortion is one of those problems that looks complicated until you split it into two clean categories: lens distortion (fix in Lens Corrections) and perspective distortion (fix in Transform). Once you have that mental model, every interior shot becomes a two-step workflow.
Here’s the quick checklist our team runs on every listing shoot:
- Keep the camera level – no tilting up to fit ceilings.
- Use the longest focal length you can while still framing the room.
- Apply Lightroom Lens Profile Corrections on import.
- Run Transform > Guided Upright to plumb the verticals.
- Use Scale + Constrain Crop to clean any leftover edges.
That sequence handles roughly 90% of the real estate photo distortion issues you’ll run into. For the remaining 10% – heavy mustache distortion or extreme bathroom angles – Photoshop’s Adaptive Wide Angle or a tilt-shift lens is the answer. Stick with this workflow and your listing photos will look clean, plumb, and trustworthy, which is exactly what buyers notice, even when they can’t explain why.