
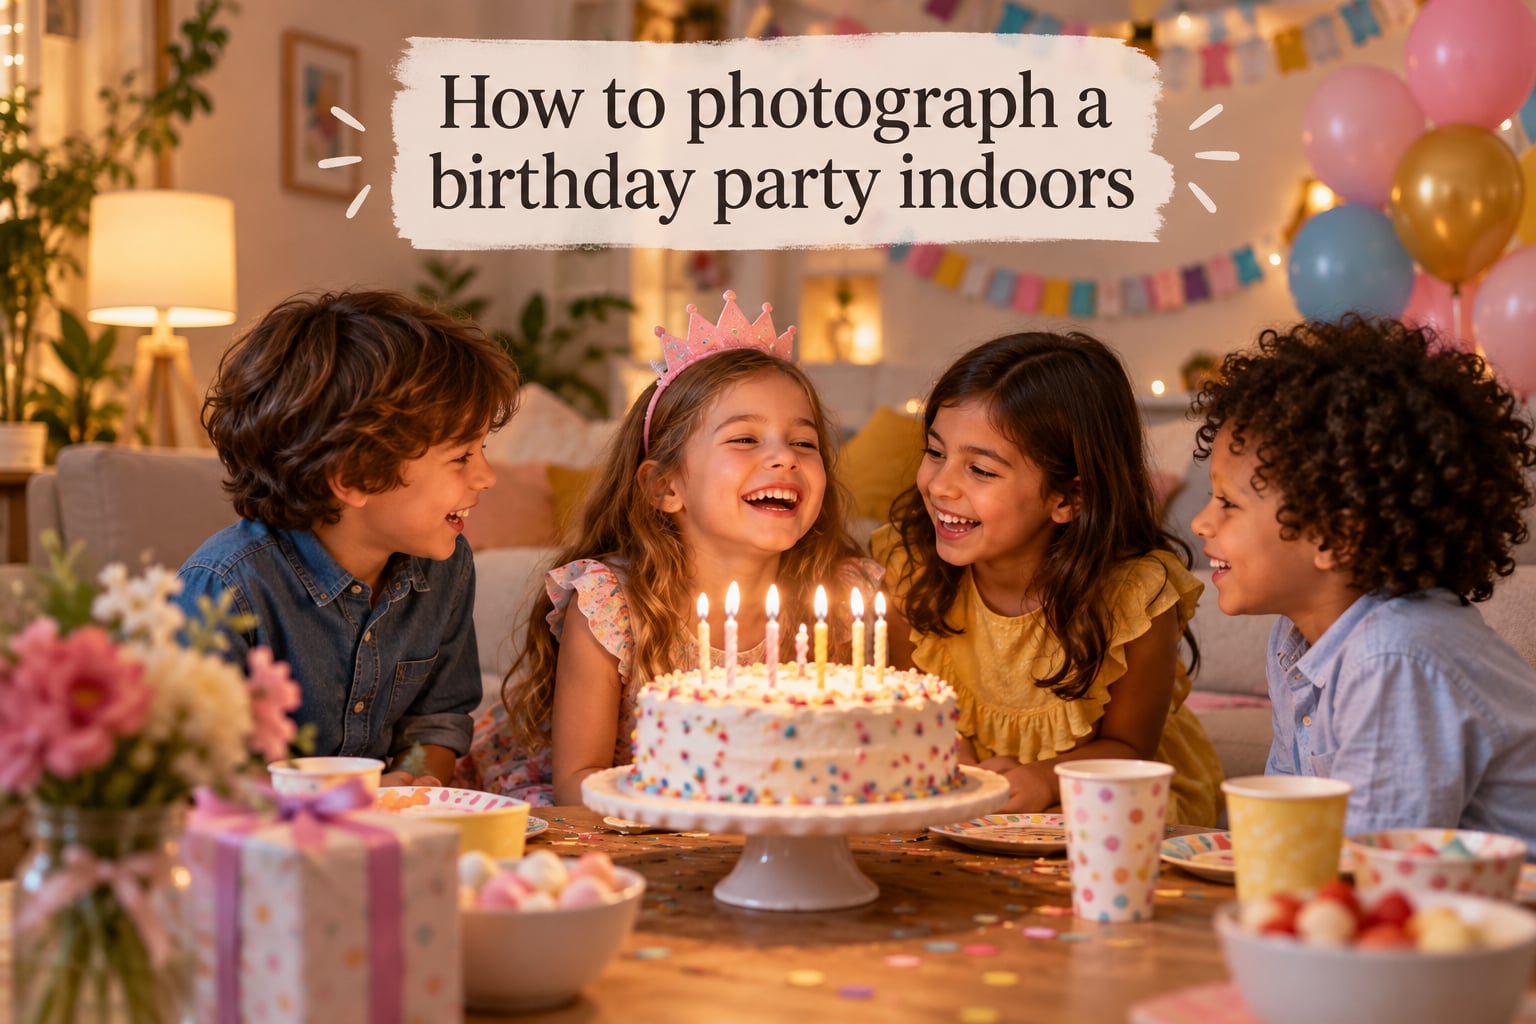
Indoor birthday parties are some of the hardest scenes to photograph well. The lights are dim, the color casts are mixed, the kids are zooming in every direction, and you have exactly one chance at the candle moment. This guide walks you through how to photograph a birthday party indoors from start to finish, including the camera settings, lighting strategy, composition tips, and venue-specific adjustments I rely on for every party I shoot.
By the end, you’ll know exactly which ISO, shutter speed, and aperture to dial in for a dim living room, a restaurant booth, or a packed event hall. You’ll also have a quick settings cheat sheet, a no-flash plan for venues that ban flash, and a gear checklist you can pack the night before.
Table of Contents
- How to Photograph a Birthday Party Indoors: Quick Settings Cheat Sheet
- Best Camera Settings for Indoor Birthday Parties (ISO, Shutter, Aperture)
- Bounce Flash and Diffuser Setup for Indoor Parties
- White Balance for Mixed Indoor Lighting
- Composition: Shoot From the Child’s Eye Level
- How to Capture the Key Moments (Candle Blowout, Cake, Presents)
- Indoor Birthday Party Photography by Venue (Home, Restaurant, Event Hall)
- How to Photograph a Birthday Party Indoors Without Flash
- Gear Checklist for an Indoor Birthday Party Shoot
- Frequently Asked Questions
- Conclusion
How to Photograph a Birthday Party Indoors: Quick Settings Cheat Sheet
The fastest path to better indoor party photos is using the right starting settings for each scenario. Below is the cheat sheet I keep taped inside my camera bag — the scenario on the left, the camera and flash settings on the right.
| Scenario | ISO | Shutter | Aperture | Flash |
|---|---|---|---|---|
| Bright living room, day | 400-800 | 1/125s | f/2.8 – f/4 | Off or fill at -1 |
| Dim living room, evening | 1600-3200 | 1/125s | f/2 – f/2.8 | Bounce flash, ceiling |
| Restaurant booth | 800-1600 | 1/125s | f/2 – f/2.8 | Bounce or diffuser |
| Event hall / venue | 800-1600 | 1/160s | f/2.8 – f/4 | Off-camera two-flash setup |
| Candle blowout | 1600-3200 | 1/125s | f/2.8 | Off, then flash at last second |
| No-flash available light | 3200-6400 | 1/125s – 1/200s | f/1.4 – f/1.8 | None |
| Group portrait | 400-800 | 1/100s | f/5.6 – f/8 | Bounce flash, both corners |
These numbers are starting points, not rules. Every room is different, so shoot a test frame, check the histogram, and adjust from there. Treat ISO as your noise-versus-shutter-speed dial: raise ISO until your shutter speed is at least 1/125s for still kids and 1/250s for running kids.
Best Camera Settings for Indoor Birthday Parties (ISO, Shutter, Aperture)
The single most important settings choice for indoor party photography is keeping shutter speed at 1/125s or faster. Kids move unpredictably, and a shutter speed below 1/100s is the difference between a sharp memory and a blurred mess. Everything else — ISO, aperture, flash — is in service of that shutter speed.
Start at ISO 800-1600 and Adjust From There
For most indoor parties, ISO 800 to 1600 is the sweet spot on modern mirrorless and DSLR cameras. Noise performance above ISO 1600 has improved dramatically in the last few years, and going to ISO 3200 or even 6400 is fine if it means a sharp shot.
If you’re asking “is 400 ISO good for indoors?”, the honest answer is: only in a bright room with flash. In a dim living room with no flash, ISO 400 forces your shutter speed down to 1/30s or slower, which is too slow for moving kids. Push to ISO 800 minimum, and don’t be afraid of ISO 3200 when needed.
Set Shutter Speed to 1/125s as a Floor
1/125s is the minimum shutter speed for freezing a child walking or turning. For running kids and dancing, jump to 1/200s or 1/250s. If you’re using a lens with image stabilization (IBIS or VR), you can drop slightly slower, but stabilization does not help with subject motion — only camera shake.
Open Your Aperture to f/1.8 – f/2.8
A fast prime lens at f/1.8 or f/2 is the single biggest gear upgrade you can make for indoor party photography. The wider aperture lets in twice as much light as f/2.8 at the same shutter speed, and it gives you that creamy background blur that makes portraits pop.
If you only have a kit zoom lens at f/3.5-5.6, you’ll need to compensate with higher ISO or flash. Don’t sweat it — many parents shoot beautiful party photos with kit lenses and good flash technique.
Use Manual Mode or Shutter Priority
Manual mode gives you full control: pick your shutter at 1/125s, pick your aperture at f/2.8, and let the camera choose ISO through Auto ISO. This combination is what most working event photographers use. If manual mode feels overwhelming, Shutter Priority (Tv or S) is a strong second choice: set shutter at 1/125s and let the camera pick aperture and ISO.
Shoot in RAW for Editing Flexibility
Indoor lighting is mixed and unpredictable, and RAW files preserve more detail in highlights and shadows for post-processing. JPEG is fine if you’re sharing straight from camera, but RAW gives you a safety net when the white balance goes sideways or the candle moment is too dim.
Bounce Flash and Diffuser Setup for Indoor Parties
Direct flash at a birthday party gives everyone red-eye, harsh shadows, and that deer-in-the-headlights look. The fix is bounce flash — angling the flash head up at the ceiling so the light spreads and softens before reaching the subject. A ceiling between 8 and 12 feet high, painted white or light cream, is your best friend.
How to Set Up Bounce Flash in Three Steps
- Mount your external flash (speedlight) on the camera’s hot shoe.
- Pull out the built-in bounce card and tilt the flash head up 45 to 75 degrees toward the ceiling.
- Set flash exposure compensation to -1 or -1.3 stops so the flash doesn’t blow out faces.
If the ceiling is dark, tall, or non-existent (warehouse venues, basements), bounce flash falls apart. That’s when you reach for a flash diffuser — a small softbox that mounts over the flash head and spreads the light in all directions, mimicking window light.
Best Flash Settings for Indoor Event Photography
For bounce flash, start with TTL (through-the-lens) mode and let the camera calculate power, then dial in negative exposure compensation to taste. For diffused flash in a dark-ceiling venue, switch to manual flash power at 1/8 or 1/16 — softer light, less harsh on faces.
Two flashes in opposite corners of the room give the most even coverage in larger venues. Aim each one toward the center of the action with a small diffuser on the head. This setup is what most pros use for events with more than 15 people.
What Is the Best Flash for Indoor Event Photography?
A mid-range speedlight with a tilt-and-swivel head and TTL is the best starter choice. Brands like Canon Speedlite, Nikon Speedlight, Sony Flash, and Godox all make excellent options that work wirelessly off-camera. The single most important feature is the bounce head — without it, you’re stuck with harsh direct flash.
White Balance for Mixed Indoor Lighting
White balance is the camera setting that controls color temperature, and indoor parties are a white-balance nightmare. Living rooms mix incandescent lamps, fluorescent overheads, and window light. Restaurants add tungsten. Event halls sometimes add stage gels. All of these casts mix together, and auto white balance (AWB) often gives you orange skin tones or greenish backgrounds.
Set Custom White Balance or Shoot RAW
The cleanest fix is to set a custom white balance on a grey card or white napkin before the party starts. Most cameras let you do this in two clicks: photograph the reference surface, then tell the camera to use that frame as the white balance baseline.
If you’re short on time, shoot RAW and fix white balance in post. Lightroom and Capture One have a one-click white balance eyedropper — just click on something neutral in the frame and you’re done.
Match White Balance to the Light Source
For quick preset selection: incandescent (tungsten) is around 3200K, fluorescent is around 4000K, and daylight through a window is around 5500K. If most of your light is overhead fluorescent, set WB to Fluorescent. If it’s mostly warm bulbs, set WB to Incandescent and add +1 stop of exposure to compensate for the dimness.
Composition: Shoot From the Child’s Eye Level
The single most impactful composition change you can make for kid party photography is getting down to the child’s eye level. Shooting down on kids from adult height makes them look small and the room look bigger. Shooting up from below makes them look heroic. Eye-level shots feel intimate and let you into their world.
Three Heights, Three Moods
- Eye level: connection, candid, intimate portraits.
- Below eye level: power, hero shots, dramatic angles.
- Above eye level: scene-setting, decorations, cake details.
Mix all three heights during the party. Spend 60% of your time at eye level, 20% below, and 20% above. This roughly matches the 20/60/20 rule — a guideline that says 20% of your shots should be wide/establishing, 60% should be medium/standard, and 20% should be tight/detail.
Use a Vari-Angle Screen or Tilt the Camera
If your camera has a flip-out vari-angle screen, use it. Hold the camera at waist level and shoot upward without lying on the floor. For low shots without a flip screen, just lie down or crouch — the perspective change is worth the awkward posture.
Frame With the Rule of Thirds
Place the subject’s eyes on the upper third line, not the center of the frame. Leave space in the direction they’re looking or moving toward. For group shots, align the faces on the upper third and let the bottom two-thirds carry the room context — table, cake, decorations.
How to Capture the Key Moments (Candle Blowout, Cake, Presents)
Every party has three to five must-have moments. Pre-visualize them so you’re ready when they happen.
Candle Blowout
This is the one moment you cannot reshoot. Pre-set your camera to night portrait scene mode (or manual at ISO 1600, 1/125s, f/2.8) before the singing starts. Let the candles provide the mood lighting, then fire the flash at the exact second the child blows. Use burst mode at 5-7 frames per second and pick the one frame where the cheeks puff out.
Cake Cutting
Stand to the side of the cake table, not in front, so you capture both the kid’s face and the parent’s hands. Get down low so the cake, decorations, and expressions are all in frame. Shoot in burst mode.
Present Opening
Present opening is a 30-minute highlight reel. Capture the first look at the gift, the unwrapping, and the reaction. Burst mode is essential here. Anticipate the peak reaction — the squeal, the wide eyes, the hug — and press the shutter just before.
Group Shots
Get everyone’s attention by counting down from three, then take three quick frames in burst mode. Use a wide enough lens (35mm or wider) so nobody gets cut off. Take one tight group and one with the room/cake in the background.
Before and After
Shoot the room before guests arrive and after the cake is cut. Side-by-side, these frames become the bookends of the day and tell the whole story in two images.
Indoor Birthday Party Photography by Venue (Home, Restaurant, Event Hall)
Different venues demand different setups. Here’s how I approach the three most common indoor party locations.
Home Living Room
Home parties are usually the dimmest. Tungsten bulbs, drawn curtains, and tall ceilings. Start at ISO 1600-3200 with a fast prime at f/2. Bounce flash off the ceiling works well if it’s white. Avoid using flash directly toward shiny TVs, mirrors, or glass cabinets — you’ll get ugly reflections. Move subjects away from these surfaces when possible.
Restaurant Booth
Restaurants mix warm overhead lighting with candles and window light. ISO 800-1600, shutter at 1/125s, aperture at f/2 to f/2.8. Bounce flash can be tricky because restaurant ceilings are often dark wood or acoustic tile that absorbs light — a flash diffuser is your safer bet. Watch for permission: some restaurants ban flash photography.
Event Hall or Party Venue
Dedicated party venues usually have brighter, more even lighting than homes, but the rooms are bigger. ISO 800-1600, shutter at 1/160s to freeze running kids. Two off-camera flashes in opposite corners of the room give the most flattering, even light for groups and games. A 24-70mm f/2.8 zoom lens is the practical choice here for the wider scenes.
How to Photograph a Birthday Party Indoors Without Flash
Some venues ban flash entirely — museums, religious venues, theaters, and some restaurants. When flash is off the table, your only lever is opening up ISO, aperture, and using the fastest lens you own.
- Set ISO to 3200-6400 depending on your camera’s noise performance. Modern full-frame cameras handle 6400 cleanly; crop-sensor cameras max out around 3200.
- Open your aperture to f/1.4 – f/1.8. A 50mm f/1.8 or 35mm f/1.8 prime is the single best investment for no-flash party photography.
- Hold shutter at 1/125s minimum. If your lens has stabilization, you can drop to 1/60s for still portraits.
- Find the brightest part of the room — usually near a window or under stage lighting — and stage your shots there.
- Lean on available accent lighting: arcade machines, string lights, candles, and TV backlights all become part of your palette.
Shoot in RAW and accept some grain. A grainy sharp photo is better than a blurry clean one. Use noise reduction in post-processing to clean up shadows, but don’t smear the texture entirely.
Gear Checklist for an Indoor Birthday Party Shoot
Pack the night before so you’re not scrambling when the party starts. Here’s what goes in my bag.
- Camera body with clean sensor and formatted memory cards
- Fast prime lens (50mm f/1.8 or 35mm f/1.8) for low-light portraits
- Versatile zoom (24-70mm f/2.8) for groups and games
- External speedlight with fresh batteries
- Flash diffuser or small softbox
- Two or three extra batteries for the camera
- Two or three extra batteries for the flash
- Two memory cards minimum, formatted in camera
- Lens cloth and rocket blower for dust on sensor
- Phone with the camera’s tethering app installed for backup
Shoot JPEG+RAW or dual-card if your camera supports it. This gives you instant-shareable files for the parents while keeping a RAW backup for your own editing later. Bring more memory than you think you need — a 90-minute party can easily eat 30 GB of RAW files in burst mode.
Frequently Asked Questions
How to take indoor event photos?
Start with ISO 800-1600, shutter at 1/125s, and aperture at f/2 to f/2.8. Use bounce flash off a white ceiling when possible, otherwise attach a flash diffuser. Get down to the subject’s eye level, shoot in burst mode, and pre-set your camera before the candle moment so you never miss the key shot.
What are the best flash settings for indoor event photography?
Use TTL flash mode with the head tilted 45-75 degrees toward the ceiling for bounce. Set flash exposure compensation to -1 or -1.3 stops so the flash isn’t harsh. In rooms with dark ceilings, switch to manual flash power at 1/8 to 1/16 with a diffuser for softer light. For larger rooms, two off-camera flashes in opposite corners give the most even coverage.
Is 400 ISO good for indoors?
ISO 400 works indoors only in bright rooms with flash. In dim living rooms without flash, ISO 400 forces shutter speeds down to 1/30s or slower, which is too slow for moving kids. Use ISO 800 minimum, and don’t hesitate to push to 1600 or 3200 when needed to keep shutter at 1/125s or faster.
What is the best flash for indoor event photography?
A mid-range speedlight with a tilt-and-swivel head and TTL is the best starter choice. The bounce head is the key feature — without it, you’re limited to harsh direct flash. Brands like Canon Speedlite, Nikon Speedlight, Sony Flash, and Godox all make excellent options that work wirelessly off-camera for two-flash setups.
What are some good techniques for indoor photography?
Get down to the subject’s eye level for intimate portraits. Shoot from below for dramatic hero shots, and from above for scene-setting and detail work. Mix wide, medium, and tight framings following the 20/60/20 rule. Shoot in burst mode for unpredictable moments, set custom white balance for mixed lighting, and pre-visualize the must-have moments like candle blowout and cake cutting.
Conclusion
Indoor birthday parties reward preparation and the right starting settings. Keep shutter speed at 1/125s or faster, push ISO to 800-3200 as needed, open your aperture to f/2 or wider, and bounce your flash off the ceiling. Get down to the child’s eye level, shoot in burst mode, and pre-set your camera before the candle moment.
Run through the gear checklist the night before, save the settings cheat sheet to your phone, and you’ll walk into the party with confidence. The right setup is half the work — the other half is being ready for the moments that happen once and never come back.