
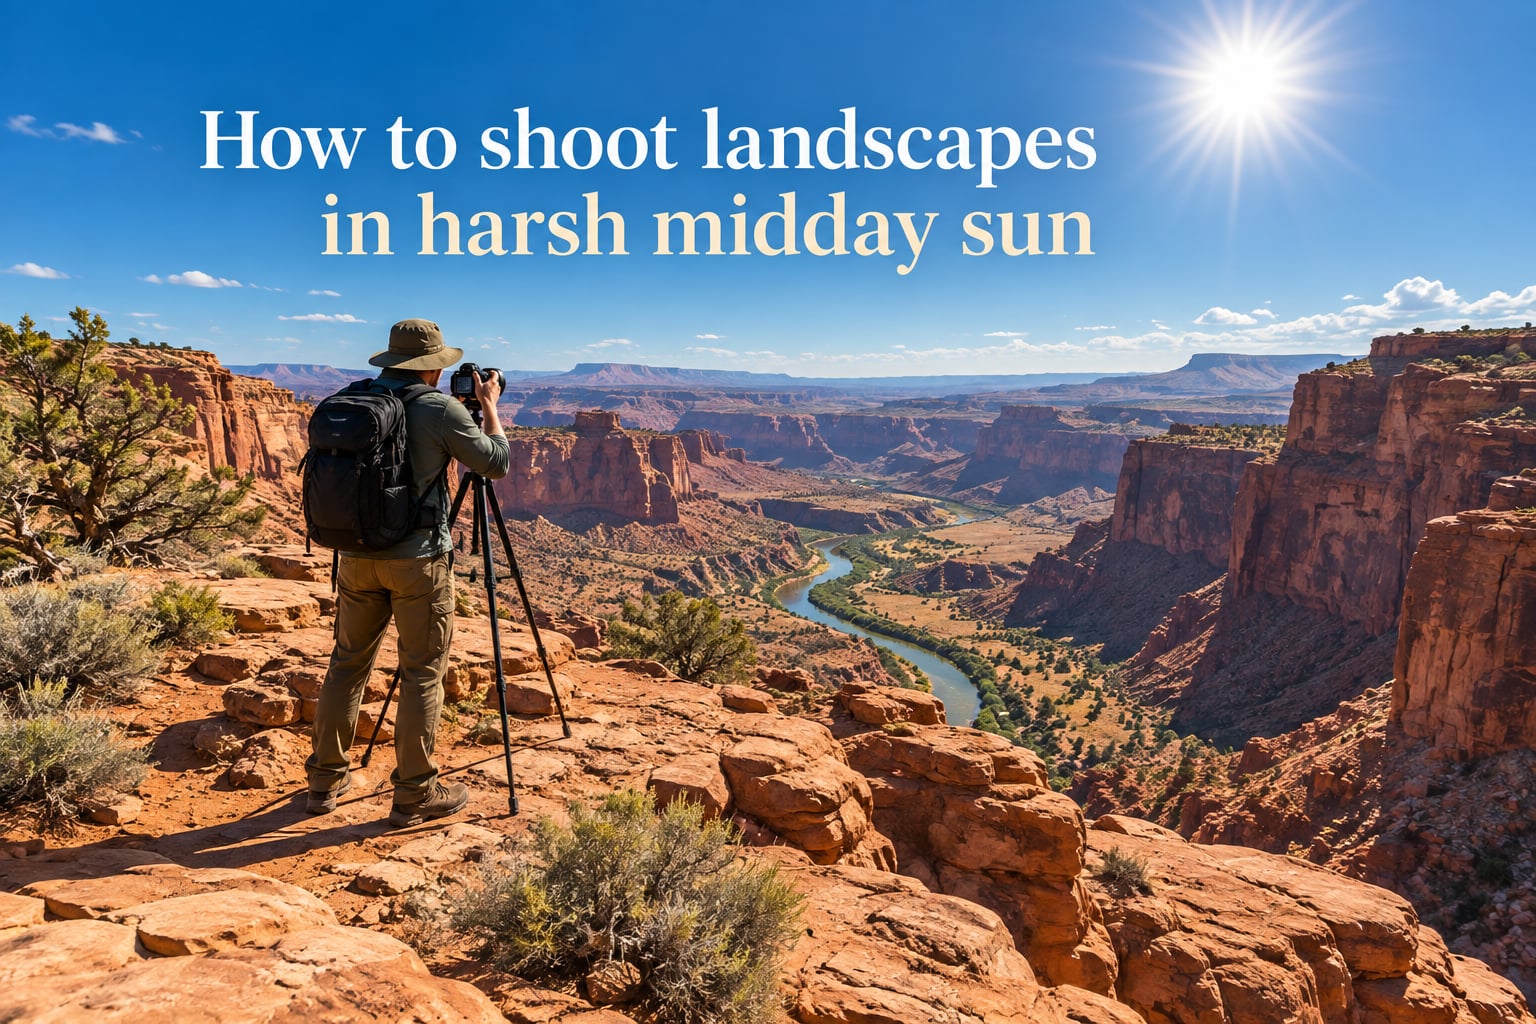
Yes, you can absolutely shoot landscapes in harsh midday sun, and some of my favorite outdoor images have come from exactly those conditions. The trick is to stop fighting the overhead light and start working with it: embrace the contrast, pick subjects that thrive under direct sun, and dial in your camera settings before you raise the viewfinder to your eye. This guide walks through the exact approach I use when golden hour is hours away and the sun is hammering the landscape.
If you hike, travel, or shoot outdoors between 10 a.m. and 4 p.m., this guide is for you. I will show you how to read the light, choose the right scene, and come home with images you actually want to keep.
Table of Contents
- 8 Quick Tips for Shooting Landscapes in Harsh Midday Sun
- Why Midday Sun Is Challenging for Landscape Photography
- Embrace the Harsh Light Instead of Fighting It
- Best Camera Settings for Harsh Midday Sun
- Composition Strategies That Thrive in Harsh Light
- What to Shoot at Midday: Landscape Subjects That Love the Sun
- Shade, Diffusion, and Softening the Light
- Filters, Lens Choice, and Focal Length for Midday Landscapes
- Post-Processing Tips for Harsh-Light Landscapes
- Common Mistakes to Avoid When Shooting Midday Landscapes
- Frequently Asked Questions
- Final Thoughts: Make Midday Your Friend
8 Quick Tips for Shooting Landscapes in Harsh Midday Sun
Before we dive into the full guide, here are the eight tips I lean on most when the sun is high and the shadows are short:
- Embrace the contrast instead of trying to soften it.
- Shoot in RAW so you can recover both highlights and shadows later.
- Expose for the highlights and let the shadows fall where they fall.
- Use spot metering on the brightest part of the scene you want to keep.
- Attach a circular polarizing filter to deepen skies and cut glare.
- Switch to a longer focal length (50mm or more) to simplify busy scenes.
- Look for shade, water, forests, and minimalist subjects that love direct sun.
- Convert to black and white when color washes out under harsh light.
Why Midday Sun Is Challenging for Landscape Photography
Midday sun is tough because of geometry, not because of any failure on your part. When the sun sits high in the sky, light travels almost straight down, so shadows collapse right under objects and contrast between lit and shaded areas becomes extreme. Bright skies blow out, dark forests go to mud, and your camera’s sensor has to record a much wider range of brightness than it can comfortably handle.
This is the opposite of golden hour, when the low sun rakes sideways across the landscape, sculpting texture with long, soft shadows. Midday light flattens texture, hides depth, and creates harsh, short shadows that look unnatural in a photograph.
Here is what is actually happening to the light:
- Short shadows mean less texture and less sense of depth.
- High contrast means the brightest and darkest parts of your scene are far apart in exposure, which can exceed your camera’s dynamic range.
- Cooler color temperature combined with hazy atmospheric scattering gives many midday scenes a slightly blue, washed-out cast.
- Reflected glare off water, leaves, and rocks reduces color saturation.
Once you understand that these are simply properties of overhead light, you can plan around them instead of cursing them.
Embrace the Harsh Light Instead of Fighting It
The single biggest mindset shift I teach in my landscape workshops is this: harsh midday light is not bad light, it is different light. The photographers I admire most lean into that difference rather than pretending it is golden hour.
When I show up at a trailhead at 11 a.m. and the sun is straight overhead, I do not try to soften the scene. I look for subjects whose character only appears in high-contrast light: deep forest light shafts, stark desert ridges, glassy water reflections, monochrome dunes. Reviewers on photography forums consistently report that forcing harsh light to behave like soft light produces flat, lifeless images. Working with the contrast produces images with personality.
Three practical mindset shifts help:
- Look for shape, not shade. When light is flat, shape and form become everything.
- Stop chasing color. Harsh midday washes out color, so lean into black and white instead.
- Commit to one strong idea per frame. Busy compositions turn muddy in direct sun, so simplify.
Best Camera Settings for Harsh Midday Sun
Settings matter most when the light is harshest, because there is no margin for error. Here is the camera settings cheat sheet I keep mentally bookmarked whenever the sun is overhead.
| Scenario | Aperture | Shutter Speed | ISO | Exposure Compensation | Metering Mode |
|---|---|---|---|---|---|
| Bright midday landscape, hand-held | f/8 to f/11 | 1/250 to 1/500 s | 100 to 200 | -0.3 to -0.7 EV | Spot or evaluative |
| Forest with light shafts, tripod | f/11 to f/16 | 1/15 to 1 s | 100 | 0 to -0.3 EV | Evaluative |
| Water reflection, tripod with ND filter | f/11 | 1 to 30 s | 100 | 0 EV | Evaluative |
| Minimalist scene with bright sky | f/8 | 1/500 s | 100 | -1.0 EV (expose for sky) | Spot on sky |
| Backlit scene with sun in frame | f/16 | 1/125 s | 100 | -1.3 EV (expose for midtones) | Spot on subject |
Five settings decisions matter more than any others in harsh midday sun:
1. Aperture. I default to f/8 to f/11 for hand-held landscapes and f/11 to f/16 when I am on a tripod. These mid-range apertures keep everything sharp from the foreground rocks to the distant ridges.
2. Shutter speed. Midday sun gives you plenty of light, so 1/250 s and faster is easy to hit hand-held. When I want motion blur in water or clouds, I reach for an ND filter and drop to 1 second or longer.
3. ISO. Keep ISO at 100 (or 200 if 100 is not native). You have more light than you need at midday, so do not waste dynamic range on noise.
4. Exposure compensation. This is the single most important dial for harsh light. I almost always dial in -0.3 to -0.7 EV to protect the highlights. Bright skies and sunlit rocks blow out quickly, and underexposing slightly preserves detail in the brightest parts of the frame. You can always lift shadows in RAW, but you cannot recover blown highlights.
5. RAW format. Shoot RAW, always. RAW files capture roughly twice the dynamic range of JPEGs, which is exactly what you need when shadows go dark and highlights go bright in the same frame. Reviewers on photography forums consistently recommend RAW for harsh-light scenes for this exact reason.
Metering tip: Switch to spot metering and place the meter on the brightest area you want to keep detail in (often the sky or a sunlit rock face). This locks exposure to the highlights and lets the shadows fall naturally.
Composition Strategies That Thrive in Harsh Light
When light is harsh, composition carries the image. Four composition strategies work especially well in midday sun.
Embrace shapes and silhouettes. Harsh light simplifies the world into bold shapes. Look for ridges, lone trees, rock formations, and architectural forms that read as graphic silhouettes against bright skies.
Use shadows as leading lines. Short, hard shadows create crisp geometric lines across the ground. Position yourself so those shadow lines lead the eye into your frame.
Find patterns. Repeating patterns hold up beautifully under direct sun: cracked desert pavement, repeating forest trunks, rows of crops, tiled rooftops. Harsh light flattens everything, which makes the pattern itself the subject.
Minimalism. A single tree, a single boulder, a single distant mountain peak. Midday light strips away nuance, so lean into that by removing everything except one strong subject.
One habit I keep in harsh light: I shoot more than usual. For every frame that wins, two will lose. The margin for error is smaller when the light is unforgiving, so volume helps.
What to Shoot at Midday: Landscape Subjects That Love the Sun
Some landscape subjects genuinely prefer direct overhead sun. When golden hour is not an option, I look for these scenes.
Water reflections. Glassy lakes, tide pools, and wet sand all glow under a high sun. Polarizing filters cut glare and let the colors through.
Forests with light shafts. Dense forests are one of the few places where overhead sun is a gift. Sunbeams slicing through the canopy only happen when the sun is high. Photograph these between late morning and early afternoon for the strongest shafts.
Desert and arid landscapes. Sand dunes, red rock canyons, and salt flats look stark and dramatic in midday sun. The hard shadows emphasize texture in sand and rock.
Minimalist mountains and sky. Distant peaks against bright blue skies. Use spot metering on the sky, expose for the sky, and let the mountains become graphic shapes.
Urban geometry. Cities are built for midday light. Strong architectural shadows on sidewalks, repeating window patterns, and reflections off glass all pop in direct sun.
Wildflower fields and grass. Backlit grass and flowers glow under overhead sun. Position yourself low and shoot into the light to catch the translucent glow in stems and petals.
Shade, Diffusion, and Softening the Light
Sometimes you actually want softer light, even in the middle of the day. Here is how to find or create it outdoors.
Open shade. Open shade means shade that is open to the sky above, like the north side of a building, the edge of a forest, or under a large overhang. The subject is in shadow but light still bounces in from the open sky, giving you soft, even, directional light. Open shade is one of the most reliable workarounds for harsh midday sun.
Thin clouds and overcast skies. A high, thin cloud layer turns harsh sun into a giant softbox. Watch the sky during midday and grab those windows when light cloud cover drifts past. Full overcast is the easiest workaround of all: uniform, soft light everywhere.
Diffusers. A handheld 5-in-1 reflector with the diffusion panel can turn harsh midday sun into soft light for nearby subjects. For pure landscapes, I rarely carry one, but for close-up landscape details (flowers, leaves, rock textures) it is a lifesaver.
Create your own shade. A hat, a jacket, or even your own body can cast a small pool of shade over a foreground subject. Not glamorous, but it works when the alternative is blown highlights.
Reviewers on Reddit emphasize that embracing the harsh light works best, but open shade is the cleanest fallback when the light is genuinely unusable for your subject.
Filters, Lens Choice, and Focal Length for Midday Landscapes
Three pieces of gear genuinely change midday landscape results: a polarizing filter, a graduated ND filter, and a longer focal length lens.
Circular polarizing filter. A polarizer deepens blue skies, cuts glare off water and leaves, and increases color saturation. It is the single most useful filter for midday landscape work. Rotate the front ring until the effect looks strongest, then check for unwanted reflections. The typical reduction is around 1.5 to 2 stops of light, so compensate with a slower shutter or wider aperture.
Graduated ND filter. A graduated neutral density filter is dark on top and clear on the bottom. It darkens bright skies without affecting the darker foreground, which is perfect for high-contrast midday scenes where the sky blows out and the land underexposes. Slide the filter so the transition line sits along the horizon.
Solid ND filter. A solid ND filter (often 6 to 10 stops) lets you use long shutter speeds even in bright midday sun. This is how I shoot silky water and streaked clouds at noon.
Lens choice. Longer focal lengths (50mm, 85mm, 100mm, or longer) simplify busy scenes. A wide 16-35mm lens shows every harsh shadow in the foreground, while a longer lens crops out the chaos and lets you isolate one strong subject. Reviewers in photography forums consistently recommend 85mm or longer as a midday landscape tool for this exact reason.
Sun position planning. Use a sun-position app (PhotoPills, Sun Surveyor, or TPE) to scout the sun’s path before you hike in. Sometimes a 30-minute shift in arrival time moves the sun behind a ridge and gives you open shade, or lines up the sun perfectly for a backlit ridge shot. Five minutes of app scouting can save an hour of frustration on the trail.
Post-Processing Tips for Harsh-Light Landscapes
Post-processing can rescue a lot of midday mistakes if you shoot RAW. Here is the workflow I use.
Recover highlights first. Pull the highlights slider all the way down. This brings back detail in bright skies and sunlit rocks.
Lift shadows carefully. Raise the shadows slider to recover foreground detail. Be cautious: lifting shadows too far introduces noise, especially in deep shadows.
Add contrast intentionally. Harsh midday scenes already have plenty of contrast, so add a moderate contrast curve rather than a heavy one. A gentle S-curve usually works better than a preset HDR look.
Add a vignette. A subtle dark vignette focuses the eye on the subject and tames the bright edges of a midday frame.
Convert to black and white. When color is washed out and lifeless, black and white often saves the image. Strong midday contrast translates beautifully into monochrome. Look for graphic shapes, strong shadows, and clean compositions before converting.
HDR stacking (use sparingly). HDR can recover full dynamic range in a single frame by combining multiple exposures. The trap is the overcooked HDR look: halo edges, hyper-saturated colors, and a surreal glow. For landscape, keep it subtle: align exposures, blend with care, and stop before it looks processed.
Common Mistakes to Avoid When Shooting Midday Landscapes
Eight mistakes I have made myself, and now work hard to avoid:
1. Waiting for golden hour that never comes. On a tight schedule, you shoot when you can. Midday is when most hikers and travelers actually have their cameras out, so learn to love it.
2. Exposing for the shadows. Bright skies blow out instantly when you do this. Expose for the highlights and lift the shadows in post.
3. Skipping RAW. JPEGs simply do not have the dynamic range for midday landscapes. RAW is non-negotiable.
4. Forgetting the polarizer. Polarizing filters do the most visible work at midday, when the sun is at 90 degrees to your subject. If you only own one filter, this is it.
5. Shooting too wide. Wide lenses show every flaw in harsh light. Crop in or switch to a longer lens.
6. Ignoring the histogram. The LCD preview lies in bright sun. Trust the histogram: if the right edge is climbing, your highlights are blowing.
7. Fighting the light instead of choosing a different subject. If the scene does not work in harsh light, find one that does. Water, forest, desert, urban geometry, minimalism. The world is full of midday-friendly subjects.
8. Giving up. Put the camera away for ten minutes and the light may shift, a cloud may drift past, or you may see a subject you missed. Patience and persistence are the real tools of midday landscape photography.
Frequently Asked Questions
Can you take landscape photos in midday sun?
Yes. Shoot in RAW, expose for the highlights with about -0.3 to -0.7 EV of exposure compensation, use spot metering, attach a polarizing filter, and choose subjects that thrive under direct overhead sun such as water reflections, forests with light shafts, desert ridges, or minimalist scenes.
What are the best camera settings for midday sun?
For most midday landscapes I default to f/8 to f/11, 1/250 to 1/500 s, ISO 100, and -0.3 to -0.7 EV of exposure compensation with spot metering. For tripod work with ND filters I use f/11, ISO 100, and shutter speeds from 1 second to 30 seconds to blur water and clouds.
How do you avoid harsh shadows in landscape photography?
Move your subject into open shade, wait for thin clouds to drift past the sun, use a diffuser or 5-in-1 reflector for close subjects, switch to a longer focal length to crop shadows out of the frame, or convert the image to black and white so the shadows become a graphic asset instead of a flaw.
Is midday sun bad for landscape photography?
Midday sun is not bad, it is different. It creates short shadows, high contrast, and a slightly blue color cast, but those same properties make it ideal for forests, deserts, water reflections, urban geometry, and minimalist scenes. The key is to choose subjects that match the light rather than fighting the light.
Does a polarizing filter help in midday sun?
Yes, a circular polarizing filter is the single most useful filter for midday landscapes. It deepens blue skies, cuts glare off water and leaves, and boosts color saturation. It is most effective when the sun is roughly 90 degrees from your subject, which is exactly the geometry of midday shooting.
What is the best time of day to take landscape photos?
The most flattering light is usually the hour after sunrise and the hour before sunset (golden hour). The blue tones just after sunset and before sunrise (blue hour) are also excellent. Midday works well for forests, deserts, water, urban geometry, and minimalist scenes, so the best time depends entirely on the subject.
Final Thoughts: Make Midday Your Friend
Shooting landscapes in harsh midday sun is less about fighting the light and more about choosing the right subject and the right settings for the conditions. Embrace the contrast, expose for the highlights, shoot RAW, attach a polarizer, and look for water, forests, deserts, and minimalist scenes that love direct overhead sun. The eight tips in this guide cover the approach I use on every midday hike: mindset shift, settings discipline, subject selection, and post-processing backup.
Next time you head out at 11 a.m. and the sun is straight overhead, do not put the camera away. Walk a little further, look for the right subject, and shoot with intention. The best landscape image of the day may be the one you almost did not take because the light looked too harsh.
Practice the camera settings cheat sheet on your next outing, then come back and tell me which tip made the biggest difference for your landscape work.