
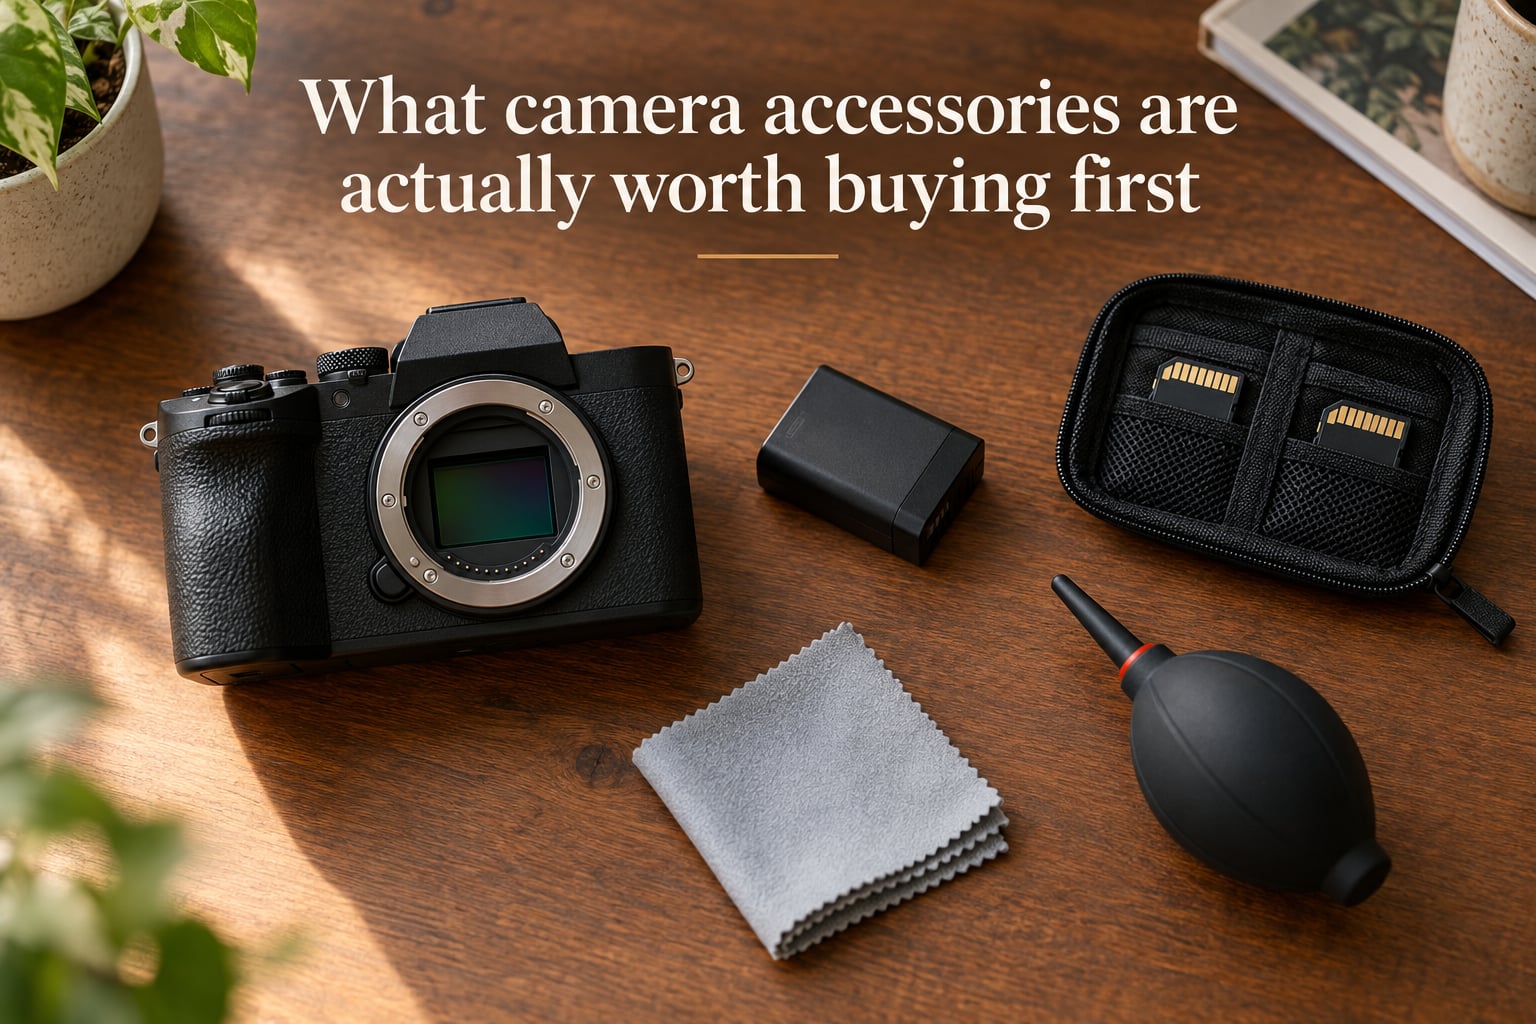
You just bought (or are about to buy) your first interchangeable-lens camera. The box is open, the battery is charging, and the moment you look online for accessories you are hit with a wall of products. Filters, straps, bags, flashes, teleconverters, starter kits, lens pens, bubble levels, and a hundred items that promise to change your photography. It is genuinely overwhelming, and most beginners either spend too much on gear they never use or under-buy and miss shots they could have kept.
I have coached first-time photographers through this exact moment for years, both in my own family studio and in our beginner workshops. This guide covers the camera accessories that are actually worth buying first – the ones that solve real problems on day one – plus the gimmicks to skip so your money goes further. Every recommendation below is grounded in what professional photographers, studio families, and the r/AskPhotography and r/photography communities consistently say actually matters.
If you remember nothing else: protect the gear, keep the power on, and store the photos. Everything else is a layer on top.
Table of Contents
- What Camera Accessories Are Actually Worth Buying First
- Spare Batteries: The Single Most Important Camera Accessory for Beginners
- Memory Cards: Capacity, Speed, and Why You Need More Than One
- A Camera Bag or Protective Case You Will Actually Carry
- A Tripod (or Compact Alternative) for Sharp Shots in Low Light
- Lens Filters Worth Buying: UV for Protection, Polarizing for Color
- A Cleaning Kit: Rocket Blower, Microfiber Cloth, and a Soft Brush
- A Better Camera Strap (Neck, Sling, or Wrist)
- What NOT to Buy First: Gimmicks and Traps to Skip
- Priority Order: What to Buy on Day 1, Week 1, and Month 1
- Studio vs Outdoor vs Vlogging: Which Accessories Matter Most for You
- Frequently Asked Questions
- The Bottom Line on First Camera Accessories
What Camera Accessories Are Actually Worth Buying First
The list below covers the seven camera accessories that consistently rank as essential for beginners, in the order most beginners should buy them. Each one solves a specific real-world problem, from a dead battery at a birthday party to a dropped lens without a bag to a sandy sensor with no cleaning kit on hand.
- Spare battery – one in-box battery is never enough for a full shoot day.
- Memory cards (at least two) – running out of space or losing a single card means losing the photos.
- A camera bag or protective case – the most common way gear gets damaged is in transit, not in use.
- A tripod or compact alternative – sharp low-light and family group shots need a stable base.
- Lens filters – a UV filter for protection and a circular polarizer for color and glare.
- A cleaning kit – a rocket blower, microfiber cloth, and soft brush handle 95% of daily cleaning.
- A better camera strap – the stock strap is usually the first comfort upgrade worth making.
The rest of this article walks through each of these in depth, explains what to skip, and shows you a day 1 / week 1 / month 1 priority order so you can pace your spending.
Spare Batteries: The Single Most Important Camera Accessory for Beginners
A spare battery is the single most important camera accessory for beginners because nothing else matters if the camera is dead.
Most cameras ship with one battery. In real use, that single battery covers roughly 300 to 600 shots depending on the model, mirrorless screens, and how much you review images on the rear LCD. A family birthday, a wedding ceremony, or a full afternoon at the park will drain a single battery before the event ends. I have watched too many parents miss the cake-cutting because their only battery died halfway through.
On OEM versus third-party batteries, here is what matters: the camera manufacturer’s own battery (OEM) communicates correctly with the camera’s battery indicator and is the safest choice. Quality third-party batteries from a known brand work fine for casual use and cost less, but the cheapest no-name cells can report wrong charge levels and in rare cases cause error messages. Buy one OEM battery as your primary, and a trusted third-party as a backup if you want to save money.
Charge both the night before a shoot. Label them A and B with a small piece of tape so you always know which one you used last.
Memory Cards: Capacity, Speed, and Why You Need More Than One
You need at least two memory cards, not one big one, because cards fail and cards get lost.
Start by checking which format your camera uses. Most beginner DSLRs and mirrorless cameras take SD cards (SDHC or SDXC). Higher-end professional bodies use CFexpress, CFast, or XQD. The slot type is printed next to the card door and listed on the first page of your manual. Buy the format your camera actually accepts.
For most beginners shooting a modern 24-megapixel mirrorless or DSLR, a 64 GB or 128 GB SDXC card is the sweet spot. That holds several thousand JPEGs or hundreds of RAW files. If you shoot a lot of 4K video, step up to 128 GB or 256 GB because video fills cards fast.
Speed class matters for two situations: burst-mode photography (sports, kids, pets) and 4K video. Look for a card rated UHS-I U3 or V30 as a baseline. That single label covers nearly every beginner scenario and costs only a little more than slower cards.
The real reason to buy more than one card is risk. If you only own one card and it fails, gets lost, or falls out of your pocket on a hike, every photo you took that day is gone. Two cards split that risk. I keep one in the camera and one in a small zip pouch in my bag, so I never have both cards in the same place.
A Camera Bag or Protective Case You Will Actually Carry
The single piece of gear beginners most often wish they had bought sooner is a real camera bag.
Most cameras are damaged in transit, not during use. A loose camera on a car seat slides into the footwell. A camera in a backpack without padding gets bumped by a water bottle. A lens cap left in a coat pocket falls out at the trailhead. A padded bag with a real insert solves all of this in one purchase.
Three styles cover almost every beginner:
- Sling bag – one-strap, swings to the front for quick access. Best for street, family outings, and travel days.
- Messenger or shoulder bag – more room for a second lens and accessories. Best for longer outings and portrait sessions.
- Hard case – the SKB iSeries style or a Pelican-style case. Best for airline travel, long-term storage, and protecting expensive gear in a car trunk.
For most beginners, a quality sling or small messenger bag is the right first choice. The exact brand matters less than the fit – try the bag with your camera and lens inside before you buy, and make sure you can carry it for an hour without shoulder pain.
A Tripod (or Compact Alternative) for Sharp Shots in Low Light
Yes, beginners need a tripod. It is the difference between sharp family photos at sunset and blurry ones you delete.
A tripod does three jobs that no other accessory handles as well. It lets you shoot at slow shutter speeds in low light without raising ISO and adding noise. It lets you take family group photos where you are actually in the frame. And it forces steady, deliberate composition, which is how beginners learn framing faster than they would hand-holding every shot.
Full-size aluminum tripods are heavy but cheap and stable. Carbon-fiber tripods are lighter and easier to carry on hikes but cost more. For most beginners, an aluminum tripod under five pounds is the right starting point. Look for a model that collapses to about 18 inches and reaches at least eye level when extended.
If a full tripod feels like too much gear for everyday use, three compact alternatives solve the same problem in a smaller package:
- Mini tabletop tripod – sits on a table, restaurant booth, or flat rock. Perfect for vlogging and product shots.
- Gorillapod-style flexible tripod – wraps around branches, poles, and railings. Excellent for travel.
- Travel tripod – collapses to 12 to 14 inches, weighs around two pounds, fits in a carry-on.
Mirrorless shooters should pay attention to weight. A heavy full-size tripod paired with a small mirrorless body feels out of balance. A travel tripod or a Gorillapod-style alternative is usually a better match.
Lens Filters Worth Buying: UV for Protection, Polarizing for Color
The two filters worth buying first are a UV filter for lens protection and a circular polarizing filter for better color and contrast.
A UV filter is a clear piece of glass that screws onto the front of your lens. Its job is to take the hit instead of your front element if the lens bumps something. A scratched UV filter is a cheap replacement. A scratched front element is a repair bill. UV filters do not meaningfully improve image quality on digital cameras – they are insurance.
Buy a multi-coated UV filter from a known brand (B+W, Hoya, Kenko, Tiffen, Breakthrough Photography, or K&F Concept). Cheap unbranded UV filters can soften contrast, add flare, and shift color – exactly the problems the r/Nikon and r/AskPhotography threads warn about. Spend a little more here, not less.
A circular polarizing filter (often labeled CPL or C-PL) is the second filter worth owning. It cuts glare off water, glass, and skin. It deepens blue skies. It makes foliage greener. The effect is visible in the viewfinder, not just in post-processing, which is why landscape and outdoor portrait photographers reach for one constantly.
Polarizers are not free to use – they reduce light by about 1.5 stops and are not stackable the way UV filters are. Buy one CPL in the thread size that matches your most-used lens (printed on the lens cap or the front ring – look for the diameter symbol).
Skip ND filters, special-effect filters, and “star” filters for now. They are useful in specific situations but not first accessories.
A Cleaning Kit: Rocket Blower, Microfiber Cloth, and a Soft Brush
A small cleaning kit handles 95% of the dust, smudges, and grit that show up in your photos.
Three items cover nearly every cleaning situation a beginner faces:
- Rocket blower – the rubber squeeze bulb that puffs air. Use it first, always. It removes loose dust from the front element, rear element, and sensor without touching the glass. Never use canned air on a camera – the propellant can leave residue and damage coatings.
- Microfiber cloth – a clean cloth for the front element and rear LCD. Wash it without fabric softener and replace it every few months because trapped grit will scratch.
- Soft brush – a small camel-hair or synthetic brush for sweeping dust off the lens barrel, the LCD, and the camera body. Brush before you wipe, always.
A sensor swab kit is a smart second-wave purchase once you learn how to clean the sensor safely, but it is not a day-one accessory. Most beginners will not need it for the first year.
Skip unbranded “lens pens” from random sellers. The tips can be abrasive, and the cleaning fluid can leave streaks. A microfiber cloth and a rocket blower handle the same job for less money and less risk.
A Better Camera Strap (Neck, Sling, or Wrist)
The stock neck strap that ships in the box is the most commonly replaced camera accessory for a reason.
OEM straps are functional but rarely comfortable. On a two-hour family walk, the thin nylon strap digs into the back of your neck. On a wedding day, the camera pulls on your collarbone with every reach. Multiple threads on r/AskPhotography and r/photography call out exactly this problem.
Three strap styles solve it:
- Sling strap – crosses the body, lets the camera slide up from your hip to your eye in one motion. Best for travel, street, and long days out.
- Shoulder harness – splits the load across both shoulders. Best for wedding and event photographers carrying two bodies.
- Wrist strap – light, fast, stays out of the way. Best for mirrorless shooters, vloggers, and family snapshots.
One small add-on worth mentioning: a lens cap keeper. It is a small adhesive tab that attaches the lens cap to the strap or body so it cannot fall off in the field. Losing a lens cap in the grass is a near-universal beginner complaint, and a lens cap keeper fixes it for a couple of dollars.
What NOT to Buy First: Gimmicks and Traps to Skip
This is the section no other beginner accessory guide seems to write, and it is the one that will save you the most money.
Beginners consistently lose money on five categories of accessories that look useful but rarely earn their keep in the first year.
- Cheap unbranded UV filters – the no-name filters on marketplace sites can soften your image and add flare. They defeat the entire reason to put a filter on the lens in the first place.
- Unbranded lens pens – the cleaning tip can scratch coatings and the fluid streaks. A rocket blower and microfiber cloth work better.
- Cheap teleconverters – a 2x or 3x teleconverter sounds like a free reach extension, but on a kit lens it produces soft images and slows autofocus. Save for a longer lens instead.
- Novelty flash diffusers – the colorful dome-shaped diffusers soften bare flash by spreading it, but they also drop light output dramatically. They are not a substitute for learning flash exposure.
- All-in-one mega accessory kits – bundles of 20 or 30 pieces often include nine items you will never use and one item you needed. Buy the seven essentials above instead.
If a deal looks too good, the accessory inside is usually the reason it is cheap.
Priority Order: What to Buy on Day 1, Week 1, and Month 1
The fastest way to spend wisely is to pace purchases across the first month rather than buying everything in one cart.
Here is the priority order I share with new photographers in our workshops.
Day 1 (buy before the first real shoot): spare battery, one or two memory cards, and a lens cap keeper. These are the three items that prevent the most common disasters on day one.
Week 1 (buy in the first seven days): camera bag, UV filter in your lens thread size, and a cleaning kit (rocket blower, microfiber cloth, soft brush). These protect what you just bought.
Month 1 (buy once you have shot for a few weeks): tripod or compact alternative, a better strap, a circular polarizing filter, and a memory card reader. These improve your images and your comfort on longer shoots.
Month 2 and beyond: remote shutter release, hot shoe bubble level, lens hood, multi-tool, ND filters, and a brand-specific creator kit if you are heading into vlogging or livestreaming.
This order mirrors how professional photographers actually build a kit – protection and power first, optics and stability second, specialty accessories third.
Studio vs Outdoor vs Vlogging: Which Accessories Matter Most for You
The seven essentials above cover most beginner scenarios, but the order shifts depending on what you actually shoot.
Studio and Indoor Family Sessions
For studio work and indoor family sessions, batteries, memory cards, and a cleaning kit matter most. Light is controlled, so a tripod is less urgent, but a sturdy one for tethered capture is still worth buying in month one. A lens hood is rarely useful indoors but worth keeping on the lens for the small bump protection it adds.
Outdoor and Landscape Photography
For outdoor and landscape work, a tripod, polarizing filter, lens hood, and a quality weather-resistant bag rise to the top. A lens hood is the unsung accessory here – it blocks stray light that causes flare, protects the front element from rain and brush, and it is one item no competitor guide covers as a standalone buy. For wide-angle outdoor work, a good UV filter plus a CPL is a strong one-two combination.
Vlogging, Content Creation, and Webcam Use
For vloggers and content creators, the priority list shifts again. A compact mini tripod or Gorillapod-style alternative replaces the full-size tripod. A shotgun microphone is usually the single biggest image-quality upgrade for video, more than any filter or strap. A creator accessory kit from Canon, Sony, or Nikon bundles the microphone, mini tripod, and remote into one box and saves money over buying each piece separately.
Match the kit to the kind of shooting you actually do, not the kind you think you might do someday.
Frequently Asked Questions
What are the best camera accessories for beginners?
The seven camera accessories consistently rated as the best for beginners are a spare battery, at least two memory cards, a camera bag, a tripod or compact alternative, a UV filter plus a circular polarizer, a cleaning kit (rocket blower, microfiber cloth, soft brush), and a better strap. These cover power, storage, protection, sharpness, image quality, and comfort – the six real problems beginners hit first.
What camera accessories should I get?
Start with the day 1 essentials: a spare battery, one or two memory cards, and a lens cap keeper. In your first week, add a camera bag, a UV filter in your lens thread size, and a cleaning kit. In your first month, add a tripod or compact alternative, a better strap, and a circular polarizing filter. Skip all-in-one mega kits and unbranded filters.
Do I need a tripod as a beginner photographer?
Yes. A tripod is the difference between sharp sunset photos and blurry ones you delete. It enables slow shutter speeds in low light without raising ISO, lets you be in family group shots, and helps beginners learn composition more deliberately. If a full-size tripod feels like too much gear, a tabletop mini tripod or a Gorillapod-style flexible tripod solves the same problem in a smaller package.
Do I need a UV filter on my lens?
A multi-coated UV filter from a known brand is worth owning as insurance for the front element of your lens, especially if you shoot outdoors, near water, or in crowded spaces. It will not improve image quality on a digital camera, and cheap unbranded UV filters can soften contrast and add flare. Skip the cheapest filters and buy from a trusted brand like B+W, Hoya, Kenko, Tiffen, or Ku0026amp;F Concept.
The Bottom Line on First Camera Accessories
The camera accessories that are actually worth buying first are the ones that solve real problems: a spare battery keeps you shooting, memory cards keep your photos safe, a bag and a UV filter protect your investment, a tripod sharpens your low-light work, a cleaning kit keeps images clean, and a better strap keeps you comfortable enough to keep going.
Skip the gimmicks. Cheap filters, novelty diffusers, no-name lens pens, and all-in-one mega kits look like a deal but rarely earn their keep. Buy the seven essentials in the day 1 / week 1 / month 1 order above, and your money will go further than any bundle in a marketplace cart.
Charge the battery, pack two cards, and start shooting. The rest of the gear can wait.