
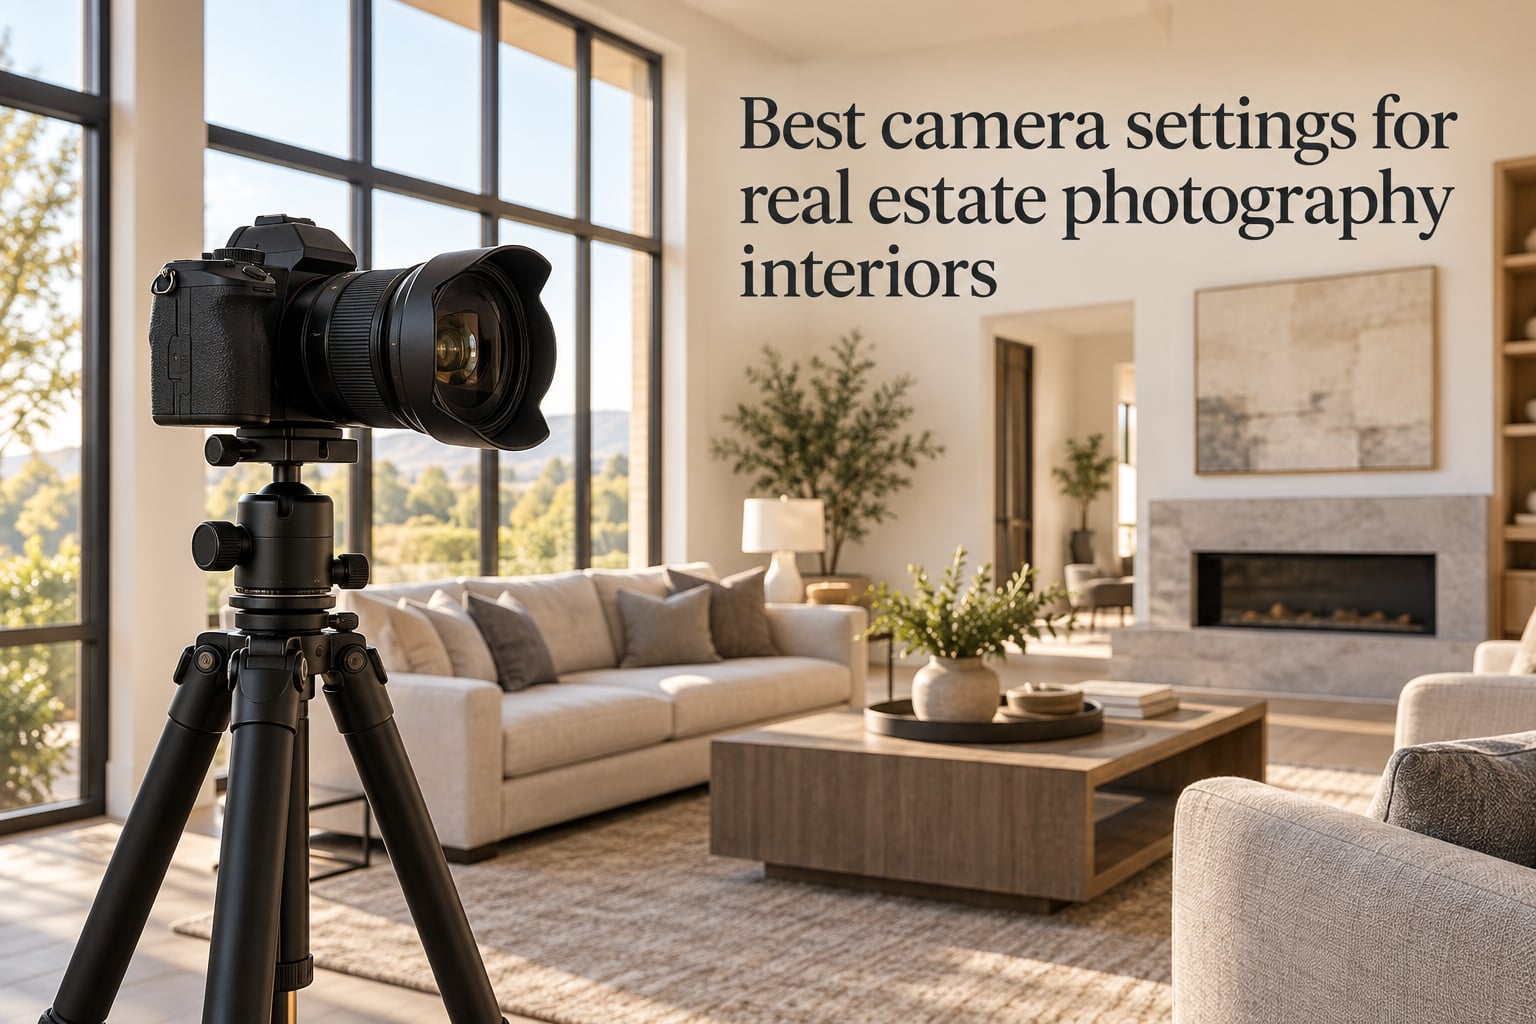
If you have ever walked into a dim living room with bright windows and wondered why your photos came back with chalky-white skies and muddy furniture, this guide is for you. After hundreds of interior shoots over the past decade, our team has settled on a workflow that consistently produces MLS-ready images: a tripod, the best camera settings for real estate photography interiors, and a 3-frame HDR merge. The settings below are the exact recipe we use on every interior job.
You will learn the optimal aperture, ISO, shutter speed, focus mode, metering mode, and white balance approach for interior real estate photography. We will also show you how to set up auto exposure bracketing (AEB) and merge your brackets in Lightroom, plus how to fix the five most common mistakes (blown windows, soft corners, mixed lighting, motion blur, and tilted verticals).
Table of Contents
- Quick Settings Cheat Sheet for Interior Real Estate Photography
- How the Exposure Triangle Works for Interiors
- The Best Aperture for Interior Real Estate Photos
- The Best ISO for Interior Real Estate Photography
- Shutter Speed and Why a Tripod Is Non-Negotiable
- Shoot in RAW for Every Interior Real Estate Job
- Auto Exposure Bracketing and HDR Merge in Lightroom
- Focus Mode and Metering Mode for Interiors
- White Balance Strategy for Mixed Interior Lighting
- Lens Choice and Exposure Mode
- Common Mistakes and How to Fix Them
- Frequently Asked Questions
- Final Thoughts on Interior Real Estate Camera Settings
Quick Settings Cheat Sheet for Interior Real Estate Photography
Before we dive into the reasoning, here is the scannable cheat sheet. Bookmark this section, print it, or screenshot it on your phone for the next shoot.
| Setting | Value | Why | When to change |
|---|---|---|---|
| Mode | Aperture Priority (AV) | Keeps aperture locked; camera adjusts shutter speed | Switch to Manual for tricky mixed lighting |
| Aperture | f/8 | Sharpest point on most wide-angle lenses; full room in focus | Use f/11 for very deep rooms; never f/16 or smaller |
| ISO | 100 (max 400) | Lowest noise; clean shadow detail | Push to 800 only if shutter drops below 1/2s with flash off |
| Shutter Speed | Camera-determined (AV mode) | Tripod absorbs any length | Watch for reciprocal issues with vibration-prone lenses |
| Focus Mode | Single-Shot AF (One-Shot) | Locks once; perfect for static rooms | Use Manual for HDR merges after focus lock |
| Focus Method | Back button focus | Separates focus from shutter; ideal for bracketing | Default for every interior shot |
| Metering | Evaluative / Matrix | Reads whole scene; balances window and interior | Switch to Spot only on extreme contrast |
| Drive Mode | Self-timer (2s or 10s) | Eliminates shutter vibration | Use 2s remote or 10s timer when no remote |
| File Format | RAW | Maximum edit headroom for windows and shadows | Never JPEG for deliverable shots |
| White Balance | Auto (AWB) or Daylight | Easy to correct in post; consistent across rooms | Use grey card or manual Kelvin for tricky mixed light |
| AEB | +/- 2 stops, 3 frames | Captures full window and shadow detail | Essential for any window in the frame |
| HDR Merge | Lightroom Photomerge HDR | One-click; deghost on if movement suspected | Always merge before retouching |
How the Exposure Triangle Works for Interiors
The exposure triangle is the foundation of every camera setting you choose. Aperture controls how much light enters through the lens and how much of the scene is in focus. Shutter speed controls how long the sensor is exposed. ISO controls how sensitive the sensor is to that light.
For real estate interiors you typically have two of those variables working against you: you need a small aperture for depth of field, and you are usually in dim lighting. The fix is a tripod, which lets you choose aperture for sharpness and let the camera choose a long shutter speed without shake. ISO then stays low and noise stays down.
Think of it as a three-way deal: aperture buys sharpness, shutter speed buys light, ISO buys noise. For interiors we buy sharpness first, accept a long shutter via tripod, and keep ISO as low as possible.
The Best Aperture for Interior Real Estate Photos
Aperture of f/8 is the sweet spot for interior real estate photography. It is wide enough to let in useful light, narrow enough to keep the foreground furniture and the back wall both in focus, and it sits near the sharpest aperture of common wide-angle lenses like the Canon 17-40mm f/4 or Nikon 16-35mm f/4.
You can use f/11 when a room is exceptionally deep (long galley kitchens, large living rooms) and you need extra depth of field. f/5.6 is acceptable in tight spaces such as small bathrooms where every millimetre of depth matters. Never go smaller than f/16 on a full-frame sensor for real estate work because diffraction softens fine detail. The same rule applies to crop-sensor cameras, where diffraction kicks in earlier.
Diffraction is what happens when light passes through a very small aperture opening and bends around the iris blades. The result is a measurable loss of sharpness that grows worse the smaller you stop down. Many beginners assume f/22 will give them more of the room in focus, but the trade-off is soft corners and mushy detail in your final image.
The Best ISO for Interior Real Estate Photography
Set ISO 100 as your default for interior real estate photography. ISO 100 gives you the lowest noise floor and the cleanest shadow detail, which matters when you are pulling up dark corners in post. Modern full-frame sensors handle ISO up to 800 with very little visible noise, so you have headroom if you need it.
ISO 400 is the ceiling for most interior shoots. If the camera is selecting shutter speeds below 1/2 second with the aperture at f/8 and ISO 100, you have a few options: bump ISO to 200, then 400, then 800, and only as a last resort. Add external flash if you want to keep ISO low and shutter speed short, but be aware that on-camera flash creates harsh shadows and is generally avoided in favour of multiple off-camera speedlights or HDR merging.
Noise shows up first in shadow areas, so dark corners of a room are the canary in the coal mine. If your shadows look gritty at 100% zoom, your ISO is too high for the conditions.
Shutter Speed and Why a Tripod Is Non-Negotiable
When you lock the aperture at f/8 and ISO at 100 in a dim interior, the camera will often select shutter speeds between 1/4 second and 2 seconds. You cannot handhold those speeds without blur, even with the best image stabilisation.
Mount your camera on a sturdy tripod for every interior shot. A Manfrotto or similar aluminium tripod with a ball head is the workhorse choice for most real estate photographers. Set the self-timer to 2 seconds (or use a remote release) to fire the shutter without touching the camera. This eliminates the micro-vibration that mirror slap and shutter curtain movement introduce.
If you cannot use a tripod (a homeowner’s rules, a tight listing window, video hybrid work), bump ISO to 800 or 1600 and shoot at 1/60 second or faster. Modern full-frame bodies can deliver clean files at those ISOs when the aperture is wide open at f/4.
Shoot in RAW for Every Interior Real Estate Job
Shooting in RAW is non-negotiable for interior real estate work. RAW files preserve the full dynamic range your sensor captures, which means you can pull back blown window highlights and lift crushed shadows in post without the banding and posterisation that JPEG files produce.
JPEG compresses and discards data inside the camera based on the settings you chose at capture time. RAW keeps everything, so when you are staring at a window that is three stops too bright, you can often recover detail from a single RAW file that a JPEG has already thrown away.
RAW files are larger and require a workflow, but the trade-off is worth it on every shoot. We shoot RAW plus a medium JPEG as a backup only when delivering a same-day preview gallery.
Auto Exposure Bracketing and HDR Merge in Lightroom
Auto Exposure Bracketing (AEB) is the single most useful feature for interior real estate work. Set AEB to capture 3 frames at -2 stops, 0, and +2 stops with one press of the shutter. That single sequence captures detail in the bright windows and the dark corners of the same room in one go.
To set up AEB on most cameras, enter the menu, find AEB or Bracketing, and choose 3 frames at 2 stops. Make sure your drive mode is set to continuous so the camera fires all three frames in quick succession. Use a tripod so the three frames line up perfectly.
To merge the brackets in Lightroom, follow these steps:
- Import the 3 bracketed frames into one folder.
- Select all three images in Library mode.
- Right-click and choose Photo Merge, then HDR.
- Tick Auto Align and Auto Tone. Enable Deghost if anything in the room moved between frames.
- Click Merge. Lightroom produces a single DNG raw file with the full dynamic range of all three exposures.
- Edit the merged DNG as you would any RAW file: lift shadows, recover highlights, correct verticals.
Some photographers prefer to tone-map brackets in Photomatix for a more dramatic look, but for real estate work the natural Lightroom merge is usually the right choice. Buyers want true-to-life interiors, not stylised HDR.
Focus Mode and Metering Mode for Interiors
Set your focus mode to Single-Shot AF (Canon One-Shot AF or Nikon AF-S). Static rooms do not need continuous AF. Compose the shot, half-press the shutter (or your back button) to lock focus on the middle-distance element, then fire.
Use back button focus. Assign focus to a rear button (AF-ON on most cameras) and shutter release to the top button. This lets you lock focus once, then fire the shutter for every bracket without refocusing between frames. It is the workflow that almost every pro real estate photographer uses.
Set metering mode to Evaluative on Canon bodies or Matrix Metering on Nikon and Sony bodies. These modes read the entire frame and balance the exposure between bright windows and dim interiors, which is exactly what you want in a typical interior shot. Switch to Spot metering only when you have a single high-contrast subject (a bright window with a dark silhouette) and you want to expose for the window.
White Balance Strategy for Mixed Interior Lighting
Interiors rarely have one consistent light source. You might have tungsten lamps, fluorescent ceiling lights, and daylight through the windows all in the same frame. That mix creates colour casts that look natural to the eye but ugly on camera.
Set your camera to Auto White Balance (AWB) for the fastest workflow. AWB does a respectable job in most interiors and is easy to fine-tune in post. Shoot a single RAW frame of a grey card or an ExpoDisc at the start of the shoot and use that as your white balance reference if you want exact colour.
For tricky mixed lighting, set a manual Kelvin temperature (around 5000K for daylight-balanced interiors, 3200K for tungsten-heavy rooms). You can also bracket your white balance by capturing the same frame at 3 different Kelvin settings if you have the time.
Reddit pros split on this: some shoot AWB and adjust every frame in Lightroom, others set manual Kelvin once and forget it. Both camps deliver great results. Pick one and be consistent.
Lens Choice and Exposure Mode
A wide-angle lens in the 16-35mm range (full-frame equivalent) is the standard for interior real estate work. A 17-40mm f/4 on Canon, a 16-35mm f/4 on Nikon, or a 16-35mm f/4 G Master on Sony gives you enough width for tight bathrooms without the distortion that ultra-wide fisheye lenses introduce. Many beginner photographers reach for the widest lens they own, then wonder why their rooms look warped.
Use Aperture Priority (AV or A mode) for most interior shots. Set f/8, set ISO 100, and let the camera pick the shutter speed. Switch to Manual mode only when a room has extreme contrast and you want to lock the shutter speed for the entire bracket sequence to ensure the highlight and shadow frames align.
If you must shoot handheld (rare, but it happens), switch to Program Auto or Shutter Priority at 1/60 second, open the aperture wide, and bump ISO as needed.
Common Mistakes and How to Fix Them
Even with the right settings, five mistakes account for nearly every bad interior real estate photo. Here is how to recognise and fix each one.
Blown-out windows. The sky outside the window is pure white with no detail. The fix is AEB at +/- 2 stops and an HDR merge. If you are not bracketing, expose for the window (the highlights) and lift the interior in post, accepting that some shadow noise will result.
Soft corners and mushy detail. The image looks slightly out of focus at the edges. You are probably stopped down past f/16, which causes diffraction. Pull back to f/11 and check sharpness at 100% zoom. If softness persists, the lens may need its AF calibrated.
Mixed lighting colour casts. Half the room looks orange, the other half looks blue. Shoot RAW, set a custom white balance from a grey card in the room, or batch-correct in Lightroom using the same temperature and tint for every frame in the same room.
Motion blur. Edges look smeared, text on signs is unreadable. You forgot the tripod or the self-timer. Mount the camera, set the 2-second delay, and shoot again.
Tilted verticals. Walls lean inward, door frames look like they are falling over. You are shooting too low. Raise the tripod to chest height, use the viewfinder level, and correct any remaining keystoning in Lightroom’s Transform panel.
Reviewers on Reddit and photography forums call out these exact problems on every bad listing they see. A consistent tripod-mounted workflow with bracketing eliminates four of them on its own.
Frequently Asked Questions
What is the 20-60-20 rule in photography?
The 20-60-20 rule is a composition guideline: place the main subject so it occupies roughly 20% of the frame, give it breathing room across about 60% of the middle area, and let the remaining 20% anchor the foreground or background. Photographers use it to balance negative space with subject weight in real estate interiors, where too much empty floor or ceiling can make a room feel small.
What F stop is best for real estate photography?
f/8 is the best aperture for real estate interior photography on a full-frame camera. f/8 sits at the sharpest point of most wide-angle lenses, keeps the foreground furniture and the back wall both in focus, and balances depth of field with light gathering. f/11 is acceptable for very deep rooms, f/5.6 works for tight bathrooms, and f/16 or smaller should be avoided because diffraction softens the image.
How do you set up a camera for real estate photography?
Set the mode dial to Aperture Priority (AV or A). Choose f/8 for the aperture. Set ISO 100. Set the focus mode to Single-Shot AF. Enable back button focus. Turn on Auto Exposure Bracketing at +/- 2 stops for 3 frames. Set the file format to RAW. Set the drive mode to self-timer (2 seconds). Mount the camera on a tripod. Compose the shot, lock focus on the middle-distance element, and fire the shutter for each bracket sequence.
What is the 3 Wall Rule for real estate photography?
The 3 Wall Rule says you should try to show three walls of a room in a single interior photograph. Showing three walls communicates the size, layout, and flow of a space far better than a single wall does, and it is the standard real estate agents look for in listing photos. The corner where the three walls meet is usually the strongest composition point.
Final Thoughts on Interior Real Estate Camera Settings
The best camera settings for real estate photography interiors are not a single magic number. They are a system: f/8, ISO 100, Aperture Priority mode, tripod-mounted, RAW, with 2-stop AEB and a Lightroom HDR merge. Learn the system once and you can walk into any dim, high-contrast interior and walk out with deliverable images.
Your next step is to set up your camera with the cheat sheet at the top of this guide, shoot one interior with three brackets at f/8 and ISO 100, and merge the result in Lightroom. Once you see the difference between a single RAW and an HDR merge on the same room, you will never go back.