
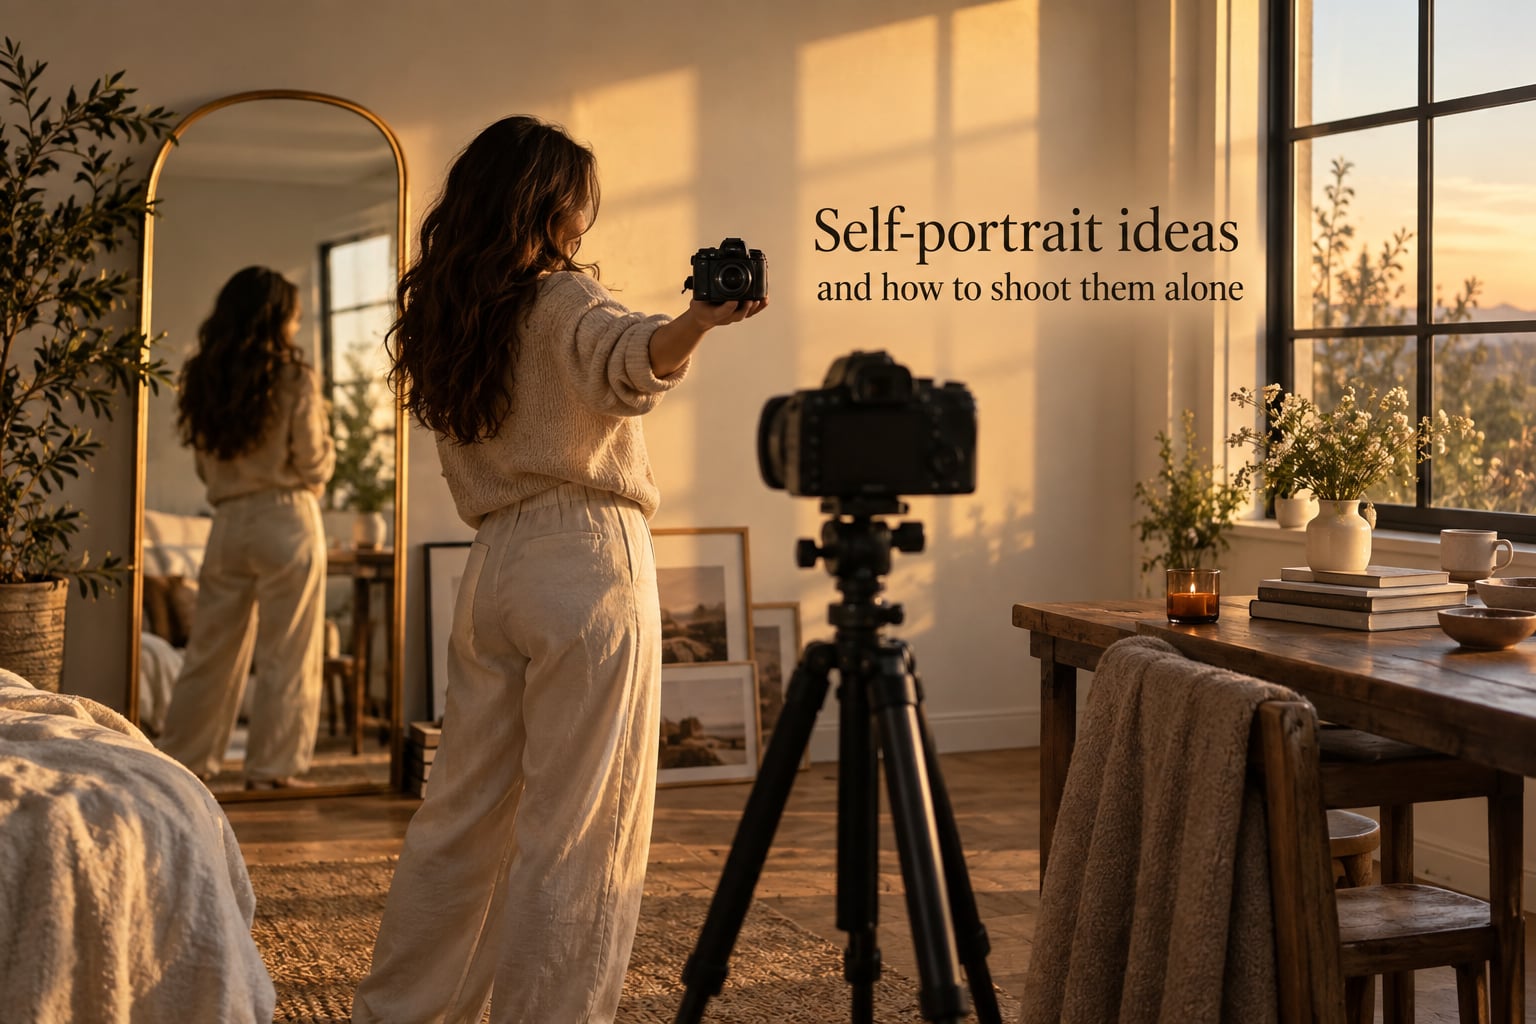
If you’ve ever wanted to take a striking photo of yourself but felt stuck with arm-out selfies, you’re in the right place. This guide covers self-portrait ideas and how to shoot them alone, whether you have a full-frame DSLR, a mirrorless camera, or just your phone.
I’ve been shooting self-portraits on and off for years – mostly at home, often at golden hour, occasionally in pajamas. The good news: solo self-portraiture is one of the most forgiving, confidence-building things you can do with a camera. You don’t need a model release, you don’t need to schedule anyone, and you can reshoot the same idea twenty times in one afternoon.
Key takeaways:
- A self-portrait is a photograph you create of yourself where you control the camera, composition, lighting, and pose.
- The core workflow is the same whether you shoot with a phone or a DSLR: stable surface, frame, focus lock, timer or remote, step into position, shoot a lot.
- Confidence grows with volume – plan to shoot 30 to 50 frames per idea and keep the ones that feel honest, not the ones that look “perfect.”
- You can do meaningful self-portraits in any room with a window – you don’t need a studio.
Table of Contents
- What Is a Self-Portrait (and How Is It Different from a Selfie?)
- 15 Self-Portrait Ideas You Can Shoot Alone
- How to Shoot Self-Portraits Alone: Step-by-Step
- Lighting and Camera Settings for Self-Portraits
- Posing and Expression When There’s No One Directing You
- Editing and Post-Processing for Self-Portraits
- Shooting Self-Portraits With Just a Phone
- If You’re Camera-Shy: How to Get Comfortable in Front of the Lens
- What to Wear for a Solo Self-Portrait Shoot
- Including Family in a Self-Portrait (Without a Stranger Behind the Camera)
- Common Self-Portrait Problems and How to Fix Them
- 12 Self-Portrait Project Prompts to Try This Year
- Frequently Asked Questions
- How do you take a self-portrait by yourself?
- What are some creative ideas for self-portrait shoots?
- How do you do a photoshoot alone?
- How do you focus a self-portrait?
- Can you take a self-portrait without a tripod?
- How do you take self-portraits with a phone?
- What are some good prompts for self-portraits?
- Start Your Self-Portrait Practice Today
What Is a Self-Portrait (and How Is It Different from a Selfie?)
A self-portrait is a photograph you take of yourself where you control every creative decision: the framing, the lighting, the pose, the moment the shutter releases. You might use a tripod and a 10-second timer, a Bluetooth remote, a tethered laptop, or – as we’ll get to – just your phone propped on a stack of books.
A selfie, by contrast, is a quick snapshot of your face taken at arm’s length, usually with a phone’s front camera, optimized for instant sharing. Selfies aren’t “lesser” – they’re just different in intent, craft, and time investment.
| Aspect | Selfie | Self-Portrait |
|---|---|---|
| Who controls the camera | The subject (often arm’s length) | The subject, but at a distance via timer/remote |
| Intent | Quick share, casual moment | Composed image, artistic intent |
| Gear | Phone front camera | DSLR, mirrorless, or phone with tripod/timer |
| Editing | Filter or none | Lightroom, Snapseed, Photoshop, presets |
| Time investment | Seconds | Minutes to hours |
| Artistic intent | Usually documentary | Usually expressive or conceptual |
If you’ve ever felt like your “selfies” look nothing like the self-portraits you admire on Instagram or Pinterest, the table above is why. Different tools, different time, different goals.
15 Self-Portrait Ideas You Can Shoot Alone
Here are fifteen self-portrait ideas you can shoot alone – ranked roughly from easiest to most involved. You don’t need to attempt all fifteen in one week. Pick two or three, shoot a roll or a card’s worth of each, and notice which ones feel like you.
- Mirror self-portrait. Stand in front of any mirror, hide the phone or camera behind something, and let the reflection do the work. Beginners love this idea because you can see the framing in real time.
- Silhouette self-portrait. Place yourself between the camera and a strong light source (a window at sunset works), expose for the background, and let your shape become pure outline.
- Shadow self-portrait. Use hard, angled light to cast a long shadow on a wall or floor, then frame the shadow instead of yourself. Your body becomes graphic and anonymous.
- High-key self-portrait. Flood the scene with bright, soft light against a white or pale background. The result is airy, minimal, and forgiving of skin texture.
- Reflection self-portrait. Find a puddle, a window, a coffee pot, or a car hood – any reflective surface – and use it as a second subject. Double the subject without doubling the work.
- Levitation self-portrait. Sit or lie on a stool, shoot from a low tripod angle, and remove the stool in Photoshop later. Classic, slightly surreal, very satisfying.
- Long-exposure self-portrait. Mount the camera on a tripod, set a 4 to 10 second shutter, hit the shutter, then walk into the frame and stay still. You become a soft ghost in a sharp environment.
- Headless / cropped self-portrait. Zoom in tight and frame just below the jawline: collarbone, hands, neck. Avoids the camera-shy problem entirely while staying deeply personal.
- Double-exposure self-portrait. If your camera has multiple exposure mode, shoot one frame of yourself and one frame of a landscape, then combine them in-camera for a dreamlike composite.
- Self-portrait with a pet. Sit on the floor with your dog or cat, scatter treats, use burst mode and the timer. Out-takes become your favorite shots.
- Self-portrait with a child or family member. Hold your child, sit with your partner, let the moment happen – and remember you’re still the one behind the camera, so it’s a self-portrait. We’ll go deeper on this idea later.
- Conceptual / surreal self-portrait. Pick a feeling – loneliness, joy, overwhelm, curiosity – and find one visual metaphor for it. A bathtub full of dry leaves. A face pressed into flour. One prop, one clear idea.
- Behind-the-scenes self-portrait. Frame the back of your camera, your tripod, and your reflection in a mirror. It’s a love letter to the craft itself.
- Everyday-object self-portrait. Use something mundane – your morning coffee, a stack of books, an unmade bed – as the visual anchor of the frame. Your portrait becomes about a life, not just a face.
- Self-portrait with a prop. A candle, a scarf, a bouquet, a record player, an old camera. Props give your hands somewhere to go and give the image a story.
Tip: keep a small notebook or a note on your phone with three favorite ideas from this list. When you have 30 free minutes, shoot one of them. That’s how projects like a “year of self-portraits” actually get finished.
How to Shoot Self-Portraits Alone: Step-by-Step
This is the workflow I use every time. It’s simple, repeatable, and works for a phone, a mirrorless camera, or a heavy DSLR. Follow these steps and you can have a finished self-portrait in under an hour.
- Pick your location and idea. Decide on one idea from the list above – or one of your own. Don’t try to make a dozen concepts happen in one session. One idea, done well.
- Set up a stable surface for your camera. A tripod is ideal, but a stack of books, a windowsill, a chair back, or even a backpack on a table can hold a camera steady for 10 seconds. Get the camera roughly at the height of your eyes (or higher for a slight downward angle).
- Frame the shot using a stand-in. Place something roughly your size and shape where you’ll stand – a lamp, a coat on a hanger, a bag on a chair. Adjust the camera until the framing looks right, with breathing room on the sides where you want it.
- Lock the focus. This is the step most people skip, and it’s why most beginner self-portraits are blurry. Set your lens to manual focus (MF), then either use autofocus on your stand-in and switch to MF without recomposing, or use live view zoomed in to your face area and turn the focus ring until it’s sharp. Focus stays locked.
- Set exposure for your skin. Spot meter on the area where your face will be, or use exposure compensation to brighten if you’re backlit. Take one test shot of the stand-in to confirm exposure and white balance.
- Set a 10-second timer or use a remote. Almost every camera has a 10-second self-timer. Many also support a 2-second mirror-lockup delay, which avoids the tiny shake from the mirror flipping. A Bluetooth remote is even better – your phone can be the remote if your camera has an app.
- Step into position and shoot many frames. Use burst mode if you can. Plan to take 30 to 50 frames per idea. Slight shifts in expression, weight, and angle create wildly different images.
- Review, refine, reshoot. Check the first few shots on your camera screen, adjust pose or framing if needed, and keep going. The first ten frames are usually a warm-up.
If you only have your phone, the same workflow works with one tweak: use a phone tripod or a phone mount, set a 3 or 10-second timer in your camera app, and tap your stand-in to lock focus before switching the timer on.
Lighting and Camera Settings for Self-Portraits
Light is the single biggest reason a self-portrait looks intentional rather than accidental. You don’t need a studio. A window is a softbox. The sun is a rim light. The trick is choosing your light source on purpose.
Best Light for Self-Portraits
Window light is the easiest way to get flattering self-portraits at home. Face a window directly for soft, even light on your face (think: bright, clean, beauty-shot). Face away from it for a silhouette. Stand beside it for split lighting – half your face lit, half in shadow, very dramatic.
Golden hour is the 60 minutes after sunrise and before sunset. The light is warm, low, and soft. Stand with the sun behind you for glowing rim light, or face the sun with a hat or hand for naturally diffused light on your face.
Open shade – shade on a sunny day, like under a tree or a porch – gives soft, even light without harsh shadows. It’s the most forgiving outdoor option for self-portraits.
Avoid harsh midday sun on your face. It creates raccoon shadows under your eyes and brow. If midday is all you have, stand in the shade and let the sun backlight your hair instead.
Camera Settings in Plain English
You don’t need to master manual mode to start. These three settings do most of the work.
Aperture (the f-number) controls how much of the image is in focus. f/1.8 to f/2.8 blurs the background into a creamy wash and makes your face pop. f/5.6 to f/8 keeps more of the scene sharp, which is great for environmental self-portraits.
Shutter speed is how long the sensor is exposed. For sharp self-portraits handheld, stay above 1/125 sec. On a tripod with a timer, you can go as slow as you want for creative motion-blur effects.
ISO is how sensitive the sensor is. Keep it as low as the light allows (ISO 100 to 400 outdoors, ISO 800 to 1600 indoors). Higher ISO = more grain, but also more flexibility in low light.
For most of my home self-portraits, I shoot in aperture priority mode at f/2.8, let the camera pick shutter speed, and adjust ISO manually. That’s it.
Posing and Expression When There’s No One Directing You
Posing yourself is the hardest part of solo work because you can’t see what your body is doing the moment the shutter fires. Here’s how to give yourself a head start.
Give your hands a job. Touch your collarbone, hold a prop, run your fingers through your hair, rest your chin on your hand. Hands that are doing something almost never look awkward in a photo.
Shift your weight. Standing square to the camera looks stiff. Put your weight on your back foot, angle your front shoulder slightly toward the camera, and your whole pose will look more relaxed without you having to think about it.
Pick an expression you can hold for 30 seconds. A neutral, slightly soft expression with your jaw relaxed reads better than a big smile in most self-portraits. If you want a smile, think of something genuinely funny – not “say cheese” – and shoot quickly with burst mode.
Look slightly off-camera. Eyes locked on the lens can feel confrontational. Eyes slightly off-camera can feel thoughtful, dreamy, or candid. Try both and pick the one that matches the idea.
Shoot movement, not poses. Press the shutter while you’re walking, adjusting your hair, laughing, or turning your head. The in-between frames are almost always more interesting than the “frozen” ones.
Editing and Post-Processing for Self-Portraits
Editing is where a self-portrait becomes a finished image. You don’t need Photoshop. Two free apps will get you 90 percent of the look you admire in other people’s work.
Snapseed (free, iOS and Android) is the best quick-edit tool. Open a portrait, tap “Portrait” to smooth skin selectively without flattening it, then nudge “Tune Image” for exposure, contrast, and warmth. Save and you’re done in two minutes.
Lightroom Mobile (free with optional paid features) is the deeper editor. Use it for selective adjustments (brighten just your face, darken just the background), color grading, and consistent presets across a series – which is what makes a monthly self-portrait project feel cohesive.
Two edits I’d start with: bump the shadows up slightly (so dark areas of your face have detail) and pull highlights down slightly (so bright windows and skies don’t blow out). Those two moves alone make most photos look more polished.
Shooting Self-Portraits With Just a Phone
You can shoot meaningful, gallery-quality self-portraits with nothing but a phone. Three things make the biggest difference.
First, a phone tripod or a phone mount. Even a cheap one removes the arm’s-length limit and unlocks full-body, environmental, and creative compositions.
Second, the camera app’s timer or a Bluetooth remote. The default 3 or 10-second timer is enough. Frame the shot, tap to focus on your stand-in position, hit the shutter, step in.
Third, Portrait Mode. It uses computational photography to mimic a wide aperture and blur the background. It’s not perfect around hair, but for a self-portrait where you’re standing clear of the background, it’s genuinely good.
For more control, try a third-party app like Halide (iOS) or Open Camera (Android). They let you lock focus, lock exposure, and shoot in RAW on supported phones.
If You’re Camera-Shy: How to Get Comfortable in Front of the Lens
If pointing a camera at yourself makes your stomach drop, you’re in good company. Camera-shyness is one of the most common things I hear from people who want to try self-portraiture, and it’s the reason so many images never get made.
Start with the easiest ideas from the list above. A shadow self-portrait doesn’t require your face at all. A headless crop doesn’t require eye contact. A reflection self-portrait gives you something to look at besides the lens.
Then make it a practice, not a performance. Plan to shoot 100 frames of one idea before you decide whether you like it. Out of 100 frames, you’ll find five you love – and the act of shooting them changes how you feel about being on the other side of the lens.
Play music. Set a 30-minute timer. Invite a pet into the frame. Don’t show anyone the images until you have a set you actually like. The more low-stakes you make the process, the faster the awkwardness fades.
What to Wear for a Solo Self-Portrait Shoot
What you wear changes how a self-portrait reads more than most people expect. A few simple choices will lift your images from “snap” to “intentional.”
Pick clothes with texture rather than busy prints. Knit, denim, linen, and leather photograph beautifully. Loud logos and tiny checks can moiré or distract from your face.
Choose one anchor color and stick to it. Earth tones, jewel tones, and muted neutrals all work well. A single-color outfit makes it easier to edit a series of self-portraits into a cohesive body of work.
Layers add depth. A jacket over a tee, a scarf, an open button-down. Layers give your hands somewhere to go and add visual interest without competing with your face.
Make sure it fits today. The clothes that felt great last month may not be the clothes you want to be photographed in right now. Wear what feels true to how you actually live.
Including Family in a Self-Portrait (Without a Stranger Behind the Camera)
A self-portrait doesn’t have to mean alone in a frame. As a family photography studio, we love this one: you can include your kids, your partner, your dog – and still call it a self-portrait, because you set up the camera and made the creative decisions.
Set the timer, frame the shot a little wider than you think you need, step into the frame with your child or partner, and let the moment happen. Burst mode is essential here. The genuine laugh, the messy hair, the kid mid-spin – those frames are the ones you’ll keep.
This is also how to be in family photos without handing your camera to a stranger at the park. You stay in control, your family stays present, and you get to be in the picture.
Common Self-Portrait Problems and How to Fix Them
If your self-portraits keep coming out wrong, the answer is almost always in this list.
- Blurry shots. Focus didn’t lock, or shutter speed was too slow. Switch to manual focus, lock it on your stand-in position, and use a tripod or a faster shutter speed.
- Harsh shadows on the face. Light source is too small, too high, or too direct. Move closer to a window, step into open shade, or use a white bedsheet as a diffuser.
- Camera focus hunts or locks on the wrong subject. Autofocus is confused. Switch to manual focus, lock it, and don’t let the camera refocus after you step in.
- Background is too cluttered. Lower your angle, simplify the room, change lenses, or shoot against a plain wall. Less background = stronger subject.
- Awkward facial expression. You were thinking about how you look. Pick a thought, a memory, or a sound. Shoot more frames. The real expression is in there.
- Composition feels off. Turn on your camera’s grid lines and use rule of thirds. Place your eyes on the upper third line, give yourself space to look into.
- Colors look dull or wrong. Set a custom white balance for the room, or shoot in RAW and adjust white balance in editing.
12 Self-Portrait Project Prompts to Try This Year
If you want a steady creative practice, try one of these prompts each month. A monthly self-portrait project is one of the best ways to grow as a photographer – and as a person in front of the camera.
- January – Window light. Use a single window as your only light source. Same window every week, different expressions.
- February – Hands only. Your hands, your work, your story. No face required.
- March – Reflection. Mirrors, puddles, glass, water – a whole month of reflections.
- April – Golden hour. One outdoor self-portrait at golden hour. Bring a prop that means something to you.
- May – Color story. Pick one color and let it lead every frame of the month.
- June – Motion. Long exposures, walking, jumping, spinning. Capture yourself in movement.
- July – Childhood space. Return to a place from your childhood and photograph yourself there.
- August – High-key. All-white, all-bright, airy and minimal.
- September – Silhouette and shadow. Strip the face, keep the shape. Two ideas, one month.
- October – Conceptual. Pick one feeling and one visual metaphor for it.
- November – Gratitude. Self-portrait with the people, objects, or places you’re grateful for.
- December – Year-in-review. One new image alongside your January window-light shot. See how you’ve changed.
By December you’ll have a set of twelve images that document a full year of your life and your photography. That’s a portfolio, a journal, and a piece of art in one project.
Frequently Asked Questions
How do you take a self-portrait by yourself?
Mount your camera on a tripod or stable surface, frame the shot using a stand-in for your body, switch to manual focus and lock it on the spot where you’ll stand, set a 10-second timer or use a Bluetooth remote, then step into position and shoot multiple frames. Pick one creative idea per session and shoot 30 to 50 frames so you have options to choose from.
What are some creative ideas for self-portrait shoots?
Mirror, silhouette, shadow, high-key, reflection, levitation, long exposure, headless crop, double exposure, with a pet, with family, conceptual, behind-the-scenes, everyday object, and with a prop are fifteen ideas you can shoot alone. Start with the simplest two or three and pick one per session so each idea gets real attention.
How do you do a photoshoot alone?
Treat it like any other shoot: pick a location, choose one creative idea, set up your camera on a tripod or stable surface, lock the focus on where you’ll stand, set your exposure with a test shot, then use a 10-second timer or remote to step into the frame. Shoot 30 to 50 frames per idea, review on your camera screen, and reshoot anything that doesn’t land.
How do you focus a self-portrait?
Switch your lens to manual focus. Either use autofocus on a stand-in placed where you’ll stand and then switch to manual focus without recomposing, or zoom in with live view on the area where your face will be and turn the focus ring until it’s sharp. Manual focus stays locked no matter what moves in front of the camera, which is exactly what you need when you’re the subject.
Can you take a self-portrait without a tripod?
Yes. Balance your camera on a stack of books, a windowsill, the back of a chair, a shelf, a backpack on a table, or even a tree trunk outdoors. The key is keeping the camera completely still for the 10-second timer duration so you can step into the frame. A phone tripod is small enough to live in a drawer and travel anywhere.
How do you take self-portraits with a phone?
Use a phone tripod or phone mount, set a 3 or 10-second timer in your camera app, tap to focus on the spot where you’ll stand, then step into the frame. Portrait Mode blurs the background for a more professional look. For more control, use an app like Halide on iOS or Open Camera on Android, which let you lock focus, lock exposure, and shoot in RAW.
What are some good prompts for self-portraits?
Try monthly prompts like window light, hands only, reflection, golden hour, a single color story, motion and long exposure, a childhood space, high-key, silhouette and shadow, one conceptual feeling, gratitude, and a year-in-review image. A 12-month project keeps the practice steady and gives you a finished portfolio by year’s end.
Start Your Self-Portrait Practice Today
You now have a working definition, fifteen creative self-portrait ideas, a step-by-step workflow for shooting alone, the lighting and camera settings basics, posing tips, editing pointers, a phone workflow, and a 12-month project to keep you going. That’s everything you need to make meaningful self-portraits at home, with the gear you already own.
Pick one idea from the list above. Set a timer for 30 minutes. Shoot 30 frames. Save the ones that feel honest. That’s it – that’s the practice. The self-portraits you make in 2026 will be better than the ones you’ve been imagining, because you’ll finally be in them.