
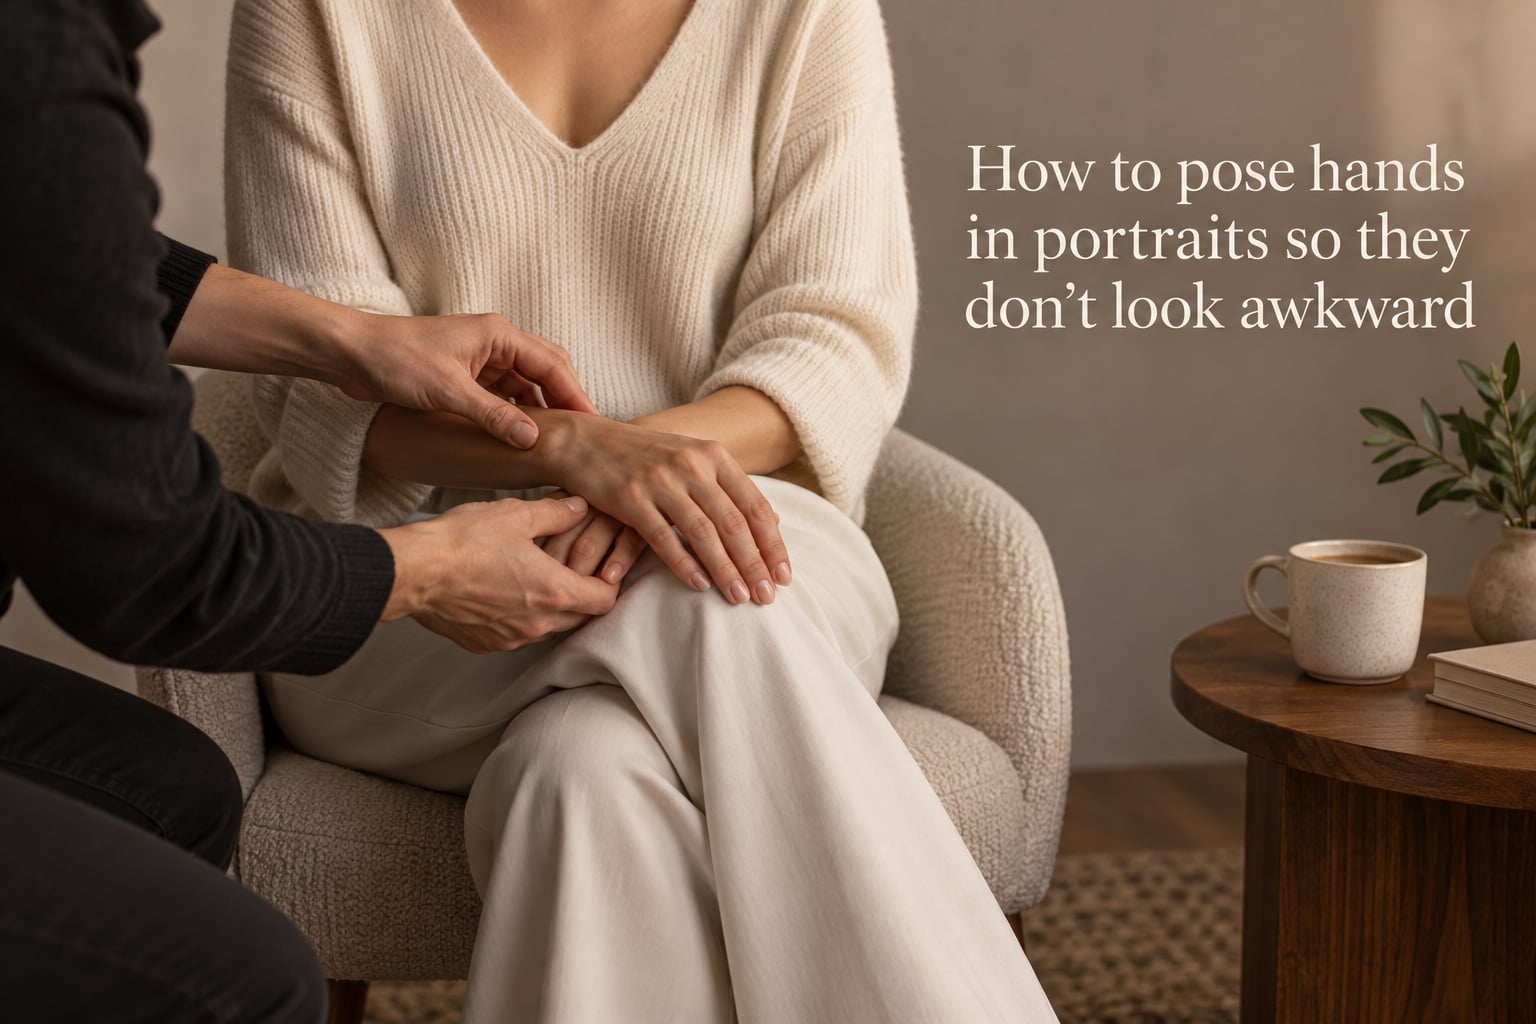
The number one thing that gives away an amateur portrait is rarely the lighting or the lens. It is the hands. I have shot thousands of family sessions at our studio, and I can tell you within a frame whether a subject knew what to do with their fingers.
This guide covers how to pose hands in portraits so they don’t look awkward, whether you are the photographer behind the camera or the person standing in front of it. I will share the 5 golden rules our team uses on every session, the mistakes we still see in published work, and the exact verbal cues that relax a stiff set of hands in seconds.
By the end, you will have a simple system you can apply to seated, standing, group, and headshot sessions, plus a cheat sheet you can pull up on your phone between shots.
Table of Contents
- Why Hands Look Awkward in Portraits
- The 5 Golden Rules for Posing Hands
- 5 Common Hand-Posing Mistakes to Avoid
- How to Pose Hands by Scenario
- Posing Hands for Couples, Families, and Kids
- Men vs Women: How Hand Direction Differs
- 5 Verbal Cues That Instantly Relax the Hands
- Frequently Asked Questions
- Final Thoughts
Why Hands Look Awkward in Portraits
Hands look awkward in photos because they betray tension the face hides. When a subject feels self-conscious, the fingers ball up, the wrists lock, and the palms press flat against the thigh. A person can smile calmly while their hands are clenched into a fist and never know it is happening.
The other reason is anatomy. The human eye reads the back of the hand as broader and more masculine, and the flat palm as flat and blocky. The narrow edge of the hand, with fingers softly separated and angled slightly toward the camera, reads as elegant and relaxed. Most people default to the wider angles because they are easier to hold.
There is also a mental layer. Subjects asked to “just stand there” instantly lose track of their hands, and the brain’s default response is to send them straight down the sides of the body. That hanging-arm pose adds visual weight to the hips and makes the whole frame feel heavier. Soft hands, by contrast, lift the eye and add movement to an otherwise static pose.
The 5 Golden Rules for Posing Hands
These five rules cover roughly 90 percent of the hand direction our studio gives in any session. Memorize them and you can direct almost any portrait with confidence.
1. Show the narrow side of the hand to the camera. Turn the wrist so only the edge of the hand is visible. Never point the flat palm or the full back of the hand straight at the lens. The narrow edge photographs slim, elegant, and natural.
2. Separate the fingers. Fingers should be gently apart, not pressed together and not fanned wide. Imagine holding a thin slice of bread between each finger. This single change removes the “blob hand” look that ruins otherwise good portraits.
3. Add a soft curve. Hands should never be flat and straight. Bend the fingers slightly inward as if loosely holding a small egg. Photographers call this a gentle fist, and it instantly reads as relaxed.
4. Use asymmetry. Never pose both hands the same way. One hand up, one hand down. One hand in a pocket, the other touching hair. Symmetry makes hands look staged and stiff; asymmetry reads as candid.
5. Give the hands a job. Hands with nothing to do will find something tense to do on their own. Tuck hair. Hold a watch. Rest a chin. Touch a collar. A small action keeps the hands alive and the mind off them.
5 Common Hand-Posing Mistakes to Avoid
Most awkward hand photos come from a handful of repeat mistakes. Here are the five we coach out of subjects every single week.
Balled fists. The classic stress pose. Fingers curled tightly into the palm, knuckles white, thumb wrapped over the top. The fix is the gentle fist above: fingers lightly curled as if holding a small object, never clenched.
Barbie hands. Stiff, flat fingers held ramrod straight, usually pressed together. The hand looks like a plastic doll’s hand. The fix is the narrow-side angle plus separated fingers.
Raptor hands. Fingers curled too aggressively, like a claw or a velociraptor. Common when a subject overcorrects from flat hands into “soft” hands. The fix is small, controlled curvature. Less is more.
Interlaced fingers. Hands clasped together with fingers woven through each other. This creates “slug fingers” — squished, undefined shapes that look unnatural. The fix is to keep one hand doing the action while the other rests, or to grip a prop instead.
Splayed fingers. Fingers fanned wide apart, like a hand pressed against a window. This stretches the skin between the fingers and looks claw-like. The fix is gentle separation with a soft curve.
Hands dangling straight down. Arms pinned to the sides with hands loose at the hips. This adds visual weight and makes the pose feel lifeless. The fix is to bend one elbow and give at least one hand a job, even if that job is just resting lightly on a thigh.
How to Pose Hands by Scenario
The same hand rarely works in every situation. Here is how to direct hands across the most common portrait setups our studio runs.
Seated Portraits
When the subject is sitting, the lap and the chair arms are your best friends. Hands resting lightly on the lap, fingers softly separated, look natural and composed. Avoid pressing the palms flat against the thighs, which creates a stiff “waiting at the dentist” look.
For head-and-shoulders seated shots, ask the subject to bring both hands up to the chin or collar area. One hand can rest under the chin, the other can touch the opposite shoulder. Keep elbows down and out of the frame when possible.
Standing Portraits
Standing poses need at least one bent elbow. A subject standing with both arms straight down always photographs stiff. The teapot pose, with one hand on the hip and elbow bent out slightly, is a classic for a reason: it creates a triangle of negative space at the waist that slims the torso and gives the hand a confident job to do.
The other high-percentage standing pose is the hand-in-pocket. One hand fully in a pocket reads casual, while a thumb-only hook in the pocket reads more polished. Use the free hand to hold a jacket, lift hair, or rest on the opposite arm.
Leaning Portraits
When a subject leans against a wall, doorframe, or railing, the supporting arm should carry weight, and the free hand should do something quiet. Touch the collar. Adjust a watch. Tuck a strand of hair. The lean already gives the body a job, so the hands only need small actions.
Headshots and Tight Crops
For tight headshots, hands can come right up to the face. A hand resting under the chin, fingertips near the jawline, draws attention to the eyes and adds intimacy. Avoid hands pressed flat against the cheek, which distorts the face. Keep fingers separated and the hand angled so the narrow edge faces the camera.
With Props
Props are the fastest cure for awkward hands. A coffee mug, a bouquet, a book, a violin, a jacket draped over the shoulder, a pair of sunglasses held in one hand. The hand has a job, the fingers wrap naturally around an object, and the subject has something to think about besides their hands.
Posing Hands for Couples, Families, and Kids
Solo posing follows rules. Group posing follows interaction. The hands in a couple or family portrait should look like they belong to people who know each other, not strangers arranged in a line.
For couples, the high-percentage moves are forehead touch, hand on partner’s shoulder, intertwined pinkies, and one partner’s hand resting on the other’s back. Keep most of the contact gentle, and avoid both partners gripping each other with full hands, which reads as staged.
For family groups, think layers. Mom’s hand on the kid’s shoulder. Dad’s hand lightly on the partner’s waist. A toddler holding a parent’s finger. Avoid everyone standing with arms at their sides; weave at least three points of contact through the group.
For kids, props and motion do the heavy lifting. Give them something to hold. Ask them to spin, jump, or high-five a parent. A still pose with a wiggly kid guarantees fists, splayed fingers, or hands stuffed in mouths. Movement removes the self-consciousness that causes stiff hands in the first place.
Men vs Women: How Hand Direction Differs
The hand-direction vocabulary shifts with the subject. For masculine-leaning portraits, our studio defaults to stronger gestures: the GQ-style hand-in-pocket, the watch-adjust, the jacket-over-shoulder, the chin rest with the back of the hand visible. These read as confident and grounded.
For feminine-leaning portraits, softer gestures photograph better: fingertips grazing the collarbone, hand playing with the ends of hair, a delicate teacup grip, the hand under the chin with the narrow edge to camera. These read as approachable and elegant.
The exception is couples portraits, where mirroring or contrasting hand cues can tell a visual story. One partner relaxed, the other animated. One partner grounded, the other reaching. The hands become part of the relationship you are photographing.
5 Verbal Cues That Instantly Relax the Hands
The right words relax hands faster than any pose change. Use these verbal cues during sessions and watch the hands soften within seconds.
“Shake it out.” Ask the subject to shake both hands out at the wrists for a few seconds between poses. Physical motion releases the tension that builds up while holding still.
“Imagine holding a tennis ball.” This cue creates a gentle fist without clenching. Subjects instantly understand the right amount of curl.
“Soft fingertips.” Two words that re-focus the subject on their fingers. They cannot think about soft fingertips and stay tense at the same time.
“Drop your shoulders first.” Shoulder tension pulls down into the hands. Lowering the shoulders relaxes the chain of muscles all the way to the fingertips.
“Touch the silk.” A useful cue for feminine-leaning portraits. Asking the subject to imagine brushing soft fabric calms the fingers into a graceful curve.
Frequently Asked Questions
How to stop looking awkward in posed pictures?
The fastest fix is to give your hands a small, real action: tuck hair, hold a prop, adjust a cuff, rest a chin. Combine that with fingers gently separated and the narrow edge of your hand toward the camera, and the stiffness disappears in a single frame.
How do you pose hands that feel awkward?
Shake them out at the wrists first, then place them with fingers softly separated and the narrow side of the hand angled toward the camera. Avoid balled fists, splayed fingers, and palms pressed flat. A small prop or one bent elbow usually solves the problem instantly.
What is the 5 finger rule for posing?
The 5 finger rule means all five fingers should be visible, softly separated, and slightly curved. Never hide fingers behind each other, never press them flat together, and never fan them wide. Each finger should read clearly in the final image.
What is the 20 60 20 rule in photography?
The 20/60/20 rule is a posing framework that says the top 20 percent of a frame carries the story, the middle 60 percent carries the pose, and the bottom 20 percent carries the anchor. Hands usually sit in the anchor zone and should be relaxed enough not to pull the eye downward.
What to do with hands in photos for females?
Soft gestures photograph best: fingertips grazing the collarbone, hand playing with the ends of hair, a delicate teacup or mug grip, or hands resting under the chin with the narrow edge to the camera. Always keep fingers gently separated and the wrists relaxed.
Final Thoughts
Hand posing in portraits is less about a list of perfect poses and more about a handful of habits: narrow side to camera, soft fingers, asymmetry, and one bent elbow. Build those four habits into your direction and almost every awkward-hand problem disappears before the next click.
Our studio keeps a printed cheat sheet of the 5 golden rules clipped to the lighting stand. Practice them on the next ten sessions you shoot, or the next ten portraits you step in front of, and the difference will show up in your final frames within a week.