
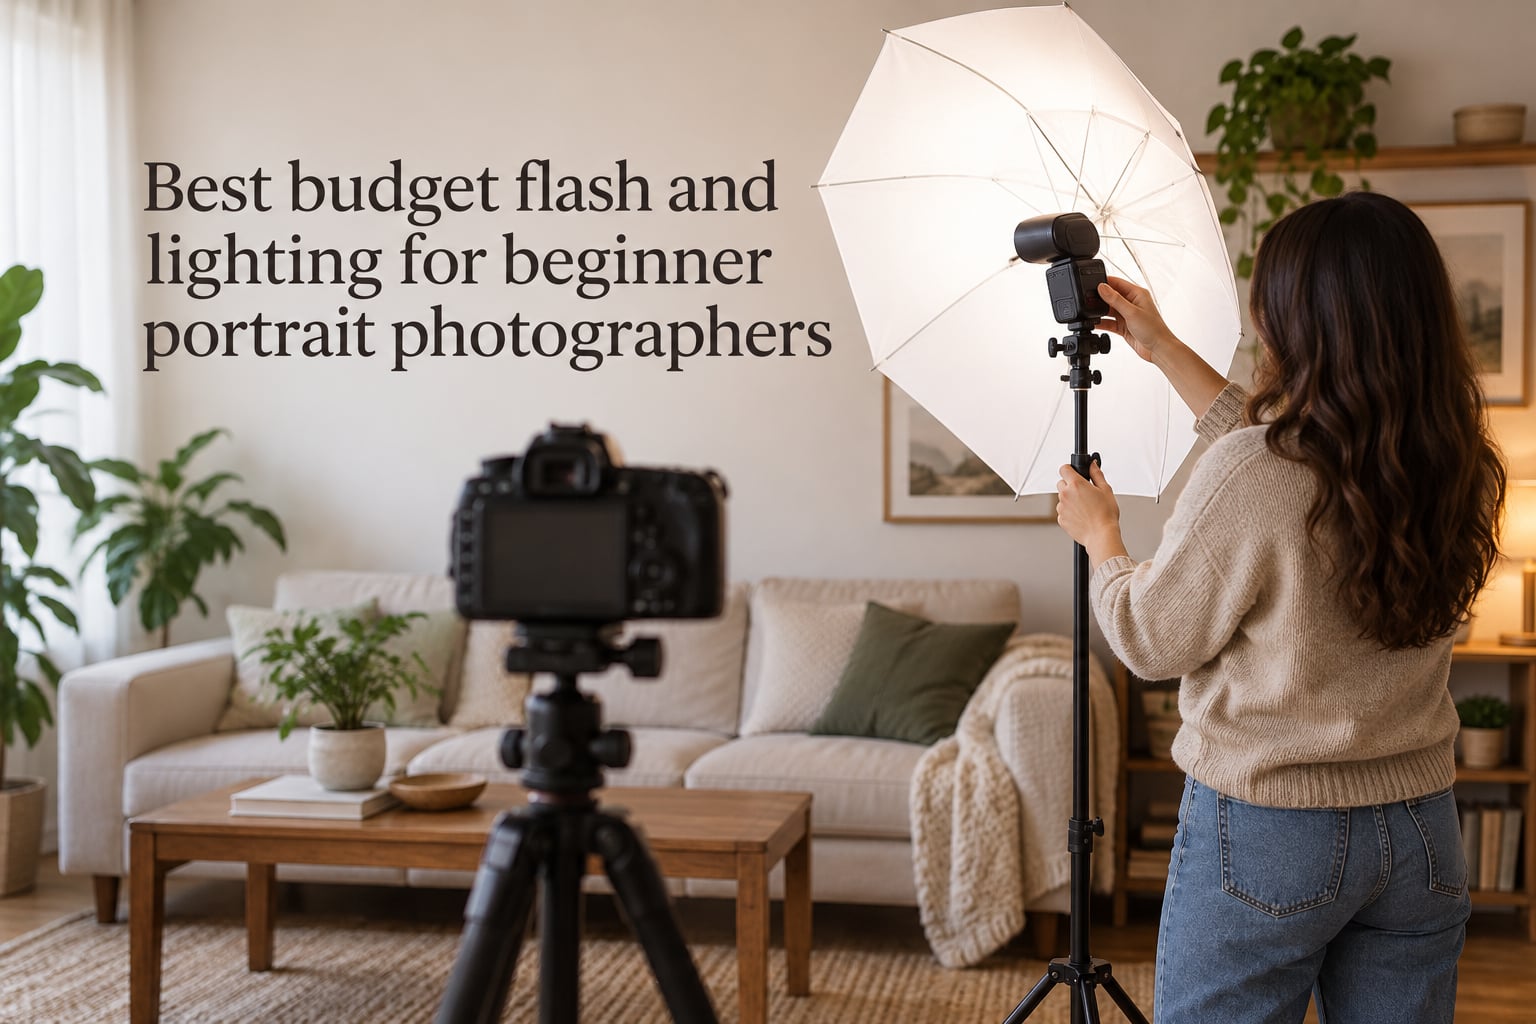
If you have just picked up a camera and want to shoot portraits that look intentional rather than accidental, the single biggest upgrade you can make is to your lighting. The best budget flash and lighting for beginner portrait photographers is not a pile of expensive gear. It is one good speedlight, a wireless trigger, a light stand, and a modifier that softens the light. With those five items, you can shoot flattering portraits indoors, at midday, on overcast days, and after sunset.
I have coached dozens of new portrait photographers through their first lighting kit builds. The pattern is always the same: people over-buy and under-learn. This guide is the opposite. I will walk you through what you actually need, why each piece matters, what to skip, and how to assemble a kit at three common budget tiers.
Table of Contents
- Why Beginner Portrait Photographers Need Off-Camera Lighting
- Flash vs. Continuous LED Lighting: Which Is Better for Portraits?
- Understanding TTL, HSS, Manual Flash, and Watt-Seconds
- The Core Off-Camera Flash Kit: Anatomy of a Beginner Setup
- Best Budget Speedlights for Beginners
- Best Budget Monolights and Portable Strobes for Beginners
- Light Modifiers on a Budget: Umbrella vs Softbox vs Beauty Dish vs Reflector
- Recommended Beginner Kits by Budget
- Camera-Brand Compatibility: Canon, Nikon, Sony, Fujifilm
- Beginner Mistakes to Avoid
- Buying Used vs New: Where Beginners Can Save
- Frequently Asked Questions
- What is the best budget photography lighting kit for beginners?
- What is the best flash for portrait photography?
- What are some budget-friendly lighting options for photography?
- What is the 3 lighting rule?
- What are some DIY lighting ideas for portrait photography?
- Is TTL or manual flash better for beginners?
- Final Thoughts
Why Beginner Portrait Photographers Need Off-Camera Lighting
Off-camera lighting is what separates a snapshot from a portrait. The pop-up flash on your camera points straight at your subject from the same axis as the lens, which produces flat, shadowless faces, red eyes, and that unmistakable “deer in headlights” look. Moving the flash off the camera and angling it, even by 30 or 45 degrees, introduces dimension, shadow, and shape. The face stops looking like a document scan and starts looking like a person.
Indoor sessions are the other big reason. Most homes, restaurants, and event spaces do not have enough natural light to shoot at low ISO with a wide enough aperture for creamy backgrounds. Without artificial light, you either crank up the ISO (grainy results) or slow the shutter (motion blur when kids wiggle). A modest flash solves both problems in one shot.
Outdoor sessions have their own version of the same problem. Harsh midday sun creates raccoon eyes under the brow. Overcast days are flattering but flat. A small flash on a stand, used as fill, evens out shadows without flattening the dimension. You will use flash in more conditions than you expect.
For family and child photographers especially, consistency matters. Parents want a similar look across an entire session and across repeat visits. Natural light changes by the minute. A flash lets you lock in a repeatable recipe and re-create it every time.
Quick answer: The best budget flash for a beginner portrait photographer is a Godox speedlight (around $60-$100 for a manual unit, $100-$150 for TTL) paired with a Godox X series wireless trigger, a 7-foot light stand, and a 33-inch shoot-through umbrella. Total starter kit: roughly $150 all in.
Flash vs. Continuous LED Lighting: Which Is Better for Portraits?
Flash and continuous LED light solve the same problem differently, and each has a real edge depending on what you shoot.
Flash delivers a huge burst of light for a fraction of a second. That burst freezes motion and lets you use very low ISO, narrow apertures, and fast shutter speeds even in near-darkness. For still portraits, flash is the better value per dollar because you get more usable power for the price. A $100 speedlight puts out more usable light on a subject than a $300 LED panel.
Continuous LED lighting shines (literally) for one reason: you see the light before you press the shutter. For beginners, that visual feedback is huge. You can move the light, watch the shadow shift, see whether the catchlight is in the eye, and adjust before you burn a frame. Flash forces you to chimp the LCD, which slows learning.
LED also wins for hybrid shooters who film video and shoot stills on the same camera. A bi-color LED panel works for both. But LED loses on raw power per dollar, runs hot, drains batteries fast, and rarely freezes motion as cleanly as flash. If you shoot stills only, start with flash. If you shoot 50/50 photo and video, a continuous panel makes sense.
There is also a middle path many beginners miss. Some modern monolights, like the Godox AD200 Pro and AD300 Pro, fire flash and have a small LED modeling lamp built in. You can use the LED to set up and the flash to shoot. That is the best of both worlds.
Understanding TTL, HSS, Manual Flash, and Watt-Seconds
Four technical terms come up in every flash buying guide. Here is what they mean in plain English.
TTL stands for “Through The Lens.” When you press the shutter, the camera fires a tiny pre-flash, measures how much light comes back, then sets the main flash power for you. Think of it as auto mode for flash. It is genuinely useful for beginners because it removes one big variable while you are still learning placement. The trade-off is slower recycle time and slightly less consistent results shot to shot.
Manual flash means you set the power yourself (typically in fractions like 1/1, 1/2, 1/4, 1/8, 1/16). It is faster, more consistent, and what every working portrait photographer eventually migrates to. Once you understand exposure, manual gives you predictable results across a session.
HSS (High-Speed Sync) lets you use flash at shutter speeds faster than your camera’s normal sync limit (usually 1/200 or 1/250). Why care? Because on a bright sunny day, you may want to shoot at 1/2000 to control ambient light with a wide aperture. HSS unlocks that. You pay for it in flash power (HSS loses about two stops), but for outdoor fill work it is essential. Not every budget speedlight supports HSS, so check the spec sheet.
Watt-seconds (Ws) is the power rating for monolights and studio strobes. A 200Ws monolight has roughly twice the power of a 100Ws unit. For typical indoor portraits at 6 to 8 feet, 200Ws is plenty. For outdoor overpower-the-sun work or large groups, 300Ws and up becomes useful. Speedlights are usually rated by guide number instead of watt-seconds, which is a related but different measurement.
Guide number is the older ISO 100 distance rating. Bigger is more powerful. A typical budget speedlight has a guide number around 38 to 60 (meters, ISO 100). Enough for portraits, not enough to overpower midday sun.
Recycle time is how long the flash takes to recharge between shots. Cheap speedlights with AA batteries can take 3 to 5 seconds at full power. Lithium-ion powered units like the Godox V860III recycle in under 1.5 seconds. For shooting kids, that difference is everything.
The Core Off-Camera Flash Kit: Anatomy of a Beginner Setup
Every off-camera lighting kit has the same five parts. Learn what each does before you spend a dollar.
The light source is either a speedlight (small, runs on batteries, mounts on a stand) or a monolight (larger, more powerful, often AC-powered). For beginners, speedlights are usually the right starting point because they are cheaper, portable, and grow into larger systems later.
The trigger is a small transmitter that mounts on your camera’s hot shoe and tells the flash when to fire. Most modern systems use 2.4GHz radio triggers that work around corners and through walls, unlike old optical triggers. The trigger also lets you adjust flash power remotely from the camera position. The Godox X system is the most popular budget ecosystem because every Godox flash and trigger speaks the same language.
The light stand holds the flash where you need it. Look for a 7-foot or 8-foot stand with an air-cushioned section (so it does not slam down when you lower it). Cheap non-cushioned stands will eventually fall on your subject’s head, or yours. Spend a few extra dollars here.
The modifier shapes the light. Bare flash produces harsh, small shadows. A modifier enlarges the apparent size of the light source, which softens the shadows. The four modifiers you will see most often are shoot-through umbrellas, reflective umbrellas, softboxes, and beauty dishes. We compare them in detail below.
The bracket or swivel connects the flash to the modifier and lets you angle it. Most umbrellas come with a basic swivel. Softboxes typically need a specific speedring. A simple umbrella swivel is fine to start.
That is the entire kit. One light, one trigger, one stand, one modifier, one swivel. Everything else is an upgrade later.
Best Budget Speedlights for Beginners
The speedlight market is more crowded than it needs to be. Here are the only five options a beginner should seriously consider, in rough order of capability.
Godox TT350 is the cheapest entry into the Godox X ecosystem. It is small, light, has TTL and HSS, and pairs with any Godox X trigger. Downsides: low power (guide number 36), runs on AA batteries with slow recycle. Best for casual indoor portraits and as a backup unit later. If you shoot a Canon Rebel or entry-level Nikon and want to learn TTL flash without breaking the bank, this is the one.
Godox TT600 is the workhorse budget speedlight. Manual only (no TTL), guide number 60, runs on AA batteries. It is the speedlight most working photographers recommend as a first buy because it is cheap, reliable, and powerful enough for almost any beginner scenario. Pair it with a Godox X2T or XPro trigger and you have a serious off-camera setup.
Godox TT685 adds TTL and HSS to the TT600 body. Same power class. If you think you will use TTL while learning, jump straight here.
Godox V860III is the upgrade pick. It has TTL, HSS, a lithium-ion battery (no AAs), and recycles in under 1.5 seconds at full power. The lithium battery is the killer feature. No more spares, no more mid-session swaps. If you shoot family or kids and cannot afford to wait 4 seconds between shots, this pays for itself.
Yongnuo YN560 III is the absolute cheapest workable manual flash. No TTL, no HSS, but reliable and dirt cheap. Best for a student on a tight budget who wants to learn manual flash before investing in an ecosystem.
For used buyers, older OEM flashes like the Canon 580EX II, Nikon SB-700, or Nikon SB-900 hold up well on the secondary market and integrate natively with their respective camera systems. Just make sure the trigger and flash brands match for TTL to work cleanly.
Best Budget Monolights and Portable Strobes for Beginners
Once you outgrow a single speedlight, monolights are the next step. They deliver more power, recycle faster, and accept Bowens-mount modifiers, which opens up the entire softbox and beauty dish ecosystem.
Godox AD200 / AD200 Pro is the single most recommended monolight upgrade for portrait photographers moving up from speedlights. It is technically a hybrid: a bare-bulb head and a speedlight-style head are both included. About 200Ws of power, lithium battery, Bowens mount via adapter, HSS, TTL. It is small enough to throw in a camera bag but powerful enough to shoot headshots and small groups indoors. This is the piece of gear most working portrait photographers wish they had bought sooner.
Godox AD300 Pro is the AD200 grown up. 300Ws, full Bowens mount, larger flash tube, faster recycle. Best for indoor headshot sessions and outdoor work where you need to overpower the sun. Heavier than the AD200, so consider how you will transport it.
Westcott FJ400 is the premium entry option. 400Ws, lithium battery, Bowens mount, very fast recycle. It costs meaningfully more than the Godox AD300 Pro but offers pro-grade build quality and color consistency. If you plan to shoot professionally and want to buy once, this is the conversation.
GVM and Neewer LED panels round out the budget continuous options. They are not as powerful as flash for the price, but if you shoot video alongside stills, a 50W to 100W bi-color panel is a sensible add.
For indoor studio-style sessions where you do not need portability, an AC-powered monolight in the 200Ws to 400Ws range from Godox, Neewer, or Westcott is the most cost-effective route. The trade-off is being tethered to a wall outlet.
Light Modifiers on a Budget: Umbrella vs Softbox vs Beauty Dish vs Reflector
Most beginners buy too much flash and not enough modifier. The modifier is what makes the light flattering. Here is how to think about the four main options.
Shoot-through umbrella is the cheapest and easiest modifier. You point the flash into the umbrella from behind, the light passes through the white fabric, and you get a large, soft source. Soft wraparound light with minimal setup. Great for family and child portraits. Downsides: light spills everywhere, and you cannot control spill the way you can with a softbox.
Reflective umbrella points the flash into the inside of the umbrella, which bounces light back at the subject. More directional and punchy than a shoot-through. Useful when you want a bit more contrast.
Softbox is the modifier most working portrait photographers prefer. A 24-inch to 32-inch softbox gives you controlled, directional, soft light with clean falloff. Light spills only where you point it. The downside is setup time and the need for a specific speedring (most budget softboxes include the speedring for your flash brand). For headshots and portraits where you want a defined catchlight in the eye, a softbox is the right tool.
Beauty dish produces contrasty, semi-hard light with a distinct circular catchlight. It is the classic fashion and beauty look. Harder to find on a tight budget (good ones are $50-$100 new) and not where beginners should start. Save it for when you can articulate why you want one.
5-in-1 reflector is the most underrated beginner tool. It does not emit light. It bounces existing light or absorbs it. Use the white side to bounce fill, the silver side to add punch, the gold side to warm skin tones, the black side as a flag to subtract light, and the diffusion panel to soften a window. A $20 5-in-1 reflector pairs with a speedlight on a stand to give you most of what a $300 kit modifier set does. Get one the day you buy your flash.
For a first modifier, my honest recommendation: buy a 33-inch shoot-through umbrella and a 32-inch 5-in-1 reflector. You will use both for years. Add a small softbox when you can articulate what the umbrella does not give you.
Recommended Beginner Kits by Budget
Rather than list fifteen loose pieces, here are three complete kit builds a beginner can assemble today. Prices fluctuate, so check current listings before buying.
Tier 1 – The One-Light Starter Kit: One Godox TT600 speedlight, one Godox X2T trigger (or XPro), one 7-foot light stand with air cushion, one umbrella swivel, one 33-inch shoot-through umbrella, one 32-inch 5-in-1 reflector with handle. This is the minimum viable kit. It will handle indoor family portraits, headshots, and basic two-person sessions. It will also travel in a single bag.
Tier 2 – The Softbox One-Light Kit: Replace the umbrella with a 24-inch or 32-inch softbox (with the right speedring for your flash). Add a second light stand and a second Godox TT600 for fill or hair light later. This is the kit most beginner portrait photographers settle into for years.
Tier 3 – The Monolight Two-Light Kit: Two Godox AD200 Pro units (or one AD200 Pro and a backup speedlight), two Godox XPro or X2T triggers, two 7-foot stands, one 36-inch softbox as the key, one 24-inch softbox as the fill or hair light, one 5-in-1 reflector, one Westcott or Godox carry case. This is a working portrait photographer’s kit. It will outgrow your skill long before it outgrows its usefulness.
If your budget only allows Tier 1 right now, that is fine. The best portrait photographer in the world cannot save a kit they cannot afford. Learn Tier 1 well, then upgrade on purpose.
Camera-Brand Compatibility: Canon, Nikon, Sony, Fujifilm
One of the most common beginner questions I see on Reddit and photography forums is whether a particular flash works with a particular camera. The answer depends on what system you shoot.
Canon shooters have it easiest. Most Godox, Yongnuo, and Neewer TTL flashes support Canon E-TTL II on a dedicated trigger. Used OEM options like the Canon 430EX II, 580EX II, and 600EX II-RT are abundant and reasonably priced on the used market.
Nikon shooters have similar coverage with i-TTL. Used Nikon SB-700, SB-800, and SB-900 flashes are plentiful and reliable. Godox’s Nikon-compatible triggers and flashes work cleanly. If you shoot Nikon, the Godox X1T-N or XPro-N trigger is the starting point.
Sony mirrorless shooters need to pay closer attention to HSS support. Most Godox and Yongnuo flashes support Sony TTL and HSS through the X1T-S or X2T-S trigger. Older Sony bodies (A7 II generation and earlier) sometimes have quirks with third-party HSS. If HSS matters for your outdoor work, verify compatibility for your specific body before buying.
Fujifilm shooters have fewer native options, but the Godox X system supports Fujifilm TTL through the X1T-F or X2T-F trigger. Native Fujifilm flashes like the EF-60 are solid but expensive. For beginners, Godox into the X system is the most cost-effective path.
Across all four brands, the practical rule is: buy a trigger made for your camera and a Godox flash, and they will work together. Mixing brand X triggers with brand Y flashes for TTL is where most compatibility headaches come from.
Beginner Mistakes to Avoid
After watching dozens of new portrait photographers go through their first kits, the same handful of mistakes shows up over and over. Here are the five most common, and how to dodge them.
Mistake 1: Pointing the flash straight at the subject. This recreates the exact problem the pop-up flash had. Always angle the flash. Even 30 degrees off-axis is enough to start seeing dimension in the face. Side lighting at 45 degrees is the classic starting point.
Mistake 2: Mixing TTL and manual in the same setup. If one flash is on TTL and another is on manual, you cannot predict the total exposure. Pick one mode for the entire session until you understand both.
Mistake 3: Buying the cheapest Amazon trigger. Trigger reliability is the single most common complaint in beginner forums. Cheap no-name triggers misfire, lose connection, or die mid-session. Buy a trigger from Godox, Phottix, or another known brand, even if it costs $20 more.
Mistake 4: Overcomplicating with too many lights too soon. The urge to buy two lights, then three, then four is strong. Resist it. Spend a full month shooting one light from every angle. Then add a second. Photographers who learn one light well always out-shoot photographers who muddle through four.
Mistake 5: Ignoring recycle time when shooting kids. A cheap AA-powered speedlight may recycle in 3 to 5 seconds at full power. That feels fast in testing. With a 3-year-old subject, it is forever. They have moved, smiled at something else, or wiped their nose. If you shoot kids or family, budget for the lithium-ion battery upgrade (Godox V860III or AD200 series).
One extra rule worth knowing: the 3 lighting rule is a portrait staple. Place your key light at roughly 45 degrees from the subject on one side, a fill reflector or low-power fill light on the opposite side at half or less the key’s intensity, and a hair or rim light behind the subject to separate them from the background. Master the three-light layout before you chase more complex setups.
Buying Used vs New: Where Beginners Can Save
Used gear is where beginner budgets stretch the most, but it is also where beginners get burned. A few rules help.
OEM flashes from Canon, Nikon, and Sony hold their value and their function. A used Canon 580EX II or Nikon SB-700 with a low shutter count will perform like new. The risk on used OEM is mainly cosmetic: cracked bodies, scuffed hot shoes, and worn flash tubes (visible as a cloudy or pitting on the glass).
For third-party gear, used is riskier. Godox and Yongnuo units often fail through trigger ports or battery contacts before the flash tube gives out. If you buy used, test the unit with your own camera before completing the transaction if possible.
Reputable sellers matter more than brand. MPB, KEH, and large-volume eBay sellers with high feedback and return policies are safer than random Amazon marketplace listings. Local camera shops with used counters are often the best option because you can hand-test in person.
Avoid used triggers unless they are from a known ecosystem. Trigger reliability is the most failure-prone category, and replacing a flaky used trigger with a new one wipes out your savings.
Finally, inspect before you commit. Look at the flash tube for pitting or discoloration, check the hot shoe pins for corrosion, test the battery contacts, fire the flash at full power ten times in a row to confirm the recycle circuit is healthy, and verify TTL works on your specific camera body.
Frequently Asked Questions
What is the best budget photography lighting kit for beginners?
The best budget photography lighting kit for beginners is a one-light off-camera speedlight setup: a Godox TT600 (or TT685 if you want TTL) on a 7-foot light stand, fired by a Godox X2T or XPro wireless trigger, softened by a 33-inch shoot-through umbrella or 24-inch softbox, and paired with a 32-inch 5-in-1 reflector. This kit covers indoor family portraits, headshots, and basic two-person sessions and is the foundation most beginner portrait photographers should start with.
What is the best flash for portrait photography?
For portraits, the best budget flash is a TTL-capable speedlight from the Godox X ecosystem. The Godox V860III is the top pick if you want lithium-ion battery reliability and fast recycle. The Godox TT685 is the budget pick if you want TTL on AA batteries. Both support HSS for outdoor work and pair with a single Godox X2T trigger.
What are some budget-friendly lighting options for photography?
Budget-friendly lighting options include: a single speedlight with a wireless trigger, a 7-foot light stand, a shoot-through umbrella, a 5-in-1 reflector, a continuous LED panel for hybrid photo/video work, a window with a white sheet for diffused natural light, and a plain wall as a bounce surface. Start with one source and one modifier, then add a second light once you can confidently place the first.
What is the 3 lighting rule?
The 3 lighting rule in portrait photography is to use three lights in distinct roles: a key light as the main source (typically at 30 to 45 degrees from the subject), a fill light or reflector on the opposite side to soften shadows created by the key, and a hair light or rim light behind the subject to separate them from the background. The fill should be at half or less the intensity of the key, and the hair light should be focused and not spill onto the subject’s face.
What are some DIY lighting ideas for portrait photography?
DIY lighting ideas for portrait photography include: using a window with a white sheet taped over it as a large softbox, bouncing a speedlight off a white ceiling or wall, using a foam core board as a fill reflector, clipping a sheer white fabric over a shoe-mount flash to soften it, and shooting in open shade near a reflective wall for free wraparound light. Many great portraits have been lit with a single window and a piece of foam core.
Is TTL or manual flash better for beginners?
TTL is better for the very first month because it removes one variable while you learn placement and modifier behavior. Manual flash is better once you understand exposure because it gives faster recycle, more consistent exposures across a session, and full control. The practical answer: start with TTL while you learn, transition to manual within a few months, and pick a flash that supports both.
Final Thoughts
The best budget flash and lighting for beginner portrait photographers is the kit you will actually learn. A $150 one-light Godox setup, used thoughtfully for a year, will produce better portraits than a $2000 Profoto kit you cannot figure out. Start with one light, one modifier, and one trigger. Shoot in TTL for a month, then switch to manual. Add a second light once you can place the first with confidence.
The biggest jump in your portrait quality will come from learning to see light, not from buying brighter gear. Spend on the modifier before you spend on a more powerful flash. A $60 speedlight into a $40 softbox will out-perform a $400 speedlight into a bare reflector every time. Practice beats gear, and the best time to start was last week, so pick one piece and begin today.