
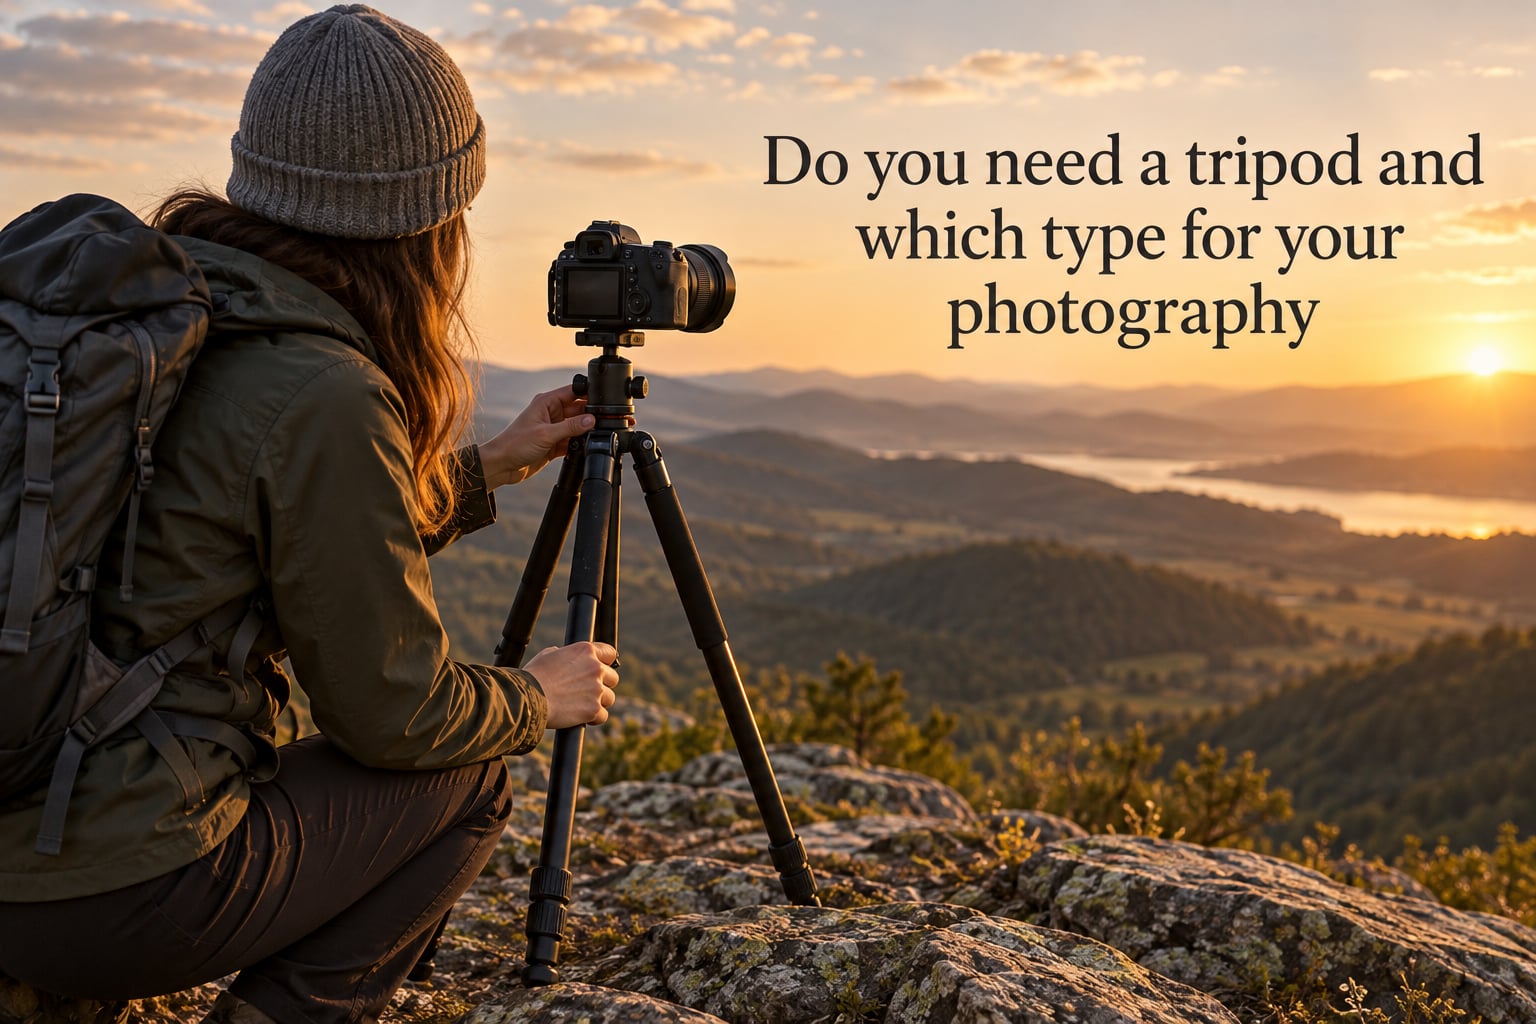
I get this question from family photography clients all the time: “Do I really need a tripod?” The honest answer is yes — but only sometimes, and only a specific kind. A tripod is one of the most over-recommended and under-used tools in a beginner’s bag. Buy the wrong one and it lives in a closet. Buy the right one and it quietly makes every photo sharper.
This guide answers the question we hear most at Sparkfly Photography: do you need a tripod for photography, and which type fits the way you actually shoot? We’ll cover the shutter-speed rule, the tripod parts that matter, the styles that match each genre, and the honest alternatives worth considering before you spend a cent.
Table of Contents
- Quick Answer: Do You Need a Tripod?
- Do You Actually Need a Tripod?
- When You Need a Tripod (and When You Don’t)
- Tripod Components 101
- Types of Tripods by Photography Style
- Tripod Head Types Explained
- Aluminum vs Carbon Fiber Tripods
- Tripod Alternatives Worth Considering
- How to Choose the Right Tripod
- Setup Tips for Sharper Images
- Frequently Asked Questions
- Is a tripod necessary for photography?
- What to use instead of a tripod?
- Does a tripod work for any camera?
- What kind of tripod do I need for portrait photography?
- Are carbon fiber tripods better than aluminum?
- Do I need a tripod for low light photography?
- How do I choose a tripod for my camera?
- What is the 20-60-20 rule in photography?
- The Right Tripod Starts With Your Photography
Quick Answer: Do You Need a Tripod?
Yes, you need a tripod whenever your shutter speed drops below about 1/60 second, when framing consistency matters, or when you want to use techniques handheld simply cannot do. That covers most low-light scenes, long exposures, video, astrophotography, HDR, time-lapse, and self-portraits.
You probably don’t need a tripod for daylight street photography, casual travel snapshots, fast sports at high shutter speeds, or any moment where speed matters more than stability.
Here are the six situations where a tripod is non-negotiable:
- Long exposures — anything slower than 1/30 sec, including waterfalls, light trails, and motion blur.
- Low light — indoor family sessions, restaurants, concerts, blue hour.
- Landscapes — sunrise, sunset, and any scene where you want depth and sharpness corner to corner.
- Video and vlogging — handheld video is shaky; smooth video needs a stable platform.
- Astrophotography — Milky Way, Northern Lights, and star trails require exposures of 10-30 seconds.
- HDR, panoramas, and focus-stacking — multiple frames must align pixel-for-pixel.
If your situation is on that list, the rest of this article will help you pick the right type. If it isn’t, skip to the alternatives section.
Do You Actually Need a Tripod?
The tripod is the single most effective tool for eliminating camera shake. Image stabilization and high ISO help, but neither replaces a locked-down camera. At slow shutter speeds, no amount of in-body stabilization saves a hand-held frame from micro-blur.
The rule I teach in our family photography sessions is simple: if your shutter speed is slower than 1/(focal length × 2), use a tripod. With a 50mm lens, that means 1/100 sec. With a 200mm telephoto, anything below 1/400 sec needs support. The “1/60 second” rule of thumb is a beginner-friendly version of the same idea.
A tripod also forces you to slow down. I notice this every time I work with new clients — the moment they mount the camera, they start composing more carefully. That’s not magic; it’s the natural result of standing still long enough to actually look.
When You Need a Tripod (and When You Don’t)
You need a tripod when stability, framing consistency, or shutter speed demands it. You don’t need one when speed, discretion, or weight is the priority. Here’s how I break it down by genre.
Situations Where a Tripod Is Essential
- Long exposures — waterfalls, traffic light trails, motion-blurred water.
- Low light — indoor family dinners, blue hour, candle-lit events.
- Landscape photography — sunrise, sunset, and any scene where you want front-to-back sharpness.
- Astrophotography — the Milky Way, Northern Lights, star-trail stacks.
- HDR photography — bracketed exposures must align perfectly.
- Panoramas — the nodal point stays fixed only if the camera does.
- Macro photography — focus-stacking and tiny depth of field demand stillness.
- Macro food and product photography — controlled lighting plus zero camera movement.
- Self-portraits and group photos — including the timer-driven family portrait.
- Real estate and architecture — straight lines and consistent framing.
- Video and vlogging — smooth footage requires a static base.
- Wildlife with telephoto lenses — 300mm and up magnify every vibration.
Situations Where You Can Skip the Tripod
- Daylight street photography — shutter speeds stay above 1/500 sec.
- Casual travel snapshots — modern IBIS and high ISO handle most scenes.
- Fast sports at high ISO — modern mirrorless bodies shoot 1/2000 sec handheld with no problem.
- Event candids in good light — discretion beats stability here.
If your style is mostly the second list, save your money and your back. If it overlaps the first list even a little, you’ll get sharper images the moment a tripod enters your kit.
Tripod Components 101
A tripod system is four parts working together: legs, head, centerpost, and feet. Understanding each piece is the difference between buying a tool and buying frustration.
Legs
Tripod legs come in 2, 3, or 4 sections. More sections mean a smaller folded size but more wobble. Twist locks are faster and lighter; flip locks are easier with cold hands. Most travel tripods use 4-section twist-lock carbon fiber legs.
Tripod Head
The head is what holds and moves your camera. Tripods sold “with head included” usually have a low-quality head that limits the whole system. A separate, quality head is almost always worth it.
Centerpost / Center Column
The center column lets you raise the camera higher than the legs allow. It also introduces wobble when extended. Photographers who shoot at eye level often avoid extending the center column entirely.
Feet
Rubber feet grip indoor surfaces and protect wood floors. Metal spikes dig into soil and grass for outdoor stability. Many tripods swap between the two.
Quick-Release Plate
The plate is what attaches your camera to the head. The Arca-Swiss standard (also called Arca-type) is the universal default — if a tripod or head uses Arca-Swiss, plates and clamps are interchangeable across brands.
Yes, a tripod works for any camera that has a tripod socket — every modern DSLR, mirrorless body, and even most smartphones with a phone clamp. The deciding factor is load capacity, not compatibility.
Types of Tripods by Photography Style
Match the tripod to the work you’ll actually do, not the work you hope to do. Here is the breakdown I use when recommending gear to photography students.
Standard Full-Size Tripod
Best for studio, landscape, real estate, and portrait sessions. Tall, stable, and built for heavy full-frame bodies with telephoto lenses. Heavier to carry.
Travel Tripod
Best for hikers, frequent flyers, and travel photographers. Folds down small enough to fit in carry-on luggage. Carbon fiber versions weigh 2-3 lbs; aluminum versions 3-5 lbs.
Mini and Tabletop Tripod
Best for vloggers, phone content creators, tabletop food photography, and desk video calls. Sits a foot or two high — useless for eye-level portraits.
Video Tripod
Built for smooth pans and tilts. Has a fluid head, a longer center column for taller rigs, and often a half-ball mount for leveling. Heavier than photo tripods.
Heavy-Duty Tripod
Studio and large-format work. Rated for 30+ lbs. Overkill for most hobbyists.
Flexible Tripod / Gorilla Pod
Small, bendable legs that wrap around branches, railings, and poles. Best for travel content creators and phone shooters who need odd angles.
Portrait and Family Photography Tripods
For studio family work — which is what we do most at Sparkfly Photography — a sturdy mid-weight tripod with a solid ball head hits the sweet spot. Tall enough for standing adult portraits, stable enough for low-light indoor sessions with a 50mm or 85mm prime, and quick enough to reposition between setups. Avoid the ultra-lightweight travel tripods here; they flex under heavier lenses and slow down your workflow.
Tripod Head Types Explained
The head you choose affects how fast and how precisely you can compose. Most beginners grab whatever came with the tripod and never replace it. That’s a mistake — the head is the part you actually touch every shot.
Ball Head
One knob controls all movement. Fast to adjust, easy to level, ideal for photo work. Most photography tripods ship with a ball head.
Pan-Tilt Head
Two separate handles — one for horizontal pan, one for vertical tilt. Slower to use but more precise. A favorite for architecture and video beginners.
Fluid Head
The standard for video. Built-in fluid cartridges make pans buttery smooth. Not ideal for still photos because they don’t lock as rigidly.
Gimbal Head
Designed for wildlife and sports with long telephoto lenses. Balances the camera so it floats and tracks moving subjects effortlessly. Heavy and overkill for landscapes.
Geared Head
Knobs that move the camera in tiny, precise increments. Built for architecture, macro, and product photography where exact framing matters more than speed.
For most family and portrait work, a quality ball head is the right pick. For video, choose a fluid head. For wildlife, get a gimbal.
Aluminum vs Carbon Fiber Tripods
Carbon fiber costs more but weighs less and absorbs vibration better. Aluminum is cheaper, heavier, and slightly more durable against knocks.
| Factor | Aluminum | Carbon Fiber |
|---|---|---|
| Weight | Heavier (3-6 lbs typical) | Lighter (2-3 lbs typical) |
| Vibration damping | Good | Excellent — dampens faster |
| Cost | Lower | Higher |
| Cold-weather handling | Gets cold to touch | Stays closer to ambient |
| Durability against knocks | Very strong | Strong but can crack under sharp impact |
| Best for | Studio, home base, beginners | Hiking, travel, long shoots |
For most beginners, aluminum is the smarter first tripod — you can upgrade to carbon fiber later. For hikers and frequent travelers, the weight saving of carbon fiber is worth the premium.
Tripod Alternatives Worth Considering
Sometimes the right answer isn’t a tripod at all. Several lighter supports solve specific problems more elegantly.
Monopod
A single-leg support. Half the weight, twice the setup speed. Best for events, sports, and travel where you need stability without full commitment.
Gorilla Pod / Flexible Tripod
Bendable legs wrap around poles, branches, and railings. Great for travel content creators, phone shooters, and odd-angle vlogging.
Bean Bag
The classic wildlife photographer’s tool. Sit it on a car window, fence post, or ground. Quiet, fast, and stable for long lenses.
Clamp and Magic Arm
A camera clamp plus an articulated arm. Clamps onto tables, branches, fences, and railings. Excellent for macro and travel content.
Tabletop Tripod
A mini tripod that sits at desk or table height. Ideal for phone video calls, food photography, and small product shots.
If you skipped the tripod “essentials” list above, one of these alternatives is almost certainly the better fit. Don’t buy a full tripod if you actually need a monopod.
How to Choose the Right Tripod
The fastest way to choose is to match the tripod to your heaviest lens and your most common shooting location. Use this decision checklist.
- Find your heaviest camera + lens combo. Multiply by 2 — that’s the load capacity your tripod needs.
- Decide on the head type. Photo work → ball head. Video → fluid head. Wildlife → gimbal head.
- Pick the material. Mostly at home or in studio → aluminum. Hiking, travel, or long shoots → carbon fiber.
- Check max working height. Aim for eye level without extending the center column.
- Confirm folded length. Travel photographers should target a folded size under 18 inches for carry-on.
- Look for Arca-Swiss compatibility. It makes plates, L-brackets, and clamps interchangeable across brands.
- Check the warranty. Premium brands like Gitzo and Really Right Stuff offer lifetime warranties; budget brands usually offer one year.
- Buy the head separately if possible. The head controls your daily experience more than the legs do.
A common beginner mistake is buying the cheapest tripod that “looks like a tripod.” The legs flex, the head drifts, and within a year it’s in a closet. The most-mentioned advice on photography forums is the same: buy once, cry once. A solid mid-range tripod lasts decades.
Another warning sign: plastic leg locks. They strip out within months. Metal twist locks or metal flip locks last much longer.
Setup Tips for Sharper Images
Even the best tripod fails if you skip the basics. A few habits make any tripod sharper.
- Hang a weight from the center hook. Your camera bag adds stability in wind.
- Use a remote shutter or 2-second timer. Pressing the shutter button moves the camera.
- Enable mirror lock-up on DSLRs. The mirror slap causes micro-blur at slow shutter speeds.
- Avoid extending the center column. It’s the wobbly part.
- Spread the thickest leg section down. Thicker tubes at the top give more stiffness where it counts.
Frequently Asked Questions
Is a tripod necessary for photography?
A tripod is necessary whenever your shutter speed drops below about 1/60 second, when framing consistency matters across multiple shots, or when you shoot long exposures, low-light scenes, landscapes, video, astrophotography, HDR, or self-portraits. For daylight street and casual travel, image stabilization and high ISO make a tripod optional.
What to use instead of a tripod?
Alternatives include a monopod (one-leg support for events and travel), a gorilla pod (flexible legs that wrap around poles and railings), a bean bag (great for wildlife from a car), a clamp with magic arm (for macro and travel), and a tabletop tripod (for desk and small-product work). Each solves a specific problem better than a full tripod would.
Does a tripod work for any camera?
Yes. Every modern DSLR, mirrorless camera, and even most smartphones with a clamp has a tripod socket or mount option. The deciding factor is load capacity: pick a tripod rated for at least twice the weight of your heaviest camera and lens combination.
What kind of tripod do I need for portrait photography?
For studio family and portrait work, a sturdy mid-weight tripod with a solid ball head is the right fit. It should reach eye level without extending the center column, support at least twice the weight of your heaviest lens, and use the Arca-Swiss quick-release standard so plates and L-brackets stay interchangeable across gear.
Are carbon fiber tripods better than aluminum?
Carbon fiber tripods are lighter, absorb vibration faster, and stay closer to ambient temperature in cold weather. Aluminum tripods are cheaper, heavier, and slightly more resistant to sharp knocks. For studio and home use, aluminum is fine. For hiking, travel, and long outdoor shoots, carbon fiber is worth the premium.
Do I need a tripod for low light photography?
Yes. Low light forces slower shutter speeds, and handheld shots below about 1/60 second almost always show camera shake. A tripod lets you shoot at 1/15 sec or slower while keeping ISO low and image noise under control.
How do I choose a tripod for my camera?
Start with your heaviest camera plus lens combo and double it to find the minimum load capacity. Pick a head type that matches your work: ball head for photo, fluid head for video, gimbal head for wildlife. Decide on material based on where you shoot most. Aim for eye-level height without extending the center column. Confirm Arca-Swiss compatibility, then buy the best tripod your budget allows.
What is the 20-60-20 rule in photography?
The 20-60-20 rule is a beginner-friendly approach to manual photography: spend 20 percent of your time on composition and subject, 60 percent on camera settings and exposure, and 20 percent on review and refinement. It helps new photographers balance technical learning with creative eye development instead of obsessing over settings alone.
The Right Tripod Starts With Your Photography
The answer to “do you need a tripod for photography” is yes — but only when your shutter speed drops below 1/60 second or when framing consistency matters. The answer to “which type” depends on the work you actually do: a sturdy ball-head tripod for studio family portraits, a lightweight carbon fiber travel tripod for hiking, a fluid-head video tripod for vlogging, or a monopod or gorilla pod when speed and weight beat stability.
Pick the tripod that matches your heaviest lens, your most common location, and the head you actually enjoy using. Buy once, cry once beats buying twice every single time. If you’d like help choosing a tripod that fits your specific photography style, our team at Sparkfly Photography is happy to talk it through.