
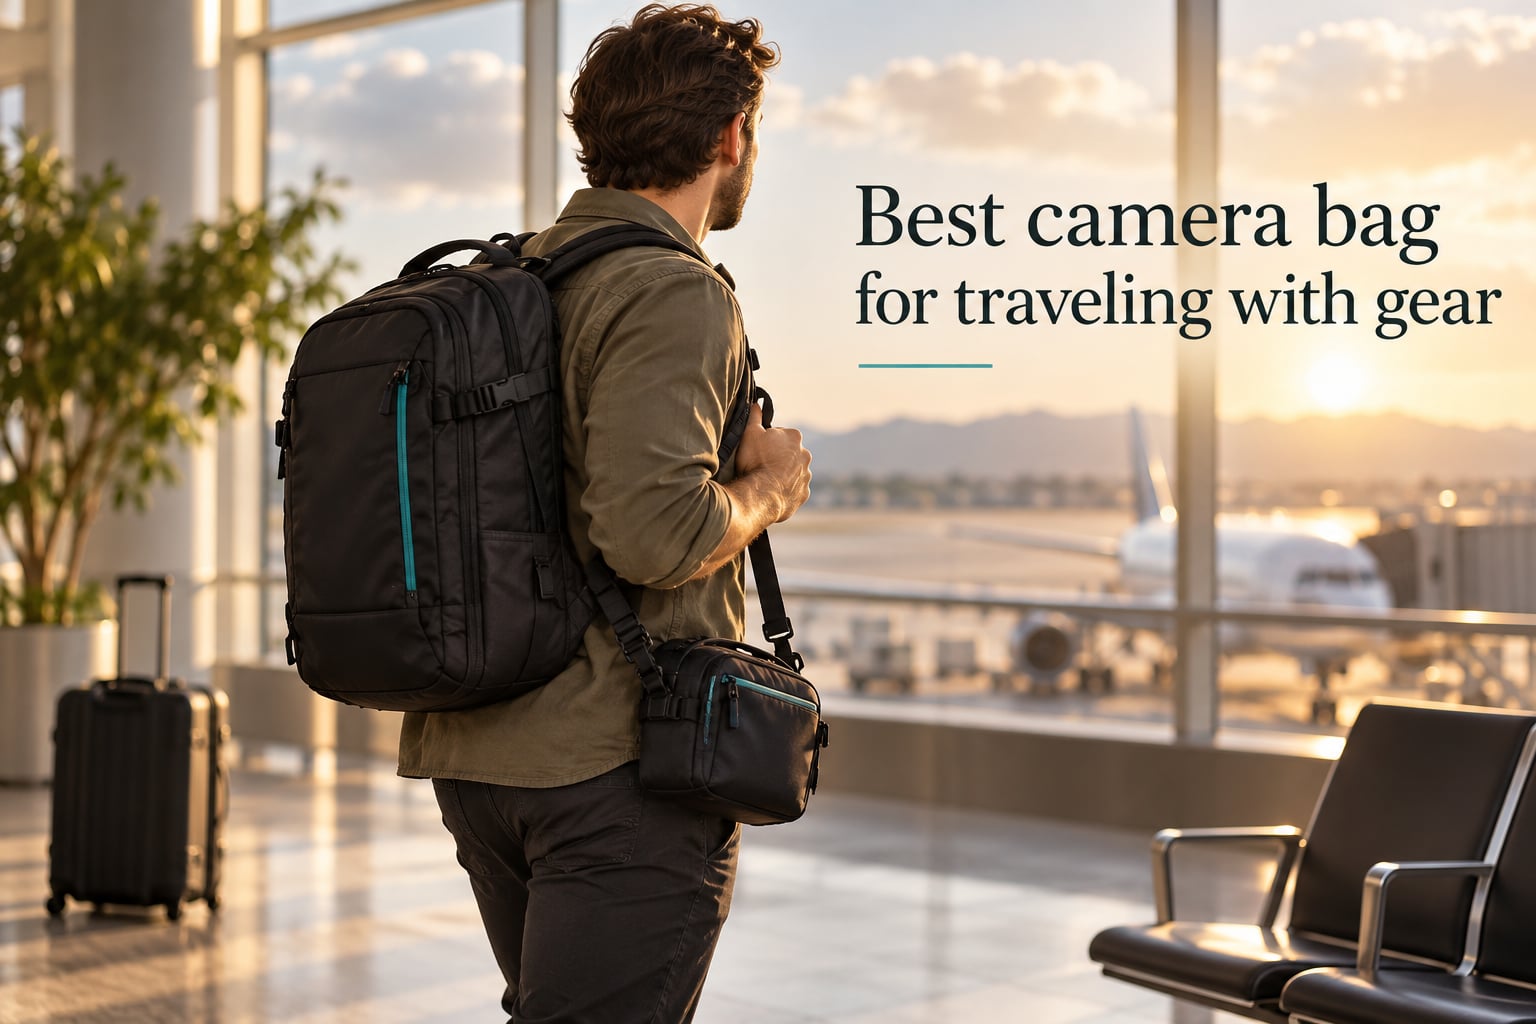
I learned this the hard way. Two years ago, I checked a backpack full of camera gear on a flight to a destination wedding and arrived to find a cracked 24-70mm lens and a body with a scratch it did not have at takeoff. That is the day I stopped treating my camera bag like an afterthought and started treating it like insurance.
If you are searching for the best camera bag for traveling with gear, you are not looking for a single product. You are looking for the right system of protection, access, and airline-friendly sizing that matches the way you actually shoot. In our studio, we photograph a lot of family sessions, but we also travel for destination weddings, senior portraits on the road, and the occasional landscape trip. Our team has tried enough bags that the straps on some of them still smell like new.
This guide is the breakdown I wish I had read before that broken-lens flight. We will cover the five main types of travel camera bags, the seven features that actually matter, a studio-photographer take on what works for portrait gear, how to clear TSA without a sweat, and a decision framework so you stop second-guessing your choice. By the end, you will know which bag category fits your trips and gear list, not just which one has the loudest branding.
Table of Contents
- Quick Answer: What Is the Best Camera Bag for Traveling With Gear
- 5 Types of Camera Bags for Travel
- What to Look for in a Travel Camera Bag
- Backpack-Style Camera Bags: The All-Around Workhorse
- Sling Bags: Speed and Stealth for the City
- Roller and Wheeled Camera Bags for Heavy Loads
- The Camera Cube and Insert Approach
- How to Pack Camera Gear for a Flight
- TSA and Airport Security With Camera Gear
- Choosing a Camera Bag by Trip Type
- Camera Bag Accessories That Make a Real Difference
- How to Choose the Right Travel Camera Bag for You
- Frequently Asked Questions
- What is the best camera bag for travel?
- How to pack camera gear for travel?
- How do I go through TSA with camera gear?
- Can I bring my camera gear on a plane?
- Are camera bags still popular?
- Do you really need a camera bag?
- What size camera bag do I need for travel?
- Is a dedicated camera bag better than an insert?
- The Bottom Line
Quick Answer: What Is the Best Camera Bag for Traveling With Gear
The best camera bag for traveling with gear is whichever bag lets you carry your full kit as carry-on, access any lens in under five seconds, survive real rain, and still feel comfortable after a six-hour travel day. For most photographers, that means a carry-on camera backpack with a dedicated laptop sleeve, side or back-panel access, and a removable padded interior.
There is no single winner, because the right bag depends on the trip. The five categories that cover almost every travel photographer are:
- Camera backpack – the all-around workhorse for flights, hikes, and multi-day trips.
- Camera sling – a fast-access one-strap bag for city breaks and street work.
- Camera roller – a wheeled carry-on for heavy telephoto kits and long-haul flights.
- Camera cube or insert – padded dividers that turn any travel backpack into a camera bag.
- Hybrid daypack – a low-profile bag with hidden padding for travel plus everyday use.
If you are flying internationally with two bodies, four lenses, a laptop, and lighting accessories, a carry-on camera backpack like the Peak Design Travel Backpack 45L or the Vanguard Alta Sky 51D is the safest starting point. If you are doing a quick weekend city break with a single mirrorless body and two primes, a sling like the Peak Design Everyday Sling 10L will get you out of the airport faster and keep you from looking like a tourist.
5 Types of Camera Bags for Travel
Before you fall in love with a specific brand, decide which type of bag you actually need. Photographers who skip this step end up with three bags in a closet and still grab the wrong one. Here is how the five main types compare.
| Bag Type | Capacity | Access Speed | Carry-On Friendly | Best For |
|---|---|---|---|---|
| Camera backpack | 1–3 bodies, 4–8 lenses | Fast with side or back panel | Yes (most 30–45L models) | Flights, multi-day trips, hiking |
| Camera sling | 1 body, 2–3 lenses | Very fast, swing to front | Yes, doubles as personal item | City breaks, street, events |
| Camera roller | 2–3 bodies, 6–10 lenses | Slow, top-loading mostly | Yes (international carry-on size) | Heavy kits, safari, long flights |
| Camera cube / insert | Matches your travel pack | Fast if cube is well-designed | Yes, flexible carry-on sizing | One-bag travelers, hybrid trips |
| Hybrid daypack | 1 body, 2–4 lenses | Fast with side access | Yes, fits under most airline seats | Everyday carry, light travel |
Most studio photographers I know end up with two bags. One large camera backpack or roller for flights and big shoots, and one compact sling or daypack for everyday walking around with a single camera and one or two lenses. If you only buy one bag, buy the one that fits your largest trip, not your smallest.
Here is the short version of each type, with the kinds of trips and gear they serve best.
Camera backpacks
Camera backpacks are the workhorses of travel photography. They hold the most gear, distribute weight across both shoulders, and almost always pass as a personal item or carry-on if you pick the right size. Look for 25 to 45 liter capacity, padded shoulder straps, a removable waist belt for heavier loads, and at least one quick-access panel (side or back).
Camera slings
A camera sling rides on one shoulder and rotates to the front for fast lens swaps. They are perfect for street photography, city breaks, and wedding guests who still want great photos. The trade-off is capacity – you usually fit one body and two or three small lenses.
Camera rollers
Wheeled camera bags shine on long flights, in airports with lots of terminal walking, and for photographers carrying heavy telephoto lenses like a 100-400mm or 70-200mm. They are bulky, slow to access on the go, and feel heavy in a car trunk, but they protect your back and your gear.
Camera cubes and inserts
A camera cube is a padded box with adjustable dividers that drops inside a regular travel backpack. This approach is huge with one-bag travelers because you can use the same outer backpack for hiking, business, or personal travel and only pull out the cube when you are shooting. Peak Design, Lowepro GearUp, and Vanguard VEO all make well-known cubes.
Hybrid daypacks
Hybrid bags look like ordinary backpacks but have a hidden padded camera compartment and a quick-access side panel. Brands like the WANDRD PRVKE, Nomatic McKinnon, and Bellroy Venture Ready sit in this category. They are the best choice if you want a single bag for travel and everyday use without screaming “expensive gear inside”.
What to Look for in a Travel Camera Bag
Specs are easy to list and hard to prioritize. After testing more camera bags than I care to admit, our team agrees on seven features that actually matter on the road. Skip any one of these and your bag will frustrate you somewhere between the airport and the hotel.
1. Carry-on size and airline compliance
The number one rule: your camera bag should fit as carry-on for the airlines you fly most. Most U.S. carriers allow 22 x 14 x 9 inches for overhead bins. European budget carriers are tighter, often 21.5 x 15.5 x 7.8 inches. A bag that is too tall by half an inch will get gate-checked, and that is how my 24-70mm lens met the conveyor belt.
2. Quick access panels
Top-loading only is a deal-breaker for travel. Look for side access (swing the bag around and grab a lens without taking it off) or back-panel access (lay the bag flat on a table and open it like a clamshell). Both designs keep gear out of sight and let you swap lenses in 5 to 10 seconds.
3. Weight distribution and comfort
An empty camera bag should weigh under 5 pounds. Once you load two bodies, four lenses, a flash, and a laptop, you can easily hit 18 to 25 pounds. A padded hip belt transfers 30% of that weight to your hips, which is the difference between a fine travel day and a backache that ruins the shoot.
4. Padded, customizable dividers
Velcro-attached padded dividers let you shape the interior around your specific kit. The best bags use thicker closed-cell foam and divider walls that do not collapse under a heavy lens. If dividers feel thin in the store, they will feel thinner on the road.
5. Weather protection
Look for DWR-coated fabric, welded or storm-flapped zippers, and a real rain cover (not just “water-resistant” marketing copy). On a destination shoot in Iceland, a sudden rain shower soaked a friend’s camera backpack through the zippers in under a minute. He now buys bags with welded zippers or pulls a pack rain cover over the whole thing.
6. Laptop sleeve sized for modern laptops
If you travel with a 15- or 16-inch MacBook, check the laptop compartment dimensions. Many older bags max out at 13 inches. A laptop sleeve that fits a 16-inch device and has its own padded wall protects your computer when you set the bag down hard or drop it into an overhead bin.
7. Security and stealth
Bags that obviously look like camera bags are targets in tourist areas. Stealth designs (no external “Nikon” or “Canon” logos), lockable zippers, hidden pockets for passports, and RFID-protected card slots are all worth the small upcharge. Toss an AirTag in the dedicated pocket and you can locate the bag from your phone if it goes missing.
Backpack-Style Camera Bags: The All-Around Workhorse
If I had to recommend a single category for most photographers, it is the carry-on camera backpack. They handle flights, day hikes, and destination weddings without skipping a beat. The bags that come up again and again in photographer forums are the Peak Design Travel Backpack, Vanguard Alta Sky, Lowepro ProTactic, Shimoda Explore, and WANDRD PRVKE.
What makes a backpack work for travel is the combination of a clamshell or roll-top opening, side access, and a removable internal camera unit (ICU). That ICU is the magic part. On days when you only want a body and one lens, you can pull the ICU out and use the bag as a regular travel backpack for clothes and a laptop.
For studio photographers doing destination family sessions, the 30 to 40 liter range hits the sweet spot. You can fit two mirrorless bodies, three or four lenses (one of which can be a 70-200mm), a flash, triggers, a 16-inch laptop, and a small tripod, all while staying under most airline carry-on limits. The Peak Design Travel Backpack 45L is the most popular option in this size, with the Vanguard Alta Sky 51D and the Shimoda Explore V2 35 close behind.
Fit matters as much as features. A bag that fits a 6’2″ frame will be too long in the torso for someone 5’4″. Shimoda and F-Stop Tilopa offer adjustable torso lengths, which is why many smaller photographers and many women prefer them over Peak Design. If you cannot try the bag in person, read the spec sheet for torso length and hip belt sizing before you buy.
Sling Bags: Speed and Stealth for the City
Sling bags are the fastest-access option on the market. You swing the bag from your back to your front, unzip the side panel, and you are swapping lenses without ever taking the bag off. On a busy street in Tokyo or a packed wedding reception, that speed is the difference between catching the moment and missing it.
The trade-offs are real. Capacity is limited to one body and two or three small primes or a small zoom. The single-strap design concentrates weight on one shoulder, which gets uncomfortable after a few hours. And most slings are too small to fit a 15-inch laptop, so they are a “second bag” choice rather than your only bag.
The Peak Design Everyday Sling series is the most popular pick for travel slings, with 3L, 6L, and 10L sizes. The Bellroy Venture Camera Sling 10L is a close second, with a sleeker look that works well for street photography. Both have FlexFold dividers (Peak Design) or similar origami-style interiors that fold to fit your exact kit.
If you only shoot a single mirrorless body with a 35mm or 50mm prime, a sling is honestly all the bag you need for a city break. If you are a wedding photographer carrying backup bodies or long lenses, the sling becomes a secondary bag for walking around after the shoot.
Roller and Wheeled Camera Bags for Heavy Loads
There is a point where no ergonomic strap saves your back. Once your kit includes two bodies, a 70-200mm, a 100-400mm, a laptop, and lighting gear, you are looking at 30+ pounds. Wheels win.
Camera rollers like the Think Tank Airport Airstream, the Vanguard Alta Fly 55T, and the Lowepro Pro Roller x200 are designed to fit international carry-on dimensions while holding serious gear. They have reinforced corners, smooth-rolling sealed-bearing wheels, and lockable zippers for airport handling.
The downside is access. Most rollers open from the top like a traditional suitcase, which means digging for the lens you want. A few models add side access panels for fast lens swaps, but if access speed is your top priority, a backpack is still better. Rollers are best for photographers who travel long distances between hotels, work safari or wildlife trips, or simply do not want to carry 30 pounds through a terminal.
The Camera Cube and Insert Approach
Here is the approach more working photographers are turning to in 2026: drop a padded camera cube inside a regular travel backpack. You get the camera protection of a dedicated bag with the versatility of a normal travel pack. The Peak Design Camera Cube, Lowepro GearUp Creator Box, and Vanguard VEO BIB series are the most popular cubes.
The cube approach is great if you want one outer backpack that does double duty as a personal item on flights, a hiking pack on trail days, and a camera bag on shoot days. Pull the cube out for the hike, drop it back in for the next shoot. Many travel photographers on Reddit and the r/onebag community run exactly this setup with a Peak Design Travel Backpack or a carry-on roller.
The trade-off is fit. A cube takes up interior space, which means your regular backpack carries less clothing and personal gear than it would without the cube. Side access on the outer pack may also be limited, since the cube blocks the path to your camera. If you want full side access with a cube, look for an outer pack designed for cubes, like the WANDRD PRVKE or the Atlas Adventure Pack.
For studio photographers who travel for destination weddings, the cube approach is a quiet winner. You can use the same outer backpack to carry your portrait lighting kit, your laptop, and personal items, then slot the camera cube in when you are shooting. It feels less like a “camera bag” at the hotel, which can matter in high-end venues.
How to Pack Camera Gear for a Flight
Packing a camera bag for air travel is less about Tetris and more about damage control. The cabin has less pressure variation than the cargo hold, but the real risks are overhead bin weight from other passengers, gate-checking, and rough handling. Here is the system our studio team uses.
- Keep the camera body in your personal item. If you have both a carry-on and a personal item, the personal item is the safer place for your main body. It stays under the seat in front of you, where nobody can crush it.
- Wrap lenses in padded dividers. Every lens gets its own slot, with closed-cell foam dividers on all sides. Avoid letting lenses touch each other or the body directly.
- Carry batteries in your cabin bag. Airlines and IATA rules require spare lithium batteries in carry-on only, never checked luggage. Pack them in a small fireproof pouch or in the original retail packaging.
- Remove filters and store them separately. A UV or polarizing filter is a cheap way to protect the rear element of an expensive lens. Pack filters in a hard case in the center of the bag, surrounded by soft gear.
- Set the bag up for one-handed TSA access. When you clear security, you will need to pull out your laptop and possibly a camera. Organize the bag so the laptop sleeve and main camera compartment open without unpacking everything.
If you are checking a roller bag (which we do not recommend for camera gear, but it happens), remove batteries and memory cards and carry them on. Tape over zippers, add a lock, and consider a GPS tracker like an AirTag in the bag.
TSA and Airport Security With Camera Gear
Clearing TSA with camera gear is not hard, but it is slow if you do it wrong. Most screeners are photographers themselves and will not make you remove every lens, but a packed bag still triggers extra screening in some airports. Here is how to get through without a 20-minute pat-down.
- Pack your laptop in its own sleeve, easy to remove. Laptops must come out of the bag for screening in the U.S. Put the laptop in the top of the bag so you can lift it out without rearranging anything.
- Leave large lenses attached to the body. Removing every lens signals to the scanner that you have a lot of camera equipment. One body with a mounted lens and the rest in the bag is usually fine.
- Be ready to send the bag through again. Dense camera gear can look suspicious to the X-ray. If the bag gets a hand inspection, stay calm, answer the questions, and let the screener swab a strap or two.
- International rules vary. In the EU and UK, large electronics stay in the bag. Some airports ask you to turn the camera on to prove it works. Keep a charged battery.
- Carry proof of ownership for expensive gear. A printed receipt or insurance document for a $5,000 lens can save you a customs interview in some countries.
- Pre-print your camera serial numbers. A small laminated card with serial numbers, brand, and model helps at international customs if you are carrying high-value gear into countries with high import duties.
- Use a discreet bag. A camera backpack that looks like a regular travel pack draws less attention from screeners and less from opportunistic thieves in crowded airports.
If you are flying with a drone, remove the batteries and follow the same carry-on rules. Some airlines also require drones to be declared at check-in for international flights. Check your airline’s website 48 hours before departure.
Choosing a Camera Bag by Trip Type
The right camera bag for a weekend city break is the wrong camera bag for a 10-day safari. Match the bag to the trip, not the other way around. Here is how our team thinks about it.
City breaks and short trips
Pick a sling or a small backpack like the Peak Design Everyday Backpack 20L or the WANDRD PRVKE 21L. You want fast access for street shots, a low profile in crowds, and a bag that fits under the airline seat in front of you so you can keep an eye on it during taxi and landing.
Road trips and domestic travel
A 30-liter camera backpack with a removable ICU gives you room for personal items plus a full mirrorless kit. Side access means you can pull over on a scenic drive, grab a shot, and get back on the road in under a minute. The Vanguard Alta Sky 45D and the Lowepro ProTactic 450 AW are strong picks here.
Hiking and backcountry
Choose a hiking-first backpack with a removable camera unit. The F-Stop Tilopa, Atlas Adventure Pack, and Shimoda Explore V2 are designed to carry a tripod on the side, distribute weight to a hip belt, and survive wet weather. A hydration bladder sleeve is a nice plus on long trail days.
International flights and long-haul travel
For international carry-on, a roller or a 40 to 45 liter backpack is the most practical choice. The Think Tank Airport Airstream and Peak Design Travel Backpack 45L are both designed to clear international carry-on rules. Pack a small sling or insert in the carry-on for the long walks through airport terminals when you do not want the full kit on your back.
Wedding and family sessions on the road
This is the studio photographer angle. For a destination wedding or an out-of-town family session, you need two camera bodies, a fast prime, a zoom, a flash, and a small softbox or reflector. A 35-liter camera backpack with a removable ICU handles the cameras and lighting, and you can fit a separate roller for clothing and backup gear.
Safari and wildlife trips
Wildlife means long lenses, which means a roller or a 50-liter hiking-style camera backpack. The Shimoda Explore V2 60, F-Stop Loka, and Think Tank Airport Takeoff are popular safari picks. Pack dust covers and a rain cover, since safari vehicles throw up dust and tropical storms hit without warning.
Camera Bag Accessories That Make a Real Difference
The right accessories turn a good camera bag into a great one. None of these are expensive, and most of them pay for themselves the first time something goes wrong.
- Pack rain cover. Even on bags advertised as water-resistant, a fitted rain cover is cheap insurance. Peak Design, Lowepro, and MindShift Gear all sell them.
- Tripod carrier straps. Side straps or a dedicated harness let you carry a tripod or monopod without taking up interior space. Look for bags with compression straps that double as tripod holders.
- AirTag or GPS tracker. Slip a tracker into a hidden pocket so you can locate the bag if it goes missing. Tile and Apple AirTag are both common.
- Memory card wallet. A hard-shell card wallet keeps SD and CFexpress cards organized and dry. Pelican, HooToo, and Amazon Basics all make good ones.
- TSA-approved locks. Lockable zippers are a basic theft deterrent. Use TSA-approved locks so airport security can open them without cutting.
- Padded lens pouches. A set of neoprene or leather lens pouches protects individual lenses inside the bag, especially if the dividers shift during travel.
- Portable dry bag. A 10 to 20 liter dry bag inside your camera pack protects gear from spills, leaks, and sudden downpours.
For studio photographers, I would also add a small labeled pouch for cleaning cloths, sensor swabs, and a rocket blower. Humidity changes during flights and road trips collect dust on your sensor fast, and having the right cleaning tools in the same place every time saves a shoot.
How to Choose the Right Travel Camera Bag for You
If you have read this far, you probably already know which type of bag fits your trips. Here is the simple decision framework our team uses when we recommend a bag for a new client or a new photographer on staff.
- Start with your biggest trip. What is the longest, most gear-heavy trip you take in a year? Buy for that trip first. You can always use a smaller bag for shorter trips.
- List every item you must carry. Two bodies, four lenses, a flash, a 16-inch laptop, a tripod. If a bag cannot hold this list, it is the wrong bag.
- Pick your access pattern. Side access for street and weddings. Back-panel access for landscape and travel. Top-loading only for checked luggage.
- Check your airline’s carry-on rules. Measure the bag, then add an inch of buffer for the label and over-stuffed outer pockets.
- Set a real budget. A great travel camera bag sits in a mid-tier range for most photographers. Above that, you are paying for materials, lifetime warranty, or brand prestige. Below that, you usually sacrifice access or comfort.
If your gear list is short (one mirrorless body, two primes, a small drone), a camera sling or a hybrid daypack will be lighter and more comfortable than a backpack you fill with empty space.
If your gear list is long (two bodies, four lenses, lighting, laptop), a 35 to 45 liter camera backpack with a removable ICU is the most flexible choice.
If you travel for a living, build a two-bag system: one carry-on roller for the heavy stuff, one sling or daypack for the daily walk around the destination. That is the kit our studio team runs, and it works whether we are heading to a beach wedding in Mexico or a family session in the mountains.
Frequently Asked Questions
What is the best camera bag for travel?
The best camera bag for travel is whichever carry-on-sized bag lets you access your gear in under 10 seconds, survives real rain, and stays comfortable after a full travel day. For most photographers, that means a 30 to 45 liter camera backpack with a removable padded interior, side or back-panel access, and a dedicated 15 to 16 inch laptop sleeve.
How to pack camera gear for travel?
Pack camera gear by putting the camera body in your personal item under the seat, wrapping each lens in its own padded divider slot, carrying all spare lithium batteries in your cabin bag, removing filters and storing them in a hard case, and organizing the bag so your laptop pulls out easily for TSA screening.
How do I go through TSA with camera gear?
Go through TSA with camera gear by removing only your laptop, leaving your largest lens attached to the body, sending the bag through the X-ray, and being ready for a possible hand inspection. If the bag is flagged, stay calm and let the screener swab a strap. International rules vary, so check the airport’s website before you fly.
Can I bring my camera gear on a plane?
Yes, you can bring camera gear on a plane as carry-on or personal item. Spare lithium batteries must go in carry-on, not checked luggage. Most airlines allow one carry-on plus one personal item, and a discreet camera backpack counts as either, depending on its size.
Are camera bags still popular?
Camera bags are still popular, but the fastest-growing category is the camera cube or insert that fits inside a regular travel backpack. Photographers like the flexibility of one outer bag that doubles as a personal item, a hiking pack, or a business pack, with removable padded storage inside for the cameras and lenses.
Do you really need a camera bag?
You really do need a dedicated camera bag or insert if you carry more than one body or more than two lenses. A regular backpack leaves gear shifting and unprotected, and most camera bags add fast side access that you cannot get from a generic backpack. For a single small mirrorless camera with one lens, a padded insert in a normal bag is enough.
What size camera bag do I need for travel?
You need a 30 to 45 liter camera bag for most travel, sized to fit your airline’s carry-on limits. Sling bags in the 6 to 10 liter range work for one body and two primes on city breaks. Rollers in the 45 to 55 liter range work for two bodies and four or more lenses on international flights.
Is a dedicated camera bag better than an insert?
A dedicated camera bag is better than an insert if you want fast access, built-in organization, and a stealthy look on the road. A camera cube insert is better if you want one bag that works for travel, hiking, and everyday carry, or if you already own a great travel backpack you do not want to replace.
The Bottom Line
The best camera bag for traveling with gear is the one you actually want to carry. A beautiful bag that sits in your closet because it hurts your back is useless. A “good enough” bag that you grab for every trip protects more gear than the perfect one you never touch.
For most photographers, the right answer is a 30 to 45 liter camera backpack with a removable ICU, side or back-panel access, and a real rain cover. Pair that with a small sling for daily walks and you have covered 90% of trips without overthinking.
If you are a studio photographer who travels for family sessions and weddings, lean toward the camera cube inside a travel backpack. It looks less like gear, fits into high-end venues without raising eyebrows, and lets you use the same outer bag for personal items on travel days. Our studio team runs this setup for almost every out-of-town shoot.
Whatever you choose, test the bag with your full kit loaded, walk it around your house for an hour, and check the carry-on dimensions against your two most-used airlines. If it still feels right after that, you have found your bag. Now get out and shoot.