
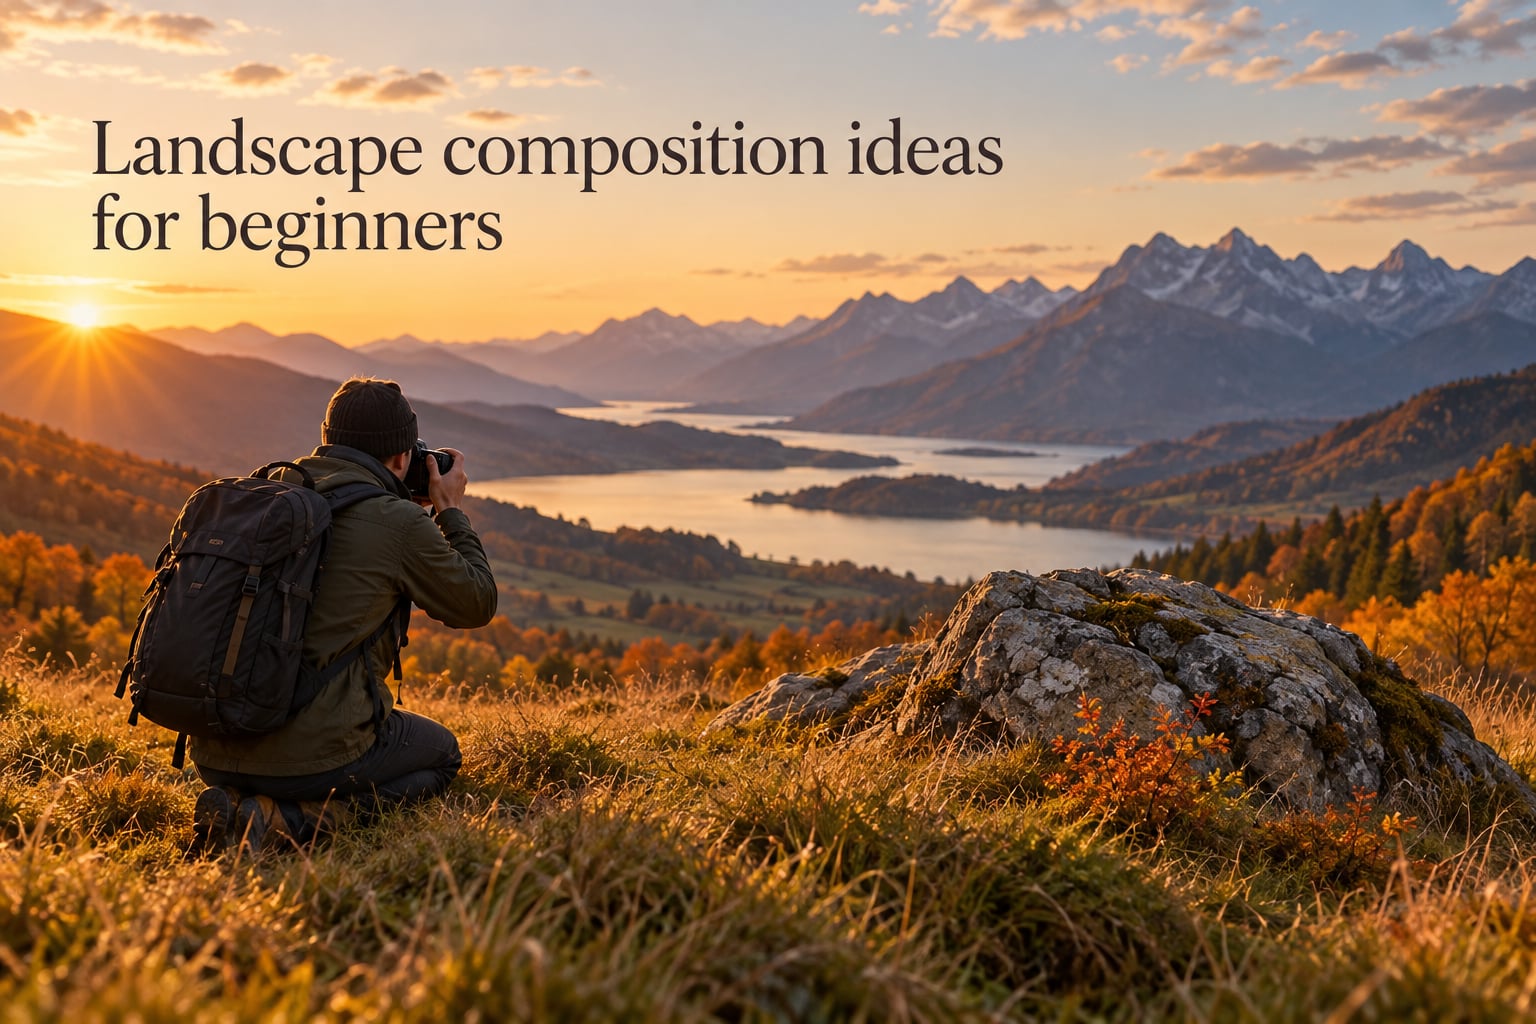
If you’ve ever stood in front of a beautiful scene, snapped the photo, and then wondered why the picture looks flat compared to what you saw, the answer is usually the same: composition. Landscape composition ideas for beginners aren’t about memorizing complicated rules. They’re about giving the viewer’s eye a clear path through your photo so the scene feels as alive on screen as it did in front of you.
I’m a photographer who spends a lot of time working with beginners, and the good news is this: composition is a skill you can absolutely build. In this guide, I’ll walk you through twelve landscape composition ideas that actually work in the field, plus a simple four-step process you can use on your next outing, a list of common mistakes to skip, and a cheat sheet you can save on your phone.
Table of Contents
- 12 Landscape Composition Ideas for Beginners (Quick List)
- A Simple 4-Step Process for Composing Any Landscape
- How to Use the Rule of Thirds in Landscape Photography
- Leading Lines: How to Invite Your Viewer Into the Scene
- Foreground Interest: The Easiest Way to Add Depth
- Horizon Line Placement: Where to Put the Sky
- Framing Within the Frame for Landscape Photos
- Symmetry and Reflections in Landscape Photography
- Negative Space: Less Really Is More
- Golden Ratio, S-Curves, and the Rule of Odds
- Scale: Adding a Person or Reference Object
- Light as a Compositional Tool
- Landscape Composition Tips for Phone Photographers
- Common Beginner Mistakes in Landscape Composition (and How to Fix Them)
- Composition Cheat Sheet: A Quick Reference
- How to Practice Composition This Week
- Frequently Asked Questions
- What is the 20-60-20 rule in photography?
- What are the 7 rules of composition in photography?
- What are common composition mistakes in landscape photography?
- What are the most useful landscape composition tips for beginners?
- What is foreground interest in photography?
- How do I find a subject in landscape photography when everything looks the same?
- Final Thoughts: Composition Is a Skill You Can Build
12 Landscape Composition Ideas for Beginners (Quick List)
Here’s a scannable list of the twelve composition ideas we’ll cover in depth below. Each one comes with a “when to use it” trigger so you can match the technique to the scene in front of you.
- Rule of thirds – Place the horizon or main subject off-center on the upper or lower third line.
- Leading lines – Use roads, rivers, fences, or ridgelines to draw the eye into the frame.
- Foreground interest – Add a rock, flower, or texture up close for depth and scale.
- Horizon line placement – Put the horizon on the lower third for big skies, or upper third for foreground focus.
- Framing within the frame – Use trees, arches, or rock formations to bracket your subject.
- Symmetry and reflections – Shoot still water head-on for a perfectly mirrored scene.
- Negative space – Let one element breathe against a clean sky or fog.
- Golden ratio and S-curves – Follow rivers, paths, and coastlines that bend through the frame.
- Rule of odds – Group three or five subjects instead of two or four.
- Scale and reference – Add a person, hut, or animal to show how vast the scene is.
- Light as composition – Wait for side light, golden hour, or shadow shapes to do the work.
- Phone-camera composition moves – Use grid lines, lock focus, and get low to the ground.
If you only have ten minutes, scan that list, pick one technique that matches the scene in front of you, and try it. That’s how composition starts to feel intuitive.
A Simple 4-Step Process for Composing Any Landscape
Before we dig into each technique, let me share the four-step process I use on every landscape shoot. It comes from Mark Denney’s “Stop & Stare” framework, and I’ve tweaked it for beginners who don’t want to overthink things.
Step 1: Stop and Stare
When you arrive at a location, put your camera down for a full minute. Don’t shoot yet. Look at the scene with your eyes and notice what your gaze naturally lands on. That thing is your subject, even if you haven’t named it yet.
Step 2: Identify One Clear Subject
Every strong landscape photo has one thing the viewer is supposed to look at. It might be a single tree, a peak, a line of rocks, or the sun breaking through clouds. If you can’t name yours, you don’t have one yet, and that’s the real problem, not the rule of thirds.
Step 3: Assemble the Pieces
Now look for foreground, midground, and background elements that point toward your subject. A rock in the foreground, a hill in the midground, mountains in the background. Stack these layers so the viewer’s eye travels from the bottom of the frame up to your subject.
Step 4: Refine and Shoot
Move your feet. Lower your angle. Step left, step right. The composition almost always improves when you physically move, not when you fiddle with settings. Once it feels right, take the shot, then take two more.
Try this: Pick one location near your home this week. Spend five minutes running through these four steps before you take a single photo. Notice how different your final image looks compared to your usual “point and shoot” approach.
How to Use the Rule of Thirds in Landscape Photography
The rule of thirds is the simplest landscape composition idea for beginners, and it works because your eye expects things to land off-center. Imagine your frame divided into nine equal rectangles by two horizontal and two vertical lines. Place your main subject or your horizon on one of those lines, and the photo instantly feels more balanced.
When to Use It
Use the rule of thirds when you have a strong horizon (seascapes, big-sky landscapes) or a single dominant subject like a lone tree or peak. Place the horizon on the lower third if the sky is the star, or the upper third if the foreground is more interesting than the sky.
How to Apply It in the Field
Turn on your camera’s grid overlay (most cameras and phones have this). Move your phone or camera until the horizon lines up with either the upper or lower third. That single adjustment often transforms a snapshot into a photograph.
Try this: Shoot the same scene twice, once with the horizon centered and once on the lower third. Compare them side by side. Most beginners prefer the off-center shot, and understanding why teaches you more than any textbook.
Leading Lines: How to Invite Your Viewer Into the Scene
Leading lines are exactly what they sound like: lines in the landscape that lead the viewer’s eye from one part of the frame to another. They’re one of the most powerful landscape composition ideas because they create movement in a still image.
What Counts as a Leading Line
Anything that draws the eye works. A winding road, a fence line, a river, a coastline, a row of trees, a path through the forest, a ridgeline, even shadows cast by clouds. The line doesn’t have to be straight; curves often feel more natural and lead the viewer more slowly through the frame.
Where to Point the Lines
The best leading lines point toward your subject. If you have a barn at the end of a path, frame the path so it ends near the barn. If you have a mountain peak, find a stream or ridge that runs toward it. Lines that go nowhere in particular leave the viewer feeling lost.
Try this: Next time you’re on a walk, look down at the ground and notice every line you can find: cracks in the sidewalk, edges of curbs, shadows from railings. Once you start seeing lines, you’ll never stop.
Foreground Interest: The Easiest Way to Add Depth
Foreground interest is one of the most overlooked landscape composition ideas for beginners, and it’s often the difference between a flat photo and a photo with real depth. The fix is simple: put something interesting in the lower part of the frame.
What Makes Good Foreground
Rocks, flowers, driftwood, leaves, tide pools, fence posts, footprints in snow, a single boot if you’re photographing outdoorsy scenes. Anything with texture or shape that sits closer to your camera than the main subject.
How to Add It
Get lower. The single biggest improvement most beginners can make is dropping their camera closer to the ground. When you shoot from standing height, the foreground disappears because it lines up with the background. When you kneel or lie down, the foreground pops forward and creates real depth.
This is the technique forum users in r/photography consistently call the “single most impactful change” they made as a beginner, and it really is that powerful.
Try this: Photograph a stream or field from standing height. Then kneel and shoot the same scene. Notice how the second photo suddenly has three clear layers instead of one flat one.
Horizon Line Placement: Where to Put the Sky
The horizon is one of the strongest lines in any landscape photo, and where you place it sends a clear message about what matters most in the scene. This is one of the simplest landscape composition ideas, but beginners often center it without thinking.
Big Sky? Put the Horizon Low
If the sky has dramatic clouds, color, stars, or aurora, drop the horizon to the lower third. This gives the sky two-thirds of the frame and lets it dominate. Sunrise and sunset photos almost always benefit from a low horizon.
Strong Foreground? Put the Horizon High
If the foreground is more interesting than the sky (think leading lines, flowers, textured rocks, reflections), raise the horizon to the upper third. This is the move for moody, overcast days when the sky is just grey.
Always Make Sure It’s Level
A tilted horizon is one of the most common beginner mistakes. Use your grid overlay or your camera’s level indicator. Most landscape photos should have a level horizon unless you’re deliberately tilting for creative effect.
Try this: On your next shoot, deliberately place the horizon in three different positions (low, center, high) and see which version makes you feel something. Trust that instinct.
Framing Within the Frame for Landscape Photos
Framing within the frame means using elements in the scene to create a “frame” around your subject. This is one of the most elegant landscape composition ideas because it adds depth and tells the viewer exactly where to look.
Natural Frames Are Everywhere
Overhanging tree branches, rock arches, cave openings, doorways, windows, gaps in clouds, gaps between boulders, even tall grass can frame a distant mountain. Once you start looking for frames, you’ll see them in almost every scene.
How to Use Them
Position yourself so the natural frame sits around the edges of your composition and your subject sits in the middle or off-center inside it. Don’t make the frame too thick or it will steal attention from the subject.
Try this: Stand under a tree and shoot a landscape through the branches. Notice how the branches lead your eye toward whatever is in the center of the frame.
Symmetry and Reflections in Landscape Photography
Symmetry happens when the top half of your image mirrors the bottom half (or the left mirrors the right). In landscapes, the most common source of symmetry is still water acting as a mirror. This is one of the most striking landscape composition ideas for beginners because it works even when the scene itself is simple.
Best Conditions for Reflections
Calm water, early morning or late evening (less wind), and a low camera angle close to the water surface. Lakes, tidal pools, flooded fields, and wet sand all create mirror opportunities.
How to Compose a Symmetrical Shot
Center the horizon line so the symmetry is obvious. Place your main subject (a mountain, a tree, a building) so it sits on the centerline. Use a small aperture (high f-number) to keep both the reflection and the real subject sharp.
Symmetry doesn’t have to be perfect to work. Even a slightly rippled reflection adds beauty, and going for an almost-mirror shot gives you more flexibility than chasing a perfect one.
Try this: Find any puddle or pond after rain. Get low and shoot the reflection of a tree, building, or sky. Even five minutes of trying will teach you more about symmetry than reading about it.
Negative Space: Less Really Is More
Negative space is the empty area around your subject: clean sky, fog, snow, sand, water, a flat field. It’s one of the most underrated landscape composition ideas because beginners usually try to fill the frame with interesting stuff.
Sometimes the most powerful photo is one small subject against a vast empty background. The negative space gives the subject room to breathe and tells the viewer how big or how quiet the scene feels.
When to Use Negative Space
Minimalist landscapes, fog, snow scenes, deserts, open beaches, big skies with one focal element. If you can’t find a strong subject, don’t add clutter; let the emptiness be the point.
Where to Place the Subject
Off-center, usually on a rule-of-thirds intersection. Putting a small tree in the middle of a wide field often feels awkward. Putting it on the left or right third feels intentional.
Try this: Photograph a single subject against a plain sky or fog. Resist the urge to “add more” to the frame. Notice how the simplicity makes the subject feel bigger.
Golden Ratio, S-Curves, and the Rule of Odds
These three ideas feel a little more advanced, but they’re worth knowing because they show up in classic landscape photography over and over.
Golden Ratio and Golden Spiral
The golden ratio is a math concept (about 1.618) that appears throughout nature. In photography, it gives us a spiral that guides the eye through the frame in a more natural-feeling path than the rule of thirds. If you want to dive deeper, look up Fibonacci spiral diagrams, but for now, just know that the rule of thirds is a simplified version of this.
S-Curves
An S-curve is a line that winds through the frame in the shape of an S. Rivers, paths, coastlines, and ridgelines often form S-curves naturally. Compose so the curve enters from one corner and exits toward your subject. This is one of the most elegant landscape composition ideas because it makes the viewer slow down and explore the frame.
Rule of Odds
Odd numbers of subjects (3, 5, 7) tend to feel more visually interesting than even numbers. Three rocks, three trees, three figures. The eye can group odd numbers more naturally than even ones, and the brain finds them more satisfying to look at.
Try this: Find a winding path or stream and frame the photo so the curve enters from a corner. Notice how your eye follows the curve instead of jumping around.
Scale: Adding a Person or Reference Object
Scale is one of the most powerful landscape composition ideas because it solves a problem that beginners often run into: making the viewer understand how vast the scene really is.
Why Scale Works
A photo of a mountain with no reference can feel small. Add a person standing at the base, and suddenly the mountain feels enormous. The human figure gives the brain something familiar to compare against.
How to Use It
Place the person or reference object off to one side, not in the center. Make them small enough to show the scale of the landscape, but visible enough to register. Don’t pose them looking at the camera unless that’s the effect you want.
This is also the technique that forum users consistently recommend for “making a landscape photo feel grand instead of just big.”
Try this: Photograph the same mountain or waterfall twice: once without a person, once with a friend standing at the base. Compare the two and you’ll see exactly what scale does.
Light as a Compositional Tool
Light isn’t usually taught as a composition technique, but experienced photographers know it might be the most important one. The same scene shot at noon, golden hour, and blue hour will look like three different photos.
Golden Hour
The hour just after sunrise and just before sunset. Light is warm, soft, and rakes across the landscape, creating long shadows and texture. This is when most landscape photographers do their best work.
Blue Hour
The hour just before sunrise and just after sunset. Light is cool, soft, and even. Perfect for moody, atmospheric scenes and any photo where you want a deep blue sky balanced with artificial lights.
Side Light Reveals Texture
When light comes from the side (not behind you, not in front of you), it makes texture pop. Mountains, sand dunes, and rocky terrain all look more three-dimensional when lit from the side. If your landscape photos look flat, the light might be the issue, not the composition.
Overcast and Moody Light
Cloudy days aren’t bad for landscape photography. They’re great for forests, waterfalls, and any scene where you want soft, even light without harsh shadows.
Try this: Photograph the same scene at three times: midday, golden hour, and blue hour. Notice how composition matters less than light in determining which photo feels strongest.
Landscape Composition Tips for Phone Photographers
If you’re shooting with a phone, you might think composition advice doesn’t apply, but it does, and arguably even more so, because phone cameras usually have wider lenses that make composition choices matter more. These landscape composition ideas are easy to apply with just your phone.
Turn on the Grid
Almost every phone has a grid overlay in its camera settings. Turn it on. The rule of thirds becomes much easier to apply when you can see the lines.
Lock Focus and Exposure
Tap on your subject and hold for a second. This locks focus and exposure on that spot, so your phone doesn’t hunt around as the light changes.
Get Low, Get Close
Same advice as with a DSLR: drop your phone closer to the ground to add foreground interest. Phones are great for this because they’re light and easy to position.
Use the 2x or 3x Lens
Beginners reach for the wide lens by default, but phones often have multiple lenses. The 2x or 3x lens compresses the scene and makes compositions feel more layered. Try it for landscape details and small scenes.
Shoot in Good Light
Phone sensors struggle in low light. Shoot during golden hour or blue hour when you can. A phone photo in good light will always beat a phone photo in bad light.
Try this: Spend one afternoon shooting a familiar location with just your phone. Apply three composition ideas from this guide and see how different the results feel from your usual shots.
Common Beginner Mistakes in Landscape Composition (and How to Fix Them)
Almost every beginner makes the same handful of mistakes. None of them are fatal, and all of them are fixable. This section is one of the most-requested landscape composition ideas in any beginner guide.
Mistake 1: Tilted Horizon
The single most common beginner mistake. Your grid overlay exists for a reason; use it. If the horizon is tilted, the photo feels unstable even if the viewer can’t name what’s wrong.
Mistake 2: Centered Horizon With a Boring Sky
Putting the horizon dead center makes sense only when you’re shooting symmetry. If the sky is grey and empty, lower it. If the sky is the show, raise it. Pick a side and commit.
Mistake 3: No Clear Subject
“Beautiful scene” is not a subject. Every strong landscape photo has one clear thing the viewer is supposed to look at. If you can’t name yours, find one before you shoot.
Mistake 4: Cluttered Foreground
More foreground interest is not always better. If the foreground has so much going on that it competes with your subject, simplify it. Move your feet, change your angle, or wait for a wave/leaf/clutter to move out of frame.
Mistake 5: Shooting From Standing Height
We’ve said this a few times because it’s that important. Get low. Almost every beginner’s landscape photos improve dramatically when they kneel or lie down.
Mistake 6: Trying to Use Every Rule at Once
Beginners often try to apply rule of thirds, leading lines, foreground interest, framing, and golden ratio all in one shot. Pick one or two techniques per photo. Less is more.
Mistake 7: Including Too Much Sky
Wide-angle lenses and phone cameras often capture huge expanses of empty sky. Crop tighter. Lower the horizon. Reframe so the sky has a job to do (clouds, color, stars) or cut it.
Mistake 8: Forgetting the Edges
Check the edges of your frame before you shoot. That twig sticking into the corner, that bright patch in the upper left, the half-cut rock at the bottom right. Move slightly to clean them up.
Try this: Pick one of these eight mistakes that you know you make. Spend a whole shoot focused only on fixing that one. Don’t try to fix everything at once.
Composition Cheat Sheet: A Quick Reference
Save this table on your phone. It’s a quick-reference summary of all twelve techniques, what they’re best for, and the single tip that matters most.
| Technique | Best For | Quick Tip |
|---|---|---|
| Rule of Thirds | Big skies, single subjects | Put the horizon on the lower third unless the sky is uninteresting. |
| Leading Lines | Roads, rivers, fences, paths | Aim the line at your subject so the viewer’s eye knows where to land. |
| Foreground Interest | Flat-looking scenes | Get low and add one textured object close to the camera. |
| Horizon Line Placement | Any landscape with a clear horizon | Low for dramatic sky, high for strong foreground, centered only for symmetry. |
| Framing Within the Frame | Scenes with trees, arches, openings | Use natural elements to bracket your subject, but keep the frame thin. |
| Symmetry and Reflections | Still water, glassy surfaces | Get close to the water surface and center the horizon. |
| Negative Space | Minimalist scenes, fog, snow | Place one small subject off-center against an empty background. |
| Golden Ratio and S-Curves | Winding rivers, paths, coastlines | Frame the curve so it enters from a corner and leads to your subject. |
| Rule of Odds | Groups of trees, rocks, or subjects | Aim for three or five elements, never two or four. |
| Scale and Reference | Vast landscapes that need size | Add a person or familiar object off to the side. |
| Light as Composition | Any landscape | Shoot in golden hour or blue hour whenever you can. |
| Phone Composition Moves | Phone-only shooters | Turn on the grid, lock focus, and get low. |
How to Practice Composition This Week
Composition is a skill, and skills improve with practice. You don’t need a once-in-a-lifetime location. You need a familiar one and a plan.
Exercise 1: One Technique, One Location
Pick one technique from this guide. Visit a location you’ve shot before. Shoot only that technique for an hour. Don’t switch. You’ll see the location in a completely different way.
Exercise 2: The Same Scene, Three Compositions
Pick one scene. Shoot it with rule of thirds, then with leading lines, then with foreground interest. Compare. The scene didn’t change; your composition did.
Exercise 3: Twenty Photos in Twenty Minutes
Pick a small area (a backyard, a park, a city block). Force yourself to make twenty different compositions in twenty minutes. You’ll fail. That’s the point. Volume builds intuition faster than perfection.
Exercise 4: Look at Other People’s Photos
Browse landscape photography on sites like 500px, Flickr, or your favorite photographer’s Instagram. Don’t just look at the photo; ask yourself: what composition technique did they use? Why does this one feel stronger than that one?
These four exercises are how beginners turn landscape composition ideas from theory into instinct.
Frequently Asked Questions
What is the 20-60-20 rule in photography?
The 20-60-20 rule is a guideline for how to balance the frame in landscape photography. The bottom 20 percent holds foreground interest, the middle 60 percent is your main subject (midground and background), and the top 20 percent is sky. It helps you avoid the most common beginner mistake of dedicating too much of the frame to empty sky. Use it as a starting point, then adjust based on what your scene actually has to offer.
What are the 7 rules of composition in photography?
The seven most commonly referenced rules are: the rule of thirds, leading lines, foreground interest, framing within the frame, symmetry and reflections, negative space, and the golden ratio (or rule of odds). Different sources list slightly different sets, but those seven cover almost every classic landscape composition. Master those first before exploring more advanced ideas like S-curves and scale.
What are common composition mistakes in landscape photography?
The most common beginner mistakes are a tilted horizon, centering the horizon with a boring sky, having no defined focal point, cluttered foregrounds, shooting from standing height instead of getting low, trying to use every rule at once, including too much empty sky, and forgetting to check the edges of the frame for distractions. Almost every beginner photo improves immediately when these are fixed.
What are the most useful landscape composition tips for beginners?
The single most useful tip is to find one clear subject before you shoot. The second most useful is to get lower than you think you need to. The third is to wait for good light. After that, apply one or two composition techniques (rule of thirds, leading lines, or foreground interest) and don’t try to use them all at once. Those four habits will improve more photos than memorizing every rule in this guide.
What is foreground interest in photography?
Foreground interest is a textured, defined object in the lower part of the frame that adds depth to a landscape photo. Common examples include rocks, flowers, driftwood, leaves, fence posts, tide pools, and footprints in snow. It works by giving the viewer’s eye a starting point in the foreground, which then travels through the midground and into the background, creating the illusion of depth in a flat image.
How do I find a subject in landscape photography when everything looks the same?
Stop and stare for a full minute before shooting. Your eye will naturally land on something: a single tree, a peak, a patch of color, a line in the landscape. That thing is your subject. If nothing stands out, move. Walk closer, walk farther, change your angle, change your elevation. The subject is usually there, but only visible from the right vantage point.
Final Thoughts: Composition Is a Skill You Can Build
Here’s the truth most beginner guides skip: nobody gets landscape composition right on the first try. Every photographer you admire has taken hundreds of mediocre photos to get the good ones. The advantage of having a list of landscape composition ideas for beginners like this one isn’t that you’ll suddenly shoot perfect images. It’s that you’ll start seeing your photos differently.
Pick one technique from this guide and use it for a week. Then pick another. After a month, you’ll have a personal toolkit of landscape composition ideas that you trust, and the photos that used to feel flat will start to feel intentional. That’s how every good photographer got good, and it’s how you will too.
Now grab your camera (or your phone), pick a location, and run through the four-step process. The best way to learn landscape composition is to do it, not to read about it. Have fun.