
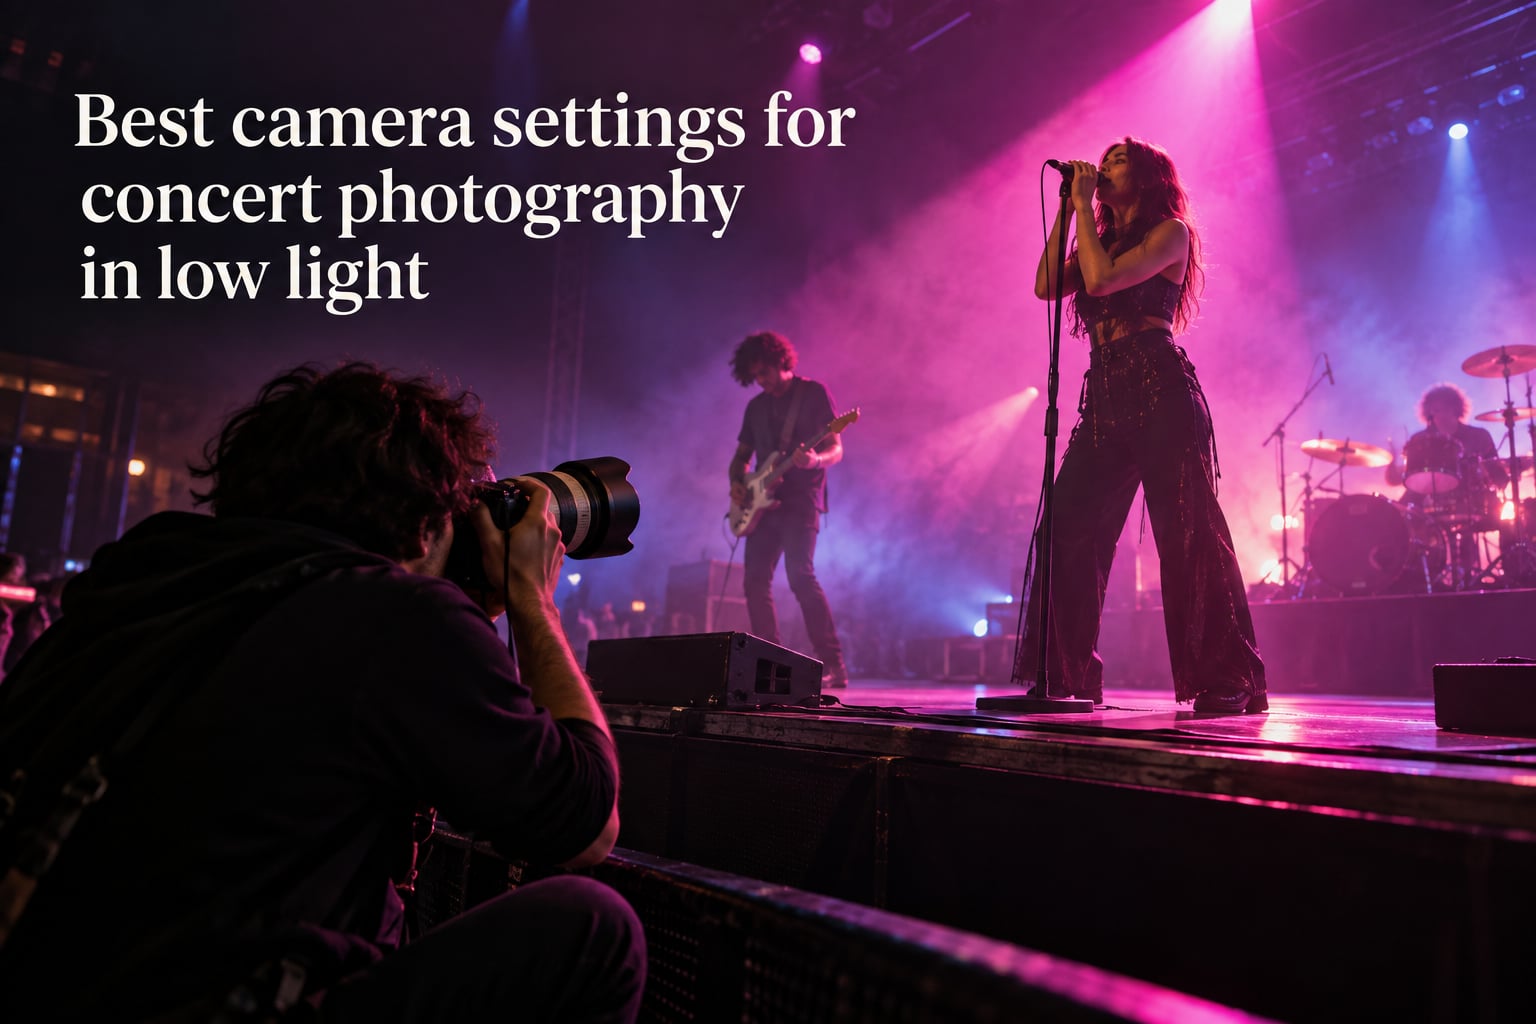
I’ve stood in the photo pit of more dimly lit venues than I can count, and the single biggest difference between a blurry mess and a frame-worthy concert shot is dialing in the right settings before the first song. The best camera settings for concert photography in low light aren’t complicated once you understand how the exposure triangle bends to fit stage lighting.
In this guide I’ll walk you through the exact ISO, shutter speed, aperture, focus and white balance numbers I use, plus a free cheat sheet you can copy to your phone before the show. We’ll also break settings down by venue size and genre, cover Nikon / Sony / Canon menu paths, and troubleshoot the three problems I see most often on Reddit: blurry shots, noisy shots, and underexposed shots.
Table of Contents
- Quick Settings Cheat Sheet
- How to Set Up Your Camera for a Concert (Step by Step)
- ISO: Push Higher Than You Think
- Shutter Speed: Freeze the Motion
- Aperture: Shoot Wide Open
- Autofocus and Capture Settings
- White Balance and File Format
- Settings by Venue Size
- Settings by Genre and Performer
- Brand-Specific Camera Settings
- Phone Camera Settings for Concerts
- Troubleshooting: Why Your Concert Photos Look Bad
- Post-Processing: Cleaning Up High ISO Files
- Frequently Asked Questions
- Is 200 or 400 better for low light?
- What are the best camera settings for low light photography?
- How to set up a camera for concert photography?
- What ISO should I use for concert photography?
- What camera settings should I use for low light concerts?
- What is the 20 60 20 rule in photography?
- Is F2.8 good for concert photography?
- Final Thoughts: Practice These Settings Before the Show
Quick Settings Cheat Sheet
Save these numbers before you head into the venue – they cover roughly 80% of concert situations you’ll encounter.
- Mode: Manual (M). Aperture Priority (Av/A) is a fine fallback if you’re not comfortable with full manual yet.
- ISO: 1600 to 3200 to start. Push to 6400 when stage lights drop.
- Shutter Speed: 1/200s minimum. Use 1/320s to 1/500s for singers and guitarists, 1/1000s or faster for drummers.
- Aperture: As wide as your lens goes – f/1.4, f/1.8, or f/2.8 are all ideal.
- White Balance: Auto (AWB). You’ll fix color in post from your RAW file.
- Autofocus: Continuous AF (AF-C / AI Servo) with a single focus point or 3D / Eye tracking.
- Drive Mode: Continuous High / Burst.
- File Format: RAW. Always.
- Flash: OFF.
- Image Stabilization: ON if your lens or body has IBIS / VR / IS.
That block is your starting point. Now let’s look at the why behind each setting so you can adapt on the fly when the lighting changes mid-set.
How to Set Up Your Camera for a Concert (Step by Step)
Run through this checklist in the lobby or while the opener is on stage, before your artist walks out.
- Switch to Manual mode. Auto modes will underexpose as soon as a backlight hits the singer’s face.
- Set your aperture wide open (the smallest f-number your lens allows – f/1.8, f/2, or f/2.8).
- Set shutter speed to 1/200s as your baseline; raise it for faster subjects.
- Set ISO to 1600 (or higher on older bodies) and check the histogram after a few test shots.
- Turn Continuous AF on (AF-C on Nikon / Sony, AI Servo on Canon).
- Choose a single AF point or 3D / Eye tracking if you shoot a recent mirrorless body.
- Set Drive to Continuous High (also called Burst).
- Switch file format to RAW (RAW + JPEG if you need quick shares).
- Set White Balance to Auto.
- Turn flash OFF – venues ban it and it ruins the ambient look.
- Turn image stabilization ON if you have it (IBIS / VR / IS / OSS).
- Format your memory card. Make sure you have at least one spare.
Once those twelve are locked in, you’re ready for the lights to drop.
ISO: Push Higher Than You Think
ISO is how sensitive your sensor is to light. In a dark venue the only way to get a sharp, properly exposed shot is to raise ISO – the alternative is a slower shutter speed and a blurry image.
Start at ISO 1600 in a well-lit arena, ISO 3200 in a theater, and ISO 6400 in a small club. Modern full-frame bodies handle ISO 6400 cleanly; even APS-C sensors do fine at 3200. Noise is recoverable in Lightroom; motion blur is not.
The biggest beginner mistake I see on Reddit threads is fear of high ISO. Photographers leave their camera at ISO 800 because they don’t want grain, then wonder why every shot is blurry or dark. A sharp, slightly grainy image is far better than a dark or blurry one. Embrace ISO 6400 and even 12800 on modern sensors – you can always clean noise in post.
Shutter Speed: Freeze the Motion
Shutter speed controls how long the sensor is exposed to light. Slower shutter speeds let in more light, but they also record motion blur – and musicians move constantly.
Use 1/200s as your absolute floor. For most singers and guitarists, 1/320s to 1/500s is the sweet spot. For drummers, especially stick work, push to 1/1000s or faster – a snare stick at the bottom of a stroke moves faster than most people realize.
If the lights get dim and you can’t raise ISO any further, it’s better to drop to 1/160s than to 1/60s. Anything slower than 1/125s on a moving performer is almost guaranteed to blur. A working pro once told me his hard floor for a slow acoustic set is 1/60s, but he is handholding a 70-200 f/2.8 with IBIS and bracing against the pit rail.
Aperture: Shoot Wide Open
Aperture controls how much light enters through the lens. The smaller the f-number, the more light – so you’ll always want to shoot at the widest aperture your lens offers.
For concert photography, that means f/1.4, f/1.8, f/2, or f/2.8. f/2.8 is the practical baseline for most pro zooms (the 24-70mm f/2.8 and 70-200mm f/2.8 workhorses). If you own a fast prime like the 50mm f/1.8 (the famous “nifty fifty”), shoot it at f/1.8 and enjoy the extra stop of light plus creamy bokeh.
Wider apertures also give you shallower depth of field, which helps your subject pop against the busy stage. The tradeoff is razor-thin focus – which is why your autofocus settings matter so much, and why you should stop down to f/2.8 or f/4 if you’re struggling to nail focus on a singer’s face.
Autofocus and Capture Settings
In dim, contrasty stage light, your autofocus system is working overtime. Set it up right and you’ll catch the moment; set it up wrong and you’ll miss every peak-action frame.
Use Continuous AF with a Single Point or Tracking
Single-shot AF (AF-S / One Shot) locks focus once and lets the subject walk out of the plane. Continuous AF (AF-C on Nikon and Sony, AI Servo on Canon) keeps adjusting as the performer moves. For concerts, always use Continuous AF.
Pair that with a single AF point on an older DSLR, or 3D tracking / Eye AF on a modern mirrorless body. Nikon Z, Sony Alpha, and Canon EOS R all have subject-detection AF that finds and sticks to a face or eye – turn it on.
Use Back-Button Focus
Back-button focus separates autofocus from the shutter button. Press the AF-ON button (or a reassigned rear button) to focus, then press the shutter to capture. The benefit: your camera won’t refocus every time you take a shot, and you can hold focus on a face while waiting for the perfect expression.
Use Burst / Continuous Drive Mode
Concerts are unpredictable. A 5 fps or 10 fps burst mode dramatically increases your chances of catching a peak-action moment – a mic raised, a jump, a cymbal crash. Set Drive to Continuous High and don’t be shy about filling a card.
Consider Silent / Electronic Shutter
If your mirrorless body offers a silent or electronic shutter, use it. You’ll avoid the loud click that distracts the artist and the audience, and you can shoot at higher burst rates without mechanical wear. Just watch for rolling-shutter distortion if you pan quickly.
White Balance and File Format
White Balance: Set It to Auto
Stage lighting mixes warm tungsten, cool LED, and saturated gels – the color temperature shifts every few seconds. Auto White Balance (AWB) handles most of it for you, and a RAW file lets you fine-tune the tint in post without quality loss. If you shoot JPEG, dial in a specific Kelvin temperature (around 4000-5000K is a decent starting point) and accept that you won’t be able to fix it later.
Metering: Spot vs Matrix
Use spot metering when the performer’s face is the most important part of the frame – it ignores the dark stage and exposes for skin tones. Use matrix / evaluative metering when the whole stage matters or when there’s strong backlight that you want to balance into the scene.
Always Shoot RAW
RAW files capture more color information and dynamic range than JPEGs. They give you the latitude to recover blown highlights from a spotlight, lift crushed shadows, and adjust white balance after the fact. Storage is cheap – the flexibility is priceless.
Settings by Venue Size
Not every venue gives you the same light to work with. Here is a baseline I dial in based on the room – small clubs and arenas need very different settings.
| Venue | Shutter Speed | ISO | Aperture | Notes |
|---|---|---|---|---|
| Small club (under 500) | 1/125s to 1/200s | 3200 to 6400 | f/1.4 to f/2.8 | Light is dim and gels change every song. Shoot RAW and expect grain. |
| Theater (500 to 3000) | 1/200s to 1/320s | 1600 to 3200 | f/1.8 to f/2.8 | More controlled lighting; spot metering on faces works well here. |
| Arena (3000+) | 1/320s to 1/500s | 800 to 1600 | f/2.8 | Brighter rigs and followspots let you freeze faster motion at lower ISO. |
These are starting points, not rules. Read the histogram, not the LCD, and adjust as the lighting designer changes the cues.
Settings by Genre and Performer
Music genre changes how fast your subject moves, which directly affects shutter speed. Acoustic sets let you slow down; metal and hardcore demand the fastest shutter you can hit.
| Genre / Performer | Recommended Shutter Speed | Notes |
|---|---|---|
| Acoustic singer-songwriter | 1/125s to 1/200s | Minimal motion. Watch for hand gestures and string vibration on guitars. |
| Pop / rock vocalist | 1/320s to 1/500s | Hand mics, hip sways, big gestures. Standard concert baseline. |
| Rock guitarist | 1/400s to 1/640s | Headbanging and pick movement add blur you don’t see in real time. |
| Drummer | 1/1000s or faster | Stick tips and cymbal strikes move extremely fast. |
| Metal / hardcore | 1/1000s to 1/2000s | Stage diving, crowd surfing, constant motion. Push ISO to keep shutter that high. |
Brand-Specific Camera Settings
Menu names differ between systems, so here is how to dial in the same concert settings on the three most common mirrorless lineups.
Nikon Z (Z 6, Z 7, Z 8, Z 9)
Set AF mode to AF-C (Photo Shooting Menu > Autofocus). Choose AF-area mode to 3D-tracking for moving subjects, or Wide-Area AF (S) for static faces. Set Release mode to Continuous High. White Balance to Auto1 (keep it neutral). ISO sensitivity auto control: Off – you want full manual control. Turn on Silent shutter in Photo Shooting Menu if you’re shooting from the crowd.
Sony Alpha (A7 III, A7 IV, A7R V, A9)
Set Focus Mode to AF-C (Camera Settings 1 > AF1). Set Focus Area to Tracking: Expand Flexible Spot or Wide for stage work. Turn on Face/Eye AF in AF (Camera Settings 1 > AF2) – Sony’s eye AF is the best in the industry for concerts. Drive Mode to Continuous Hi. File Format to RAW. Shutter Type to Auto (electronic first curtain) or E-Shutter.
Canon EOS R (R5, R6, R7, R8)
Set AF Operation to Servo AF. Choose AF Area to Face+Tracking or Spot AF. Enable Eye Detection AF under AF Menu 2. Drive Mode to High-Speed Continuous. Set Picture Style to Neutral (lower contrast in-camera for better RAW editing). Shutter mode to Electronic if available.
Phone Camera Settings for Concerts
You don’t need a DSLR to get a usable concert photo – you just need to know where the manual controls hide.
iPhone (15 / 16 Pro)
Open the Camera app and tap RAW at the top to enable ProRAW (or use a third-party app like Halide or ProCamera). Lock focus by long-pressing your subject, then slide the exposure icon up to brighten the scene. Use the 0.5x or 1x lens (avoid digital zoom), and shoot in Night mode only when the performer is fairly still. For action, tap and hold the 1x lens to lock exposure and burst by swiping the shutter left.
Samsung Galaxy (S23 / S24 Ultra)
Open Pro mode in the Camera app. Set ISO to 1600-3200, shutter speed to 1/200s or faster, and focus to Manual (use the slider to set distance). Shoot in RAW (Expert RAW app). Tap to focus on the performer’s face, then tap the shutter. The 3x and 10x optical lenses give you real reach without the noise of digital zoom.
Phones can’t match a full-frame body in low light, but a well-exposed phone shot at ISO 1600 still beats a blurry DSLR shot at ISO 400.
Troubleshooting: Why Your Concert Photos Look Bad
Three problems come up over and over on Reddit’s r/concertphotography. Here’s how to fix each.
Why Are My Concert Photos Blurry?
Three usual culprits: shutter speed too slow for the subject’s motion, autofocus missing the face, or camera shake. Start by raising shutter speed to 1/320s minimum. Switch to a single AF point on the performer’s face (or turn on Eye AF). Make sure image stabilization is on and you’re bracing your elbows against your body or the pit rail.
Why Are My Concert Photos So Noisy / Grainy?
You’re shooting at high ISO – which is correct. The noise is coming from underexposure plus high ISO, not from ISO alone. Slightly overexpose your RAW (push exposure +1 stop in post), then apply noise reduction. Modern Lightroom and Topaz DeNoise handle ISO 12800 cleanly.
Why Are My Concert Photos Underexposed?
Your camera is metering for the dark stage instead of the performer’s face. Switch to spot metering and meter on skin tones, or use exposure compensation +1 if you’re in Aperture Priority. Check the histogram – if the right side is empty, raise ISO or slow the shutter.
Post-Processing: Cleaning Up High ISO Files
Shooting RAW means you can rescue a surprising amount of detail after the show.
- Import to Lightroom (or Capture One / DxO PhotoLab).
- Adjust White Balance first – the AWB rarely nails concert gels.
- Lift shadows, pull highlights to recover dynamic range.
- Apply noise reduction – Lightroom’s Detail panel under Noise Reduction: Luminance 25-40, Color 40-60 is a solid starting point.
- Add a touch of clarity and texture for definition without crunching skin.
- Crop for composition – a strong 4×5 or 16×9 crop turns a snapshot into a frame.
Aim to spend more time behind the camera than in front of the computer. The settings you dial in at the venue determine how much rescue work you need later.
Frequently Asked Questions
Is 200 or 400 better for low light?
1/200s is the standard minimum for concert photography – it is fast enough for most singers and guitarists. Push to 1/400s or 1/500s for very energetic performers, and 1/1000s or faster to freeze a drummer’s stick mid-swing.
What are the best camera settings for low light photography?
For low light concert photography: ISO 1600-3200, shutter 1/200s or faster, aperture as wide as your lens allows (f/1.4 to f/2.8), Continuous AF with a single point or Eye AF, Auto White Balance, RAW file format, and Manual mode. Boost ISO to 6400 or higher rather than dropping shutter speed below 1/200s.
How to set up a camera for concert photography?
Set Mode to Manual, Aperture to its widest (smallest f-number), Shutter Speed to 1/200s, ISO to 1600-3200, AF mode to Continuous (AF-C or AI Servo), Focus Point to single center or 3D tracking, Drive to Continuous High burst, File Format to RAW, and White Balance to Auto. Turn flash OFF and turn image stabilization ON.
What ISO should I use for concert photography?
Start at ISO 1600 for well-lit arena shows and ISO 3200 for clubs or theaters. Do not hesitate to push to ISO 6400 or higher when stage lighting drops – a sharp, slightly grainy image is far better than a blurry one.
What camera settings should I use for low light concerts?
Shoot in Manual mode at f/1.8 to f/2.8 (the widest aperture your lens allows), 1/200s or faster shutter speed, ISO 1600-3200 (raise to 6400 if needed). Use Continuous AF with a single focus point, Auto White Balance, RAW file format, and burst or continuous drive mode. Never use flash.
What is the 20 60 20 rule in photography?
The 20/60/20 rule is a lighting heuristic: 20% of your shot is your key light, 60% is mid-tones, and 20% is shadows. For concert photography it means aiming for a properly exposed face (the key) with rich shadows around it – usually achieved by spot-metering on the performer’s face.
Is F2.8 good for concert photography?
Yes – f/2.8 is the most common fast aperture for concert zooms (like the 24-70mm f/2.8 or 70-200mm f/2.8) and is the practical baseline. f/1.8 or f/1.4 is even better if you have a prime like the 50mm f/1.8.
Final Thoughts: Practice These Settings Before the Show
The best camera settings for concert photography in low light are the ones you’ve tested before the lights go down. Dial them in at home, shoot a few frames in a dim room, and adjust until the histogram looks right.
When show day comes, you’ll have the muscle memory to react to fast lighting changes instead of fumbling through menus. Save the cheat sheet on your phone, bring a spare battery and a spare card, and shoot more frames than you think you need. Concert photography rewards the prepared shooter – and the next time you walk out of a venue, you’ll have a contact sheet worth sharing.