
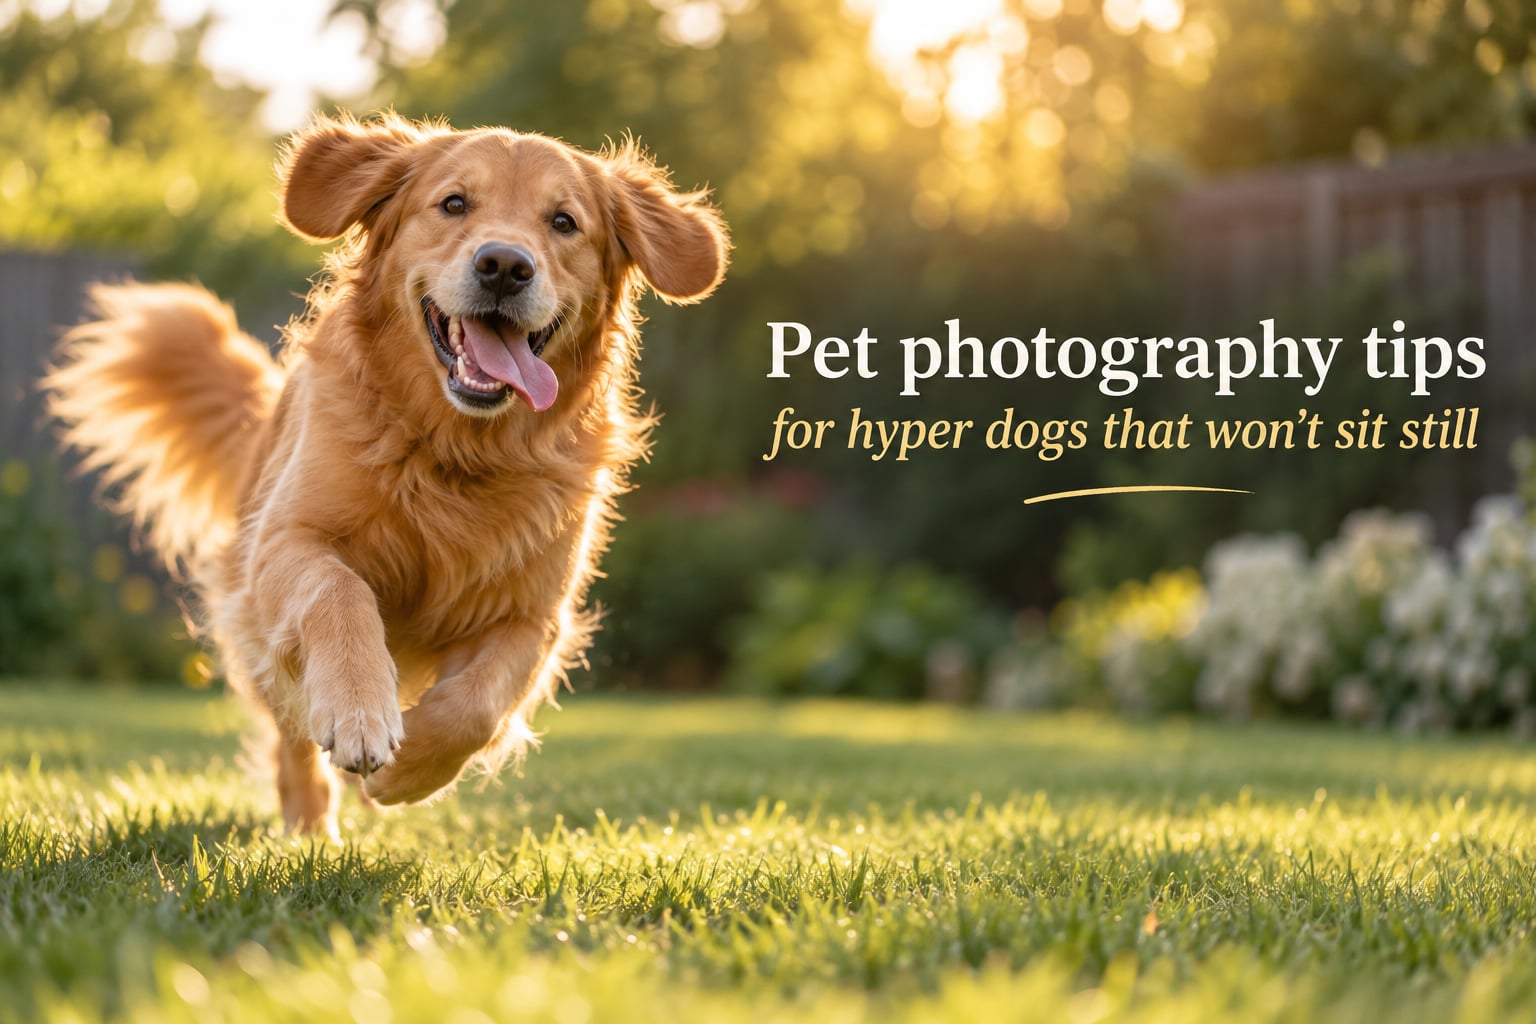
Your dog is not broken. Most dogs won’t sit still for photos, and the ones who do have usually been bribed with enough cheese to choke a horse. If you’ve ever ended a photo session with 200 blurry shots and a single usable frame, you’re in the right place.
I’ve spent years photographing high-energy puppies, reactive rescues, and one Australian shepherd who genuinely believed the camera was prey. What I’ve learned is this: pet photography tips for hyper dogs that won’t sit still are less about controlling your dog and more about changing how you shoot. The chaos is the picture. Your job is to be ready for the fraction of a second that matters.
Whether you’re shooting with a DSLR or your phone, indoors with zoomies or outside in the golden hour, this guide will walk you through the exact workflow I use. We’ll cover pre-shoot prep, the camera settings cheat sheet, the Freedom/Management/Training framework, and the mindset shift that turns frustration into your best photos yet.
Table of Contents
- Meet Your Dog Where They Are: The Two-Second Window
- Pre-Shoot Prep: Burn Off Energy First
- Camera Settings Cheat Sheet for Hyper Dogs
- The Freedom, Management, and Training Framework
- Attention Getters That Actually Work
- Get Down to Your Dog’s Eye Level
- Smartphone Photography Tips for Hyper Dogs
- Lighting and Time of Day
- Embrace the Chaos: Movement Is the Portrait
- Quick Tips Summary
- Frequently Asked Questions
- How do you get a dog to sit still for photos?
- What is the best shutter speed for active dogs?
- How do you tire out a dog before a photo shoot?
- What treats work best for dog photography?
- How do you get sharp eyes on a moving dog?
- What is the 3-3-3 rule for dogs?
- What is the 7-7-7 rule for dogs?
- What are common mistakes in pet photography?
- Conclusion
Meet Your Dog Where They Are: The Two-Second Window
You do not need a dog who poses like a show champion. You need a dog who is a dog for two seconds, while you click the shutter at the right moment.
I call this the two-second window. Your dog will pause mid-zoomie, glance at a treat, look back at you across the yard, or flop down for half a breath. That is your shot. Anything more than two seconds of stillness is a gift, not a baseline.
Once you accept this, everything gets easier. You stop begging your dog to sit. You stop deleting 90% of your gallery. You start anticipating the micro-moments and pressing the shutter before they vanish.
💡 Pro tip: Set your camera to burst mode before you call your dog’s name. By the time your pup turns toward you, you’ll have 6-10 frames to choose from, and one of them will catch the ears-back, eye-catching look you actually wanted.
Pre-Shoot Prep: Burn Off Energy First
The single most effective pet photography tip for hyper dogs is to take the photo session on the back end of a long walk or play session, not the front end.
A tired dog is still a dog, but a tired dog is more likely to flop down in the grass, hold a sit for three seconds instead of zero, and offer you real eye contact instead of darting toward the nearest squirrel.
Here’s the pre-shoot checklist I follow:
- Walk or fetch for 20-30 minutes before the camera comes out. Hard cardio works best.
- Hydrate, then settle for 5-10 minutes so your dog isn’t panting hard in every frame.
- Skip the meal right before – a slightly hungry dog is more treat-motivated.
- Have a favorite toy ready as both an attention getter and a reward.
- Pick a familiar location – your yard, your street, your living room. Novel environments spike energy.
The Animal Humane Society recommends 15-30 minutes of playtime or a walk before any photo session. That matches what I see in my own shoots: dogs that arrive fresh off a hike cooperate three times better than dogs who have been napping all afternoon and are now ready to explode.
Camera Settings Cheat Sheet for Hyper Dogs
If your dog is moving and your photos are blurry, the answer is almost always shutter speed. Here’s the cheat sheet I wish someone had handed me five years ago.
| Scenario | Shutter Speed | Drive Mode | Focus | Aperture |
|---|---|---|---|---|
| Dog walking | 1/500s | Continuous low | Single-point AF | f/4 – f/5.6 |
| Dog trotting/running | 1/1000s | Continuous high (burst) | Eye AF or zone AF | f/2.8 – f/4 |
| Dog jumping or zoomies | 1/1600s or faster | Continuous high (burst) | Wide zone AF | f/2.8 |
| Stillness attempt (sit/stay) | 1/250s | Single shot | Eye AF | f/2 – f/2.8 |
Two settings matter more than any other for photographing hyper dogs: shutter speed of at least 1/1000s for any movement, and continuous high drive mode so you can fire 8-10 frames per second. Pair those with Eye AF if your camera has it, and you’ll catch sharp focus on the eyes even when the rest of the dog is a blur of motion.
If you shoot in aperture priority, your camera will pick the shutter speed for you, which usually isn’t fast enough. Switch to manual or shutter priority (Tv/S) and dial in 1/1000s as your starting point. Bump ISO as needed – modern cameras handle ISO 1600 and even 3200 beautifully, and a slightly grainy sharp photo is better than a clean blurry one.
The Freedom, Management, and Training Framework
When a dog won’t sit still, you have three real options. None of them is “force the dog to behave.” All of them work. Most of us combine them depending on the dog and the moment.
Freedom means letting the dog run, sniff, and zoom, and photographing what happens. You’ll get action shots, candid expressions, and tail-blur joy. This is my default for any dog I haven’t worked with before.
Management means using tools to gently guide the dog without restraining them. A long line lets a dog run while you stay in control. A helper holds a squeaky toy just out of frame. A treat bag clipped to your waist keeps rewards ready. A thin leash can be edited out in post in 30 seconds.
Training means teaching a release cue and a stay-game before the session. Even five minutes of practice the day before helps. “Sit” gets you two seconds. “Stay” gets you five. “Stay with a release word” gets you the freedom to step back and frame the shot.
Here’s when to reach for each:
- Pick Freedom for puppies, reactive dogs, first shoots, and any moment your dog is offering genuine joy.
- Pick Management for dogs who can’t be off-leash for safety reasons, multi-dog shoots, or when you want a calmer composition.
- Pick Training when you have a few days to prep, a dog who already knows sit-stay, or a session that needs a specific pose.
💡 Pro tip: If your dog is in the first three months home (rescue adjustment period), lean heavily on Freedom. The 3-3-3 rule applies – your dog is still decompressing, and forcing photo poses can damage trust.
Attention Getters That Actually Work
If your dog has treat-driven focus, you’re set. If not, here’s the ranked list of attention getters I keep in my kit bag, from most effective to backup.
- High-value treats – freeze-dried chicken, small cheese cubes, or liver. Tiny pieces, big smell.
- Squeaky toy – held just behind the camera or tossed past the lens to grab the eyes.
- Weird sounds – kissy noises, tongue clicks, “pup pup pup,” a whistle, or a crinkling treat bag.
- Second person – a helper behind you calling the dog’s name or waving a toy.
- Movement – run sideways, spin, or jump. Dogs track motion instinctively.
For dogs that ignore food outdoors, switch to a squeaky toy. For dogs that ignore toys, your voice is your most reliable tool – high-pitched, happy, slightly silly. Most dogs respond to silly before they respond to commands.
Get Down to Your Dog’s Eye Level
Standing over your dog and shooting down makes them look small and gives you a background full of ceiling. Lie on your belly, kneel, or sit cross-legged in the grass.
Eye-level portraits feel intimate and put your dog on equal footing with the viewer. They also force you to slow down, which slows your dog down too. There’s something about a calm, low photographer that invites a calm, low dog.
For larger breeds, this means getting comfortable with the ground. Bring a pad for your knees. For small breeds or puppies, you might stay seated and let them come to you.
Smartphone Photography Tips for Hyper Dogs
Most pet photos today are taken on phones, and modern phone cameras are shockingly capable. The settings that matter most are different from a DSLR, but the principles are identical.
- Lock focus and exposure by long-pressing on your dog’s face, then recompose.
- Use Portrait mode for that blurry-background look, but expect the edges of fluffy ears to blur too.
- Burst mode – on iPhone, hold the shutter button. On Android, swipe up or enable burst in camera settings.
- HDR on for high-contrast outdoor light, off for moving subjects where it can ghost.
- Tap to focus on the eyes every few seconds – phones will drift.
For phone shooters, the single biggest upgrade is to use the 2x or 3x telephoto lens. It flattens the perspective, throws the background out of focus, and lets you stand back so your dog doesn’t think you’re right on top of them.
Lighting and Time of Day
Harsh midday sun creates raccoon eyes and squinting. Soft light makes everything look better.
Golden hour – the hour after sunrise and before sunset – gives warm, directional light that flatters every coat color. Overcast days are secretly the best for pet photography: the clouds act as a giant softbox, even lighting, no harsh shadows.
For indoor shoots, park your dog near a large window with indirect light. Avoid overhead fluorescents – they cast green shadows and make eyes look glassy. If the light is dim, a simple ring light or a lamp bounced off a white wall fills the shadows without flattening texture.
Embrace the Chaos: Movement Is the Portrait
Some of the best pet photographs are not the ones where the dog is sitting still. They are the ones where the dog is mid-leap, mid-zoomie, or mid-shake.
Freeze motion at 1/1600s and a fast dog becomes a sculpture of muscle and joy. Slow your shutter to 1/60s and pan with the dog, and the background streaks into motion while the eyes stay sharp. Both techniques celebrate the energy that frustrates you in posed shots.
Candid shots almost always beat forced poses for personality. Your dog’s actual character lives in the chaos, not in the sit-stay.
Quick Tips Summary
Save this checklist on your phone before the next shoot:
- Walk first, shoot second – 20-30 minutes of hard play.
- 1/1000s shutter as your baseline for any moving dog.
- Burst mode on – 8-10 frames per second.
- Eye AF engaged if your camera has it.
- Treats, squeaky toy, voice – ranked attention getters.
- Get low – shoot from your dog’s eye level.
- Golden hour or overcast – skip midday sun.
- Embrace the action – movement is the portrait.
Frequently Asked Questions
How do you get a dog to sit still for photos?
You don’t, fully. Aim for a two-second window. Tire your dog out with a 20-30 minute walk first, then use treats, a squeaky toy, or your voice to grab attention. Switch to burst mode so you fire 6-10 frames during that brief pause, and pick the sharpest one.
What is the best shutter speed for active dogs?
Use 1/1000s as your baseline for any dog walking or trotting. Bump to 1/1600s or faster for running, jumping, or zoomies. Pair that with continuous high drive mode (burst) and Eye AF if your camera has it.
How do you tire out a dog before a photo shoot?
Take your dog for a 20-30 minute walk, play fetch, or run them in the yard. Hard cardio works best. Then let them settle for 5-10 minutes with water before the camera comes out so they aren’t panting hard in every frame.
What treats work best for dog photography?
Tiny, smelly, high-value treats: freeze-dried chicken, small cheese cubes, or liver. Keep pieces pea-sized so your dog can eat fast and not get full. Skip a meal right before the shoot so hunger is on your side.
How do you get sharp eyes on a moving dog?
Use Eye AF (eye autofocus) if your camera has it. Otherwise use continuous AF with a wide zone or single point locked on the eyes. Shutter speed of at least 1/1000s freezes the rest of the motion so the eyes stay crisp.
What is the 3-3-3 rule for dogs?
The 3-3-3 rule is a guideline for newly adopted or rescued dogs: 3 days to decompress, 3 weeks to settle in and learn routines, and 3 months to feel at home. In the first three days especially, skip photo sessions and let your dog decompress before expecting focus.
What is the 7-7-7 rule for dogs?
The 7-7-7 rule is a checklist of bonding activities for new dogs: 7 commands to teach, 7 places to explore together, and 7 people to meet in the first months. Building that bond first makes future photo sessions far easier.
What are common mistakes in pet photography?
Shooting at too slow a shutter speed (under 1/500s for moving dogs), not using burst mode, standing over the dog instead of getting to eye level, harsh midday sun, forcing a sit-stay the dog cannot hold, and deleting 90% of your gallery instead of looking for the two-second window.
Conclusion
Pet photography tips for hyper dogs that won’t sit still come down to one truth: your dog is a dog, and the best photos honor that. Walk them first, shoot at 1/1000s, use burst mode, get to eye level, and let the chaos be the picture.
You don’t need a perfect dog. You need a fraction of a second and a finger on the shutter. Go shoot.