
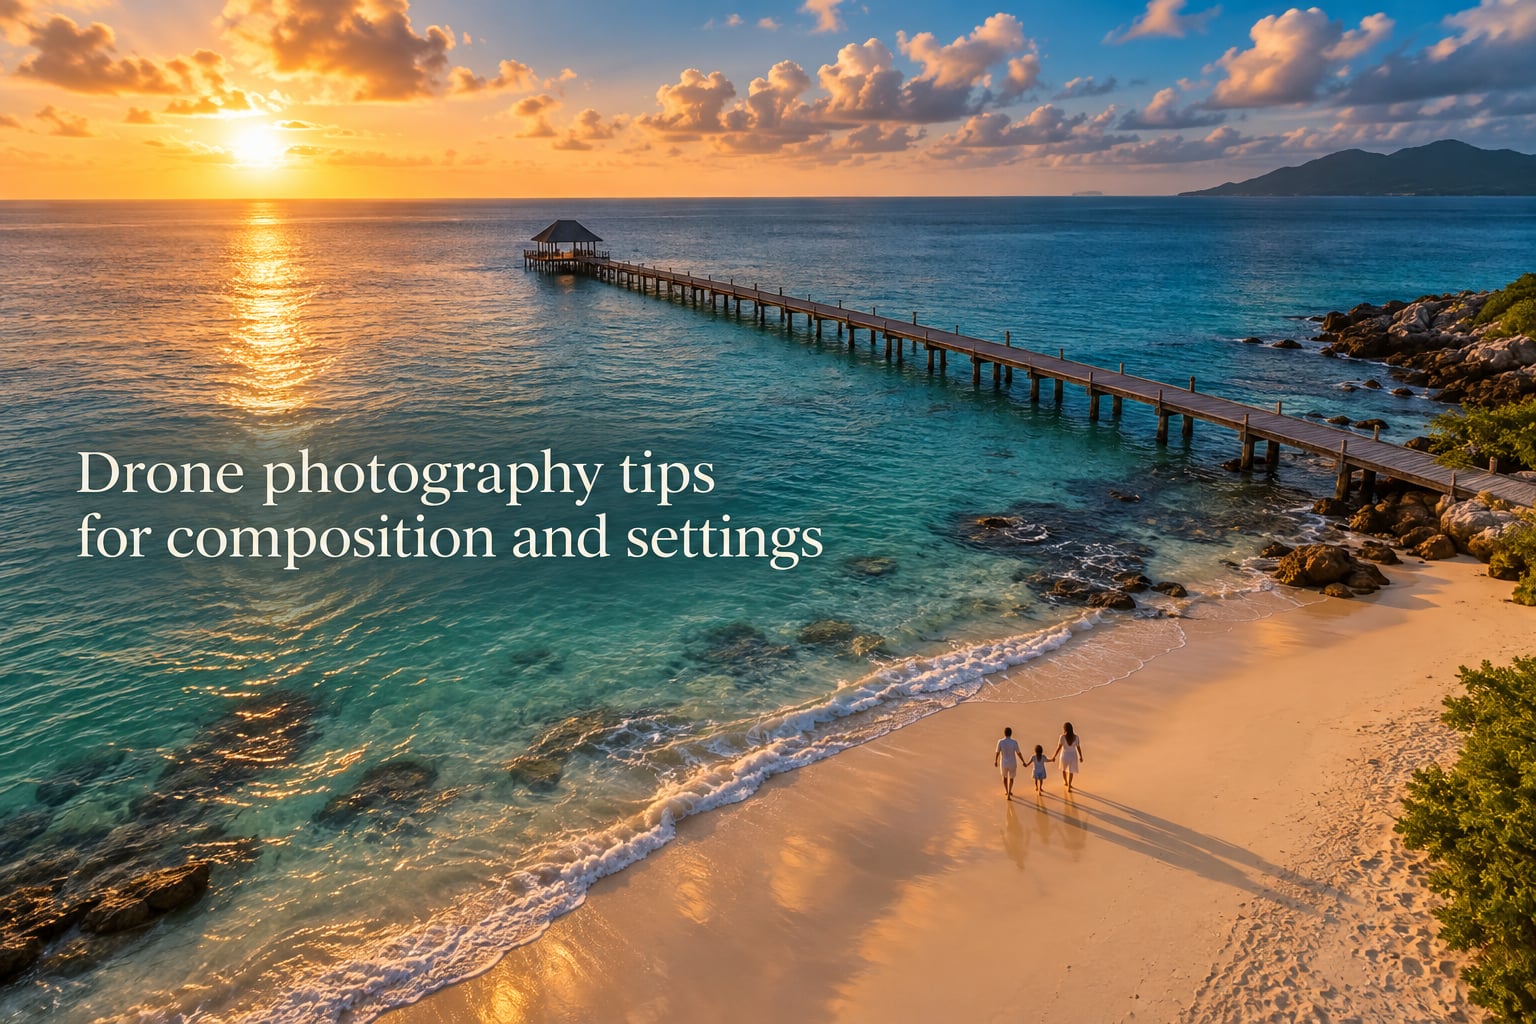
Drone photography tips start with one promise: a small flying camera can show you places your feet never could. After flying DJI drones for family sessions, landscape work, and personal travel for the past four years, I have made nearly every mistake you can make – blurry orbits, hazy midday skylines, blown-out JPEG highlights, and one memorable flight straight into a pine tree. This guide is the recipe I wish I had on day one. It covers composition rules adapted for an aerial perspective, the exact camera settings that keep drone photos crisp, and the lighting and altitude choices that turn a snapshot into a portfolio image.
If you are a beginner picking up your first drone, an intermediate pilot who wants sharper results, or a family photographer adding aerial coverage to your offerings, the principles below apply. You will not need any specific brand to use them. We will lean on the photography fundamentals – shutter speed, aperture, ISO, rule of thirds, leading lines, golden hour – and adapt them to a moving, three-axis gimbal-mounted camera that can fly.
Table of Contents
- Drone Photography Tips: 7-Point Pre-Flight Cheat Sheet
- Composition Rules That Make Aerial Photos Work
- Camera Settings Recipe for Drone Photography
- Lighting and Time of Day: Golden Hour to Blue Hour
- ND Filters and Polarizers: When to Use Each
- Drone Flying Patterns and Angles for Better Shots
- RAW vs JPEG and Color Profiles
- Altitude-Specific Composition Storytelling
- Drone Photography for Family and Lifestyle Sessions
- Weather, Wind, and Atmospheric Conditions
- Common Mistakes and Quick Fixes
- Frequently Asked Questions
- What are the best camera settings for drone photography?
- How do I compose a good drone photo?
- What shutter speed should I use for drone photography?
- What ISO is best for aerial photography?
- Do I need to shoot in RAW for drone photography?
- How high should a drone be for photography?
- What time of day is best for drone photography?
- Final Thoughts: Putting These Drone Photography Tips Into Practice
Drone Photography Tips: 7-Point Pre-Flight Cheat Sheet
Save this list on your phone before every flight. These seven drone photography tips cover the most common settings and composition choices in roughly 60 seconds of prep time, and they are the ones most likely to lift a casual aerial shot into a portfolio-grade image.
- Set shutter speed to 1/500s or faster. Your drone is always moving, even in hover. A shutter of 1/500s is the minimum for sharp stills; bump to 1/1000s for orbit and tracking shots.
- Lock ISO at 100 in daylight. ISO 100 keeps aerial photos clean. Raise ISO only when light drops and you cannot maintain shutter speed.
- Use aperture between f/2.8 and f/5.6. Most drone lenses are sharpest two stops down from wide open. f/4 is a reliable default for landscape aerial work.
- Shoot RAW (DNG), not JPEG. RAW gives you 2-3 stops of recovery for shadows and highlights, which is critical when skies are bright and ground is dark.
- Apply the rule of thirds before takeoff. Turn on the grid overlay. Place the horizon on the lower third for sky-driven compositions and the upper third for ground storytelling.
- Use a polarizer when skies are hazy or water is reflective. A circular polarizer cuts haze, deepens blue skies, and removes glare from lakes and oceans.
- Fly during golden hour or blue hour when possible. Low-angle sun adds depth, long shadows, and warm color that midday light simply cannot replicate.
Composition Rules That Make Aerial Photos Work
Aerial composition is grounded in the same rules as eye-level photography – rule of thirds, leading lines, symmetry, framing – but the altitude changes how each one feels. Once the camera is 50 feet up, “leading lines” can become rivers, roads, or fence rows stretching toward the horizon. “Foreground” can become a textured field of crops. Below are the composition rules I lean on most in the air.
Rule of Thirds in Drone Photography
The rule of thirds in drone photography works the same as on the ground: place the horizon on the upper or lower third and let the dominant subject (a boat, a tree line, a lone surfer) sit on a vertical third line. From altitude, this rule feels even more powerful because you have so much negative space to work with. A single small subject on a wide field of texture can carry an entire frame. Turn on your drone’s grid overlay before takeoff – it makes thirds placement obvious in real time.
Leading Lines From Above
Leading lines in aerial photography are usually natural or man-made paths: roads, rivers, boardwalks, fence lines, crop rows, ridgelines. Fly so the line enters from a corner and exits diagonally across the frame. The viewer’s eye follows the line straight to your subject. Coastlines work especially well because the contrast between water and land creates a line that almost photographs itself.
Symmetry, Patterns, and Textures
Aerial perspective reveals patterns invisible at ground level – vineyard rows, sand ripples, parking grids, salt flats, rooftops. Fly straight down (top-down or bird’s-eye view) and frame the pattern centrally for a symmetrical image, or off-center for a more dynamic composition. Top-down drone shots are some of the most engaging aerial images on social media because they look unfamiliar; viewers rarely see the world from straight above.
Foreground and Background at Altitude
Foreground and background separation is harder to achieve from altitude because everything is far away. To create depth, position your drone so a closer element (a tree, a cliff edge, a roof) overlaps a more distant landscape (mountains, water, sky). Fly slightly lower and slower than feels natural – this compresses the foreground into the frame and adds the layered depth that makes aerial landscapes feel cinematic.
Camera Settings Recipe for Drone Photography
Best camera settings for drone photography follow the exposure triangle: shutter speed, aperture, and ISO. The goal is sharp stills with low noise and accurate color. Below is the recipe I start from for almost every daylight shoot.
- Shutter speed: 1/500s minimum for hovering shots; 1/1000s or faster for any drone that is moving (orbit, track, pan, fly-through).
- Aperture: f/4 as a default. Drop to f/2.8 in low light, stop down to f/5.6-f/8 in bright midday sun for sharper corners.
- ISO: 100 in daylight. 200-400 in overcast or shade. Above 800 only when shooting blue hour or indoor events – and only if shutter speed cannot drop below 1/500s.
- White balance: Set manually to Daylight (around 5500K) for consistency, or use Auto White Balance when shooting RAW (it is easy to adjust later).
- Focus: Tap to focus on the subject, then switch to manual focus to prevent hunting mid-flight.
- File format: RAW (DNG). Always. JPEG-only clips highlights and limits your editing latitude by roughly 2 stops.
Wind-Speed to Shutter-Speed Chart
Wind is the silent killer of sharp drone photos. The faster the wind, the faster your drone corrects, and the more motion blur appears at slow shutter speeds. Use this chart as a starting point and bump shutter faster if you see softness on the rear LCD.
| Wind Speed (mph) | Wind Condition | Recommended Minimum Shutter |
|---|---|---|
| 0-5 | Calm / hover-stable | 1/500s |
| 6-12 | Light breeze | 1/750s |
| 13-20 | Moderate wind | 1/1000s |
| 21+ | Strong wind / gusty | 1/1500s or land the drone |
Lighting and Time of Day: Golden Hour to Blue Hour
Time of day is the single biggest factor in drone photo quality. Aerial lighting changes dramatically from sunrise to sunset, and each window has trade-offs.
- Golden hour (first / last hour of sun): The best time of day for drone photography. Warm color, long shadows, low contrast between sky and ground. Ideal for landscapes, family portraits with drone, and orbit shots.
- Blue hour (20-40 minutes after sunset): City lights balance with residual sky glow. Perfect for real estate, urban establishing shots, and any scene with mixed artificial and natural light.
- Midday (10am-2pm): Harsh, flat light and harsh shadows under the drone. Use a polarizer and fly top-down to minimize shadow direction.
- Overcast: Soft, even light that flatters aerial landscapes. Excellent for top-down patterns, color, and texture work. Slight color cast from clouds – correct in post.
For most flights, I plan around golden hour. The light lasts roughly an hour, the wind usually drops, and the colors are forgiving even when exposure is slightly off.
ND Filters and Polarizers: When to Use Each
ND filters and polarizing filters solve different problems in drone photography, and using the right one for the light is the difference between amateur and pro results.
Polarizing Filter
A circular polarizer (CPL) cuts haze, deepens blue skies, and removes glare from water, glass, and wet surfaces. It is the single biggest perceived “wow” upgrade for landscape drone work. Rotate the polarizer until reflections disappear from water and the sky reaches its deepest blue. Avoid polarizers in overcast conditions – they add little benefit and can introduce unwanted color shifts.
ND Filter Stops vs Lighting Condition
ND filters reduce light entering the lens, which lets you use slower shutter speeds in bright conditions. This matters for drone video (the 180-degree shutter rule) but it also helps stills when you want motion blur in props, water, or clouds. Below is the ND filter stop vs lighting condition chart I use as a quick reference.
| ND Stop | Light Reduction | Best For |
|---|---|---|
| ND4 | 2 stops | Golden hour, low light, sunset video |
| ND8 | 3 stops | Overcast, soft daylight, hazy sun |
| ND16 | 4 stops | Bright midday sun, blue hour |
| ND32 | 5 stops | Very bright sun, snow, beach glare |
| ND64 | 6 stops | Desert, snowfields, extreme glare |
If you only buy one filter, get an ND16 and a polarizer. That pair covers roughly 80 percent of aerial shooting conditions.
Drone Flying Patterns and Angles for Better Shots
Flying patterns determine the storytelling. The same subject photographed with an orbit looks dynamic; with a top-down it looks graphic; with a tracking shot it looks cinematic. These are the patterns I use most.
- Orbit shot: Circle the subject slowly while keeping the camera locked on it. Best for properties, landmarks, and family groups. Slow and smooth – any jerky stick input shows up in the final image.
- Reveal shot: Start behind an obstacle (a hill, a building, a tree line) and rise up to reveal the scene beyond. Powerful for weddings, real estate, and storytelling openers.
- Top-down (bird’s eye) shot: Point the gimbal straight down. Ideal for patterns, textures, group shots from above, and architectural symmetry.
- Tracking shot: Fly alongside a moving subject (a runner, a car, a boat) at matching speed. Set the drone to ActiveTrack or manually match speed. Shutter 1/1000s or faster.
- Establishing shot: Fly up and back from the subject to give viewers a sense of place. Often used as the opening shot in a video or the wide shot in a photo series.
Practice each pattern in an open field before using it for a paid shoot. The biggest mistake beginners make is mixing patterns – starting an orbit and accidentally adding vertical stick input. Slow, deliberate inputs only.
RAW vs JPEG and Color Profiles
Shooting in RAW (DNG) is non-negotiable for serious drone work. JPEG compression discards roughly 70 percent of the sensor data; RAW keeps it all. The trade-off is file size and editing time, but the gains in dynamic range and color depth are worth it for almost every aerial photograph. Below is a quick comparison.
| Attribute | JPEG | RAW (DNG) |
|---|---|---|
| Dynamic range | 8-10 stops | 12-14 stops |
| File size | 3-8 MB | 20-50 MB |
| Editing latitude | Limited; quick to clip | 2-3 stops of recovery |
| Battery drain | Lower | Slightly higher |
| Post-processing | Minimal needed | Required to realize benefit |
D-Log and Flat Color Profiles
Color profile matters as much as file format. A flat profile (D-Log on DJI drones, DNG-Mode on some others) records a desaturated, low-contrast image that retains the most data in shadows and highlights. In post, you apply a LUT or color grade to bring it back to normal. The workflow adds 10-15 minutes per shoot but the resulting images have richer color and more flexibility. For stills, switch your drone to RAW + D-Log if available; for quick social sharing, JPEG + Standard profile is fine.
Altitude-Specific Composition Storytelling
Altitude changes the story your photo tells more than any other variable. Flying at eye-level reads intimate; flying at 50 feet reads contextual; flying at 400 feet reads epic. Most beginners either never leave eye-level or fly too high and lose their subject. Use this table as a storytelling guide.
| Altitude | Best Storytelling Effect | Best For |
|---|---|---|
| Eye-level (5-20 ft) | Intimate, human-scale | Family portraits, weddings, ground-level detail |
| Low aerial (30-80 ft) | Contextual storytelling | Real estate, lifestyle, group photos |
| Mid aerial (100-200 ft) | Scene + subject combined | Landscapes, properties, establishing shots |
| High aerial (300-400+ ft) | Epic, graphic, pattern-focused | Landscape scale, abstract patterns, coastlines |
How high a drone should be for photography depends on the story you want to tell. For family work, stay below 80 feet – higher and the people become dots. For landscape scale, push to 200-400 feet and use leading lines and foreground texture to anchor the composition.
Drone Photography for Family and Lifestyle Sessions
Drone photography adds a unique perspective to family and lifestyle work that traditional ground photography cannot replicate. Used well, an aerial shot opens a session with a wide establishing view of the location, then closes with a top-down group portrait. The middle of the session stays on the ground for intimacy.
For Sparkfly-style family sessions, I usually book 15 minutes of drone flight time at golden hour. That window captures three usable shots: an establishing wide, a low-orbit around the family, and a top-down group photo. The family stays on the ground; the drone does the storytelling.
Tips specifically for family drone photography:
- Fly low and slow. Anything above 100 feet makes people unrecognizable.
- Brief the family before takeoff. Loud drones startle toddlers. Plan a brief “drone flyover” moment when everyone is looking up and waving.
- Use Tripod mode. Tripod mode slows all stick inputs for smoother movement, which matters when kids are the subject.
- Check the background. From above, a busy parking lot or trash can become visible in your composition. Walk the location first.
Weather, Wind, and Atmospheric Conditions
Weather shapes aerial photography more than any other genre. Fog, overcast, snow, and rain each demand different settings and composition choices. Below is how I handle each condition.
| Condition | Settings Adjustment | Composition Tip |
|---|---|---|
| Fog / mist | Add +0.3 to +0.7 EV; ISO 200-400 | Use fog as a soft layer over landscapes; emphasize silhouettes |
| Overcast | ISO 200; white balance 5500K; no polarizer | Fly top-down for patterns and texture; soft, flattering light |
| Snow / beach | Add +1.0 EV; use ND32 or ND64 | Minimal shadows; rely on lines and color for structure |
| Wind (15+ mph) | Shutter 1/1000s or faster; lower altitude | Fly low for stable shots; avoid long-exposure hyperlapse |
| Light rain | Land the drone | Not applicable – most consumer drones are not waterproof |
Atmospheric conditions are also a creative tool, not just an obstacle. Fog, mist, and low clouds create mood that bright skies cannot match. The trick is exposure compensation – bright backgrounds trick the drone’s meter into underexposing the foreground.
Common Mistakes and Quick Fixes
These are the seven mistakes I see most often in beginner drone photos. Each has a quick fix you can apply on your next flight.
- Shutter too slow. Symptom: subtle motion blur, soft edges. Fix: bump shutter to 1/500s minimum, or 1/1000s for any drone movement.
- Shooting only JPEG. Symptom: clipped highlights, muddy shadows. Fix: switch to RAW (DNG) and shoot in D-Log or flat profile.
- Skipping the polarizer in hazy light. Symptom: flat, washed-out skies. Fix: add a circular polarizer and rotate until haze disappears.
- Composing at eye-level only. Symptom: shots look like ground photos from a slightly taller tripod. Fix: mix in orbit, top-down, and reveal patterns.
- Flying too high for the subject. Symptom: people look like dots. Fix: stay below 80 feet for family work; below 200 feet for any human subject.
- Ignoring wind. Symptom: blurry images on breezy days. Fix: use the wind-to-shutter chart above; consider landing if winds exceed 20 mph.
- Forgetting to clean the lens. Symptom: hazy, low-contrast images with a soft spot in the frame. Fix: wipe the lens with a microfiber cloth before every flight.
Frequently Asked Questions
What are the best camera settings for drone photography?
For daylight aerial shots, use shutter speed 1/500s or faster, ISO 100, and aperture between f/2.8 and f/5.6. Always shoot in RAW (DNG) for maximum editing flexibility. In low light, raise ISO to 200-400 and lower the shutter only after confirming your drone is fully stationary in a hover.
How do I compose a good drone photo?
Use the rule of thirds, place the horizon on the upper or lower third, and look for leading lines like rivers, roads, or ridgelines. Add depth by including a foreground element (a tree, a roof, a cliff edge) that overlaps a more distant landscape. Vary your altitude and angle between eye-level, low aerial, and top-down for visual variety.
What shutter speed should I use for drone photography?
Use 1/500s minimum for a hovering drone, and 1/1000s or faster for any movement (orbit, tracking, panning, fly-through). In wind above 15 mph, push to 1/1500s or land the drone. Slow shutter speeds introduce motion blur because drones are never perfectly still, even when hovering.
What ISO is best for aerial photography?
ISO 100 is best for aerial photography in daylight – it gives you the cleanest image with the most dynamic range. Raise ISO to 200-400 in overcast or shaded scenes, and to 800-1600 only in blue hour or low-light conditions where shutter speed must stay above 1/500s. Most consumer drone sensors hold up well through ISO 800.
Do I need to shoot in RAW for drone photography?
Yes – shooting in RAW (DNG) is the single biggest upgrade you can make for drone photography. RAW files retain 12-14 stops of dynamic range compared to 8-10 stops for JPEG, giving you 2-3 stops of recovery in shadows and highlights. The trade-off is file size and post-processing time, both of which are worth it for any image you intend to keep.
How high should a drone be for photography?
Stay between 5-80 feet for human subjects (family, weddings, portraits) so people remain recognizable. Use 100-200 feet for contextual storytelling with landscape scale, and 300-400+ feet for epic wide views, abstract patterns, and coastlines. The story you want to tell should drive altitude, not the other way around.
What time of day is best for drone photography?
Golden hour (the first and last hour of sunlight) and blue hour (20-40 minutes after sunset) are the best times of day for drone photography. Golden hour offers warm, low-angle light with long shadows. Blue hour balances city lights with residual sky glow. Midday is harsh and flat, and should be reserved for top-down pattern work with a polarizer.
Final Thoughts: Putting These Drone Photography Tips Into Practice
Drone photography tips are easy to read and slow to master. The shortest path from beginner to confident is to pick one rule – shutter speed, rule of thirds, or golden hour – and shoot ten flights using only that rule. Once it feels automatic, layer in the next one. Within a season, you will have a portfolio of aerial images that look intentional rather than lucky.
Before you take off for your next session, run through the seven-point cheat sheet at the top of this guide, check the wind-to-shutter chart, and plan your flight for golden hour if you can. If you are flying in the United States, brush up on Part 107 rules and current airspace maps; if you are elsewhere, check your local aviation authority. The legal and safety side of drone photography is just as important as the creative side, and it is the one area where shortcuts end a hobby fast.
Finally, share your work. Drone photography thrives on community feedback – post a frame, ask for critique, study how other pilots framed the same scene. Aerial photography is one of the few genres where a beginner with a consumer drone can produce images that look professional within a year. The only ingredients are these principles, regular practice, and the willingness to fly again after the pine tree incident.