
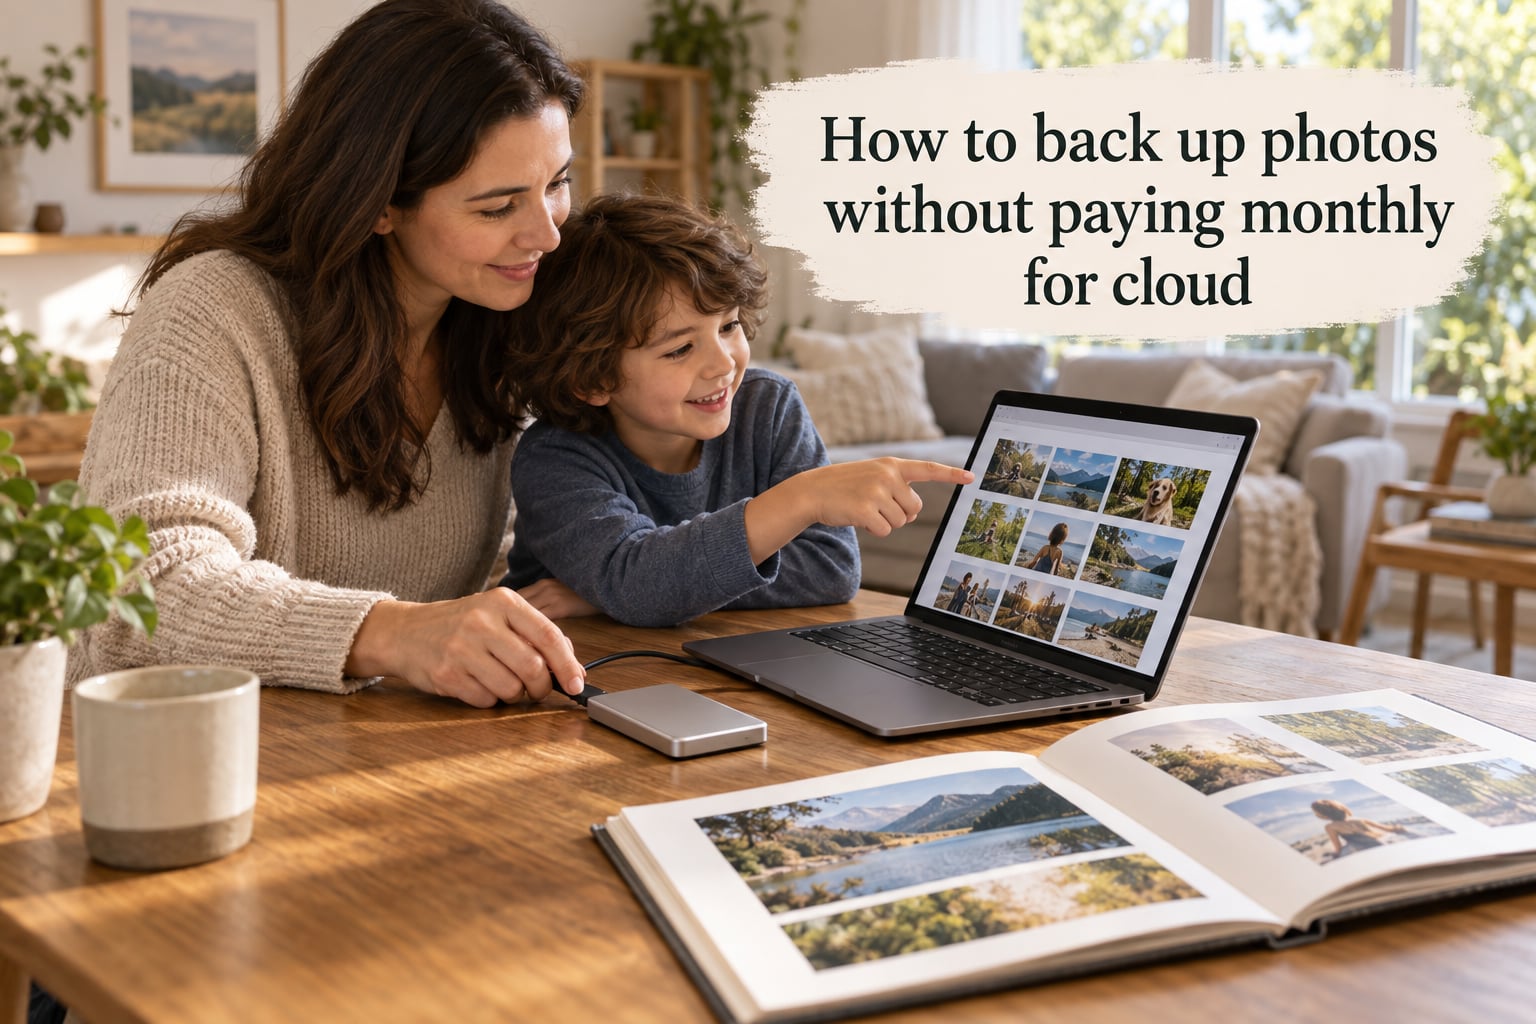
You can back up photos without paying monthly for cloud storage by following the 3-2-1 rule: keep three copies of your photos, on two different types of media, with one copy stored off-site. Most families get there with a single external hard drive plus one free or cheap off-site backup.
If that sentence just saved you a subscription, the rest of this guide shows you exactly how to set it up. I have helped families back up tens of thousands of photos over the years, and the simplest plans almost always win.
We will walk through four methods: an external hard drive, a NAS for power users, free or cheap cloud tiers, and a phone-first workflow for both iPhone and Android. By the end, you will know which method fits your library, your budget, and your tolerance for tech.
Table of Contents
- Why Pay Monthly When You Don’t Have To?
- What Is the 3-2-1 Backup Rule?
- Method 1: External Hard Drive or SSD
- Method 2: NAS for Power Users
- Method 3: Free and Cheap Cloud Tiers That Aren’t True Subscriptions
- How to Back Up iPhone Photos Without iCloud
- How to Back Up Android Photos for Free
- Which Method Is Right for You?
- Frequently Asked Questions
- Is there a free and unlimited cloud storage service for photos?
- Will I lose my photos if I stop paying for iCloud storage?
- How can I store my photos without paying for iCloud?
- How do I get more cloud storage without paying for it?
- What is the best way to store a large amount of photos without a monthly pricing plan?
- What is the best way to store digital photos long term?
- What is the best way to store digital photos long term for free?
- Your Memories Are Worth More Than a Monthly Bill
Why Pay Monthly When You Don’t Have To?
A cloud subscription feels cheap until you do the math. The standard 200GB iCloud+ or Google One plan runs around ten dollars a month. Multiply that by twelve months, then by ten years, and you are staring at roughly twelve hundred dollars for storage you do not even own.
For the same money you could buy a two-terabyte external SSD today, use it for five to seven years, and still have change left over. The subscription route keeps charging you forever; the one-time purchase route ends.
Then there is the terms-of-service problem. Google Photos used to offer free unlimited storage, then changed the rules in 2021 and locked millions of people out unless they paid. Kodak once owned the film industry and went bankrupt. Flickr changed owners and shifted pricing twice.
Your family photos outlive any single company. Keeping them on a physical object you hold in your hand is a different kind of safety than renting space on someone else’s computer.
The third reason is the quiet one: a single copy is fragile. A house fire, a burst pipe, a stolen laptop, or a sudden hard drive failure can wipe out fifteen years of memories in an afternoon. A monthly subscription does not protect you from any of those unless you also keep a local copy. The whole point of backing up is having more than one place where your photos live.
What Is the 3-2-1 Backup Rule?
The 3-2-1 backup rule is a simple framework used by photographers and IT pros alike: keep three copies of your data, store them on two different types of media, and keep at least one copy off-site. It sounds technical, but at a family scale it is just common sense plus one extra step.
The three copies protect you from accidental deletion or a single drive failure. The two types of media protect you if one whole category fails (say, a batch of defective SSDs). The one off-site copy protects you from anything that happens to your house.
For a typical family, this looks like:
- Copy 1: photos on your phone or computer (the original)
- Copy 2: photos on an external hard drive or SSD (a different type of media)
- Copy 3: photos stored somewhere else, like a second drive at a relative’s house, a free cloud tier, or a paid lifetime cloud plan
That is the whole rule. Every method below is just a different way of filling in copy 2 and copy 3.
Method 1: External Hard Drive or SSD
An external hard drive (HDD) or solid-state drive (SSD) is the simplest non-subscription backup for most people. You plug it in, you copy your photos, you unplug it and put it somewhere safe. No accounts, no monthly bill, no terms of service to worry about.
HDD versus SSD in plain language: an HDD is a spinning disk inside a case, cheaper per gigabyte and great for storing thousands of photos that you do not edit every day. An SSD uses flash memory like a memory card, costs a little more, but is faster, quieter, smaller, and far less likely to break if you drop it. Either works for backup. If you are buying new and want it to last, an SSD is the safer pick.
A two-terabyte drive holds around half a million phone photos or roughly 40,000 RAW camera files. A four-terabyte drive doubles that. For most families, two terabytes is plenty for at least three to five years of growth.
Step-by-Step: How to Back Up to an External Drive
- Buy an external SSD or hard drive with at least double the storage of your current photo library.
- Plug the drive into your computer using the included cable (USB-C on most modern drives).
- Create one main folder on the drive named something clear, like “Family Photos Backup.”
- Inside that folder, add subfolders by year (2024, 2025, 2026) so you can find things later.
- On a Mac, open Image Capture, select your iPhone or card, pick your backup folder, and click Import. On Windows, open File Explorer, find your phone or SD card under This PC, then drag the DCIM folder into your backup folder.
- Wait for the copy to finish, then unplug the drive and store it somewhere other than right next to your computer.
Repeat this roughly once a month. Set a calendar reminder labeled “photo backup day” and you will never forget.
How to Organize Files on the Drive
Two simple rules keep a backup useful years from now. First, never rearrange the original folder structure that came off your phone or camera. Second, name the top-level folder by year so you can scan it without opening anything. A flat structure beats a clever one. Future you, on a tired evening, will thank past you for keeping it boring.
Method 2: NAS for Power Users
A NAS (network attached storage) is a small box with one or more hard drives inside that plugs into your home router. Every phone and computer on the wifi can automatically save copies of their photos to it, like a private cloud that lives in your house.
For a family of casual phone photographers, a NAS is usually overkill. For a household with several shooters, a terabyte-plus RAW library, or someone who edits video, a NAS is a wonderful middle ground between a single external drive and a paid cloud plan.
Popular brands like Synology and QNAP build NAS boxes with apps that handle automatic phone backup, face recognition, and even basic photo sharing with relatives. You pay once for the hardware (usually a few hundred dollars for a two-bay unit plus drives) and own the storage forever. Many NAS boxes support RAID, which means if one drive fails your photos are still safe on the second drive.
The honest trade-off: a NAS takes an afternoon to set up, requires occasional firmware updates, and still needs an off-site copy to count as a real 3-2-1 backup. If any of that feels like a chore, stick with the external drive method and pair it with a free cloud tier instead.
Method 3: Free and Cheap Cloud Tiers That Aren’t True Subscriptions
Cloud storage gets a bad name because most of the loud options are monthly subscriptions. There are three real alternatives that do not lock you into a recurring bill.
Google Photos Free Tier
Google Photos gives every Google account 15GB of free storage, shared across Gmail, Drive, and Photos. For a family that takes moderate phone photos, that is enough to cover a year or two of uploads without paying a cent. Turn on Backup in the Google Photos app and your phone will quietly copy every new photo to Google’s servers in the background.
The catch: 15GB fills up fast if you shoot in 4K video or RAW. When it runs out, Google pushes you toward a paid Google One plan. That is the moment to switch your primary backup to an external drive and keep Google as your off-site copy only.
Amazon Photos with Prime
If you already pay for Amazon Prime, Amazon Photos includes unlimited full-resolution photo storage at no extra cost. Five gigabytes of video comes with it too. This is the closest thing to a free unlimited cloud for photos that exists today, and it is genuinely useful as the off-site half of a 3-2-1 plan.
Amazon is not paying you, of course; you are paying for Prime for the shipping and streaming. But if Prime is already in your budget, Amazon Photos is the smartest free backup for Prime members.
pCloud Lifetime and Similar One-Time Plans
A few cloud services sell lifetime plans instead of monthly subscriptions. pCloud, for example, often runs lifetime deals for 500GB or 2TB that you pay once and own forever. These count as true non-subscription storage because there is no recurring charge.
Lifetime plans are great for off-site backups because the price stays at zero per month for as long as the company exists. Just do not rely on a lifetime plan as your only copy; pair it with a local drive so you still meet the 3-2-1 rule.
Self-Hosted Options (Immich)
If you want a true free cloud that you fully control, Immich is an open-source photo app you can run on a NAS, a Raspberry Pi, or an old laptop. It looks and works a lot like Google Photos, including face recognition and search, but your photos never leave your own hardware.
The trade-off is setup time and comfort with light command-line work. For most families this is more power than they need, but it is the closest thing to a permanent free cloud without giving any company your files.
How to Back Up iPhone Photos Without iCloud
You can back up your iPhone photos without paying for iCloud by copying them to a computer or external drive every few weeks. iCloud is convenient but not required; Apple does not lock your photos to its servers.
Step-by-Step iPhone Backup Without iCloud
- Plug your iPhone into a Mac or Windows PC using a Lightning or USB-C cable.
- Unlock your iPhone and tap “Trust” if asked.
- On a Mac, open the Image Capture app and select your iPhone. Choose your external drive folder as the destination, then click Import All.
- On Windows, open the Photos app, click Import, choose From a USB device, and follow the prompts.
- Once the import finishes, eject the iPhone safely and unplug the drive.
- Store the drive somewhere other than on your desk, ideally in a different room or off-site.
Set a monthly reminder and you will have a fresh backup without ever paying Apple a subscription.
Add a Free Off-Site Copy
After your local backup, turn on Google Photos free backup as your second copy. With the 15GB free tier you can run a small library entirely without paying, and your photos will be safe even if your house has a disaster.
How to Back Up Android Photos for Free
Android gives you more ways to back up photos without paying for cloud storage than iPhone does, mostly because the file system is easier to access. You can copy photos straight to a computer or use Google’s free 15GB tier.
Step-by-Step Android Backup Without Paying
- Plug your Android phone into a computer with a USB-C cable.
- On the phone, pull down the notification shade and tap the USB notification. Change the connection mode to “File Transfer” or “MTP.”
- On the computer, open File Explorer (Windows) or Finder (Mac with Android File Transfer installed). Open the phone, then the DCIM folder.
- Drag the DCIM folder into your external drive’s backup folder.
- Once the copy finishes, eject the phone safely.
- As a second copy, open the Google Photos app, sign in, and turn on Backup. The free 15GB tier will start uploading automatically.
For Samsung and Pixel phones there are also manufacturer tools (Samsung Smart Switch, Pixel transfer) that walk you through the same steps with a friendlier interface.
Which Method Is Right for You?
The best backup is the one you actually do. Match the method to your library size, your tech comfort, and your family situation.
If You Shoot Mostly on a Phone and Your Library Is Under 50GB
Buy a 1TB external SSD, copy your photos to it once a month, and turn on Google Photos free backup for an off-site copy. That is the whole plan. Total cost: one drive purchase, zero ongoing fees.
If You Are a Family With 50GB to 500GB of Photos
Use a 2TB or 4TB external SSD plus Amazon Photos if you have Prime. If you do not have Prime, pair your external drive with pCloud’s lifetime plan for a paid-once off-site copy. You will outgrow the free 15GB Google tier at this size.
If You Are a Serious Hobbyist or Pro Photographer With 1TB or More
Set up a NAS like a Synology or QNAP with mirrored drives for automatic in-house backup, then add a lifetime cloud plan or a second external drive stored at a relative’s house for the off-site copy. Refresh your drives every five to seven years.
If You Travel Frequently
Carry a small portable SSD on trips and back up your camera or phone to it each night. When you get home, copy the travel drive to your main backup drive so your trip photos live in two places before you ever leave the country again.
Frequently Asked Questions
Is there a free and unlimited cloud storage service for photos?
True unlimited free cloud storage for photos is extremely rare. Google Photos gives 15GB free, Amazon Photos gives unlimited photo storage with a Prime membership, and self-hosted tools like Immich are free if you already own the hardware. For most people the cheapest path is a one-time external drive plus one of those free tiers as an off-site copy.
Will I lose my photos if I stop paying for iCloud storage?
Apple keeps your photos for a short grace period after you stop paying iCloud, but if you stay below the 5GB free tier they remain accessible. If your library is larger than 5GB, Apple will not delete immediately but you cannot upload new photos and you risk losing access if you ignore the warnings long enough. The safest move is to download everything to an external drive before you cancel.
How can I store my photos without paying for iCloud?
1. Plug your iPhone into a computer and copy photos to an external SSD. 2. Use the Google Photos free 15GB tier as a secondary off-site backup. 3. Repeat monthly and keep the drive in a different room or location for safety. That combination satisfies the 3-2-1 rule with zero monthly fees.
How do I get more cloud storage without paying for it?
Combine free tiers from multiple providers, such as Google 15GB, OneDrive 5GB, and Dropbox basic, and rely primarily on a local external drive. Self-hosting with Immich on a home server is another fully free path if you already have the hardware. The free tiers add up to around 25GB across providers, which covers a year of moderate phone shooting.
What is the best way to store a large amount of photos without a monthly pricing plan?
For libraries over 1TB, the cheapest long-term path is the 3-2-1 rule: the original on your computer, a copy on an external SSD, and a copy off-site, either a second drive stored elsewhere or a one-time cloud plan like pCloud lifetime. A single 4TB external SSD costs less than two years of a typical 2TB cloud subscription and will last at least five years.
What is the best way to store digital photos long term?
The professional standard is the 3-2-1 rule: three copies, on two different types of media, with one off-site. Pair an external SSD with a second drive stored in a different location, and refresh drives every 5 to 7 years because all storage media slowly degrade. Adding a free cloud tier or a one-time lifetime plan rounds out the strategy.
What is the best way to store digital photos long term for free?
Use the free 15GB Google Photos tier plus an external drive you already own. Self-hosted free tools like Immich cost nothing beyond your existing hardware and keep your photos fully under your control. The catch is that free still requires you to actively manage copies and refresh drives, because nothing is automatic.
Your Memories Are Worth More Than a Monthly Bill
The point of a backup is not the device or the service; it is the future version of your family sitting down to look at the first day of school, the trip to the coast, the year the dog was a puppy. None of that should depend on a subscription staying the same price forever.
Pick one method from this guide and do it before the weekend. Buy a two-terabyte SSD, set a monthly reminder, and add one free off-site copy. That is a complete backup plan that costs nothing per month and protects every photo you take from here on.
If you want one last layer of safety, print your favorites into a photo book at the end of every year. A book on the shelf cannot be hacked, deleted, or lost to a server outage. That is the kind of backup a grandparent can hold, and it is the one we recommend to every family we photograph.