
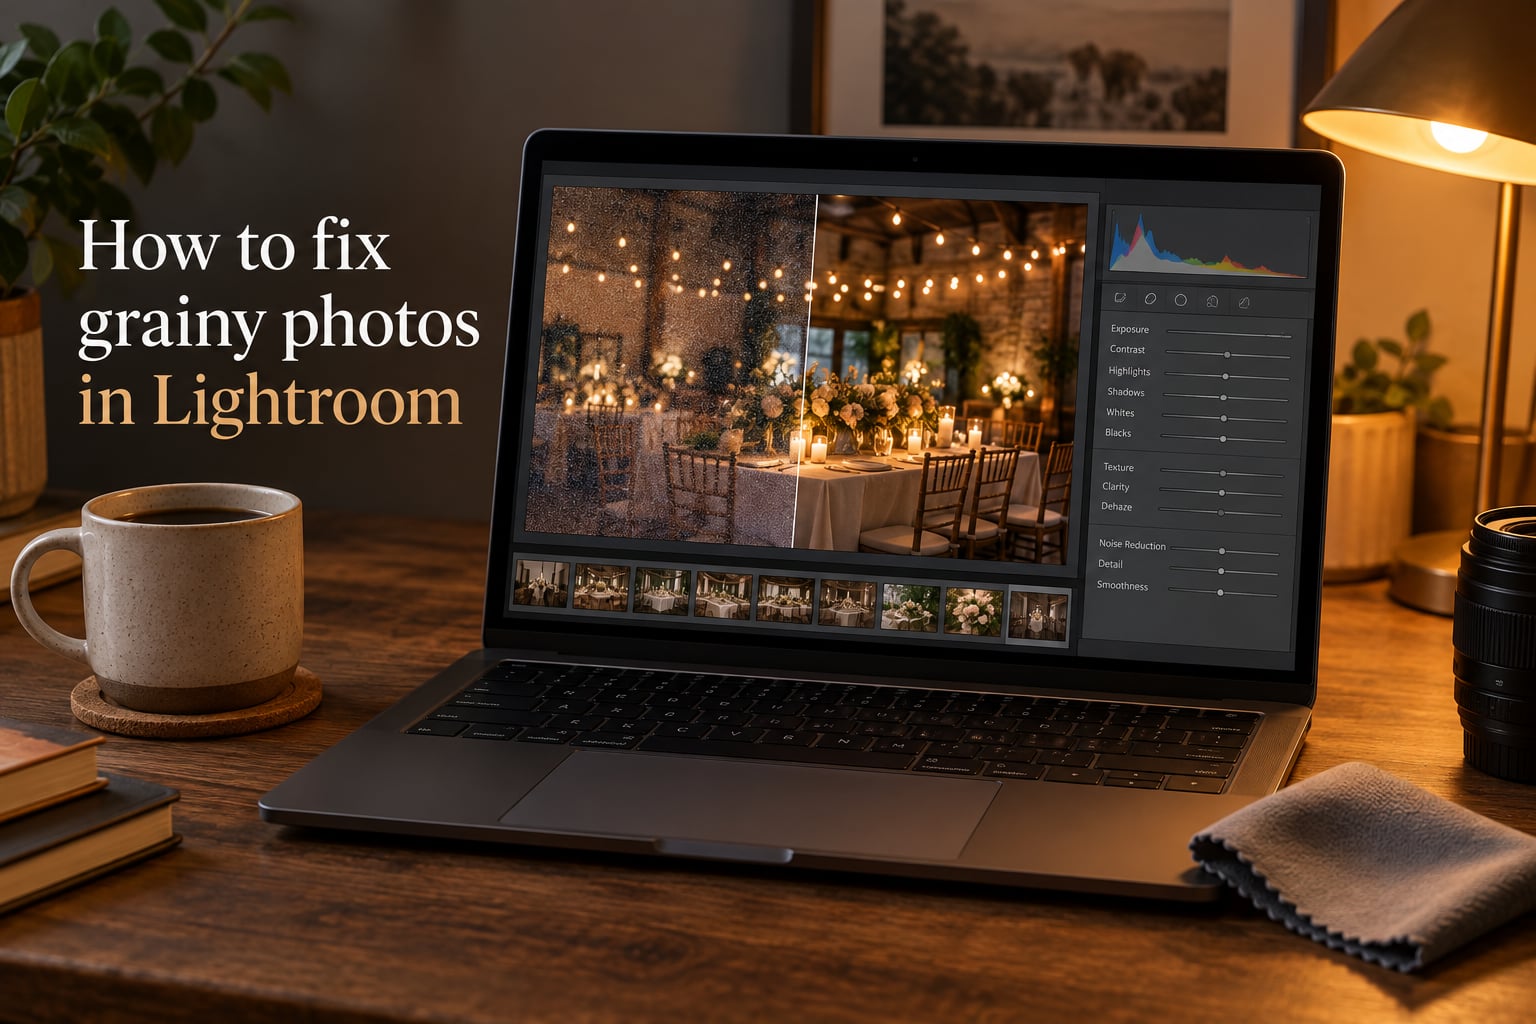
How to fix grainy photos in Lightroom comes down to two clean options: hit the AI Denoise button in the Detail panel for a one-click fix on RAW files, or dial in the manual Luminance and Color noise reduction sliders for finer control on any file. I have used both methods on hundreds of family and wedding photos, and either one will rescue a noisy image if you zoom to 1:1, work on a RAW file when possible, and resist the urge to push the Luminance slider above 50 on skin.
In this guide I’ll walk you through both workflows, explain what actually causes grain in the first place, and share the export settings and pre-edit checklist that keep your final images crisp instead of crunchy.
Table of Contents
- How to Fix Grainy Photos in Lightroom: Quick Answer
- What Causes Grainy Photos (and What ‘Grain’ Actually Is)
- How to Use AI Denoise in Lightroom (Lightroom Classic 12.3+)
- How to Use the Manual Luminance and Color Sliders in the Detail Panel
- AI Denoise vs Manual Sliders: Which One Should You Use?
- Why Your Lightroom Exports Look Grainy (and How to Fix It)
- Selective Noise Reduction: Fix Grain in Shadows Only
- How to Denoise in Lightroom Mobile (iPhone and Android)
- Common Mistakes That Make Skin Look Plastic and Edits Look Worse
- Before You Edit: A Quick Checklist to Avoid Grain in the First Place
- Frequently Asked Questions
- Conclusion
How to Fix Grainy Photos in Lightroom: Quick Answer
The fastest way to fix grainy photos in Lightroom is the AI Denoise button in the Detail panel, which removes luminance and color noise in a single click while preserving real detail. If you shoot JPEG, want more control, or are editing in Lightroom Mobile, use the manual Luminance and Color sliders in the same panel instead. Both methods work best when you evaluate results at 1:1 zoom and start with conservative values.
- Open the photo and switch to the Develop module.
- Scroll the right sidebar down to the Detail panel.
- For RAW files: click the Denoise button, set the amount, then click Enhance.
- For JPEG files or finer control: drag the Noise Reduction > Luminance slider to 15 to 30 for light noise, 30 to 50 for heavy noise, and Color to 15 to 25.
- Zoom to 1:1 (press Z) to check the result before exporting.
What Causes Grainy Photos (and What ‘Grain’ Actually Is)
Grain in a digital photo is not actually film grain at all. It is digital noise, and it comes in two distinct flavors that Lightroom treats differently.
Luminance noise is the speckled, gritty texture you see in shadows and flat areas. It looks like tiny black, white, and gray dots scattered across the image. This is the kind of noise most people mean when they say a photo looks grainy.
Color noise shows up as random red, green, and blue speckles, often most visible in deep shadows or skin tones at high ISO. It is usually less visible at a glance but creates an unnatural “splotchy” look that screams cheap camera phone.
Grain is caused by three main culprits. High ISO amplifies the sensor’s signal along with its imperfections. Underexposure forces you to brighten the image in post, which amplifies the noise that was always there. And small sensors, like those in phones, action cameras, and older point-and-shoots, simply produce more noise per pixel than full-frame cameras. Knowing which one caused your grain tells you how aggressively you can fix it without ruining detail.
Most of the family session photos I edit that come out “grainy” are actually underexposed images where I had to lift the shadows by 1 to 2 stops. That is why I almost always shoot at the lowest practical ISO and try to expose correctly in camera. We will circle back to that in the checklist at the end.
How to Use AI Denoise in Lightroom (Lightroom Classic 12.3+)
Adobe added AI Denoise in Lightroom Classic 12.3 (April 2023), and it remains the single best one-click fix for noisy RAW files. The tool analyzes your image and removes luminance and color noise together while doing an impressive job of preserving edges, eyes, and hair.
Here is the exact workflow I follow when a high-ISO wedding reception photo comes in looking rough:
- Open the photo in Lightroom Classic and press D to jump to the Develop module.
- Scroll the right sidebar down and open the Detail panel.
- Check the Denoise box at the top of the panel, then click the Denoise button itself to open the preview window.
- Drag the Amount slider. I usually start at 30 for ISO 1600 to 6400 and 50 for ISO 12,800 and above. The preview updates in real time.
- Hold the Alt or Option key while moving the slider to see a mask of what is being removed. Pure black means fine; white means lost detail.
- Click Enhance. Lightroom creates a new RAW-based DNG file alongside your original and stacks them together.
Two important caveats. AI Denoise only works on RAW and DNG files. If the button is greyed out, your camera was set to JPEG or you are editing a TIFF, PSD, or PNG. Convert or re-import in RAW to use it. And each Denoise pass takes 30 seconds to several minutes depending on your computer, so do not try to apply it to 500 wedding photos at once. Filter by ISO speed first, then batch the ones that actually need it.
How to Use the Manual Luminance and Color Sliders in the Detail Panel
Before AI Denoise existed, every Lightroom user did it the manual way, and the manual sliders are still the right tool for JPEG files, Lightroom Mobile, and situations where you want complete control.
- In the Develop module, scroll to the Detail panel and look just below the sharpening section.
- Under Noise Reduction, drag the Luminance slider to the right. Start at 15 for light grain and 30 to 50 for heavy grain. Anything past 50 begins to blur real detail, especially skin texture.
- Drag the Luminance Detail slider back up toward 50 to bring back some of the edge definition the Luminance slider softened.
- Drag the Luminance Contrast slider to 0 if low-contrast areas look mushy, or up to 20 to 30 if flat areas look smudged.
- Now drag the Color slider to 25 as a safe default. Color noise is easier to remove than luminance noise, so this slider rarely needs to go past 40.
- Adjust Color Detail and Color Smoothness if any tiny color speckles remain.
There is a popular shortcut called the 100 rule: keep Sharpening Amount + Luminance Noise Reduction = 100. If your photo is very noisy, drop sharpening to 40 and luminance to 60. If grain is mild, try sharpening 80 and luminance 20. It is not a magic formula, but it stops beginners from pushing both sliders to 100 and ending up with crunchy, over-sharpened mush.
One more manual-only trick: hold Alt or Option while dragging the Luminance slider. The preview turns into a high-contrast mask showing exactly what Lightroom considers “noise” (gray) versus “detail” (white and black). When gray blobs start turning white, you have gone too far.
AI Denoise vs Manual Sliders: Which One Should You Use?
Both methods work. The right choice depends on your file type, time budget, and how much detail you need to protect.
| Feature | AI Denoise | Manual Sliders |
|---|---|---|
| File support | RAW and DNG only | RAW, JPEG, TIFF, PSD |
| Speed per image | 30 seconds to several minutes | Instant, real-time preview |
| Detail preservation | Excellent, especially on edges and eyes | Good, but Luminance past 50 softens skin |
| Best for | High ISO night, wedding, wildlife | JPEG files, mobile, fine control |
| Output | Creates a new DNG sidecar file | Settings only, no new file |
For my own studio work, I default to AI Denoise on any RAW file shot above ISO 1600, then layer a small manual Luminance pass on top if the shadow areas still need smoothing. For phone photos synced through Lightroom Mobile, I use manual sliders only, because AI Denoise is not available there.
Why Your Lightroom Exports Look Grainy (and How to Fix It)
This is one of the most-asked Lightroom questions online, and almost no guide covers it. You spend ten minutes denoising a photo, the editing screen looks smooth, then your exported JPEG arrives crunchy and full of speckles. Here is why.
The export process itself can re-introduce noise if your settings are wrong. The fix is a four-step check before every export.
- Bump JPEG quality to 80 or higher. Anything below 75 introduces heavy compression artifacts that look exactly like grain. Many beginners accidentally export at quality 60 because the slider looks “fine”.
- Turn on “Sharpen For” and pick “Screen” or “Glossy Paper”. Choose Amount Standard or High. Without output sharpening, your file can look soft, and over-sharpening later creates crunchy speckles.
- Set Color Space to sRGB. For web, social, and most lab prints, sRGB is correct. Exporting in ProPhotoRGB or AdobeRGB to a JPEG often produces banding that looks like noise.
- Resize to the actual output size. Exporting a 6000-pixel-wide image for a 1080-pixel Instagram post forces Instagram to downsize and re-compress, which creates new artifacts. Export at the size you will actually use.
If exports still look grainy after all that, go back into the Detail panel and check whether you accidentally pushed Texture or Clarity above +20. Both of those sliders exaggerate mid-tone contrast and will reintroduce the appearance of grain in flat areas. Push them gently.
Selective Noise Reduction: Fix Grain in Shadows Only
Sometimes the noise is only bad in one part of the photo, like the shadows behind a subject or the dark corners of a wedding reception. Reducing noise across the whole image softens the skin unnecessarily. The fix is selective noise reduction with a mask.
- Press K to open the Masking panel, or click the masking icon at the bottom of the right sidebar.
- Choose Brush or Radial Gradient. Brush lets you paint only the shadow areas; Radial is great for vignetting-style noise around the edges.
- Paint over the noisy area at Flow 80 and Density 100. Zoom in and use a smaller brush for precision around faces.
- In the mask’s right panel, scroll down to Noise (under Effects). Drag the Luminance slider to 20 to 40 and Color to 20.
- Hold O to toggle the red mask overlay on and off so you can see exactly where you are applying the effect.
For family portraits, this trick is gold. I can smooth the noisy background behind the kids while leaving every eyelash, dimple, and freckle perfectly sharp. Beginners who push the global Luminance slider to 50 are usually trying to solve a shadow-noise problem with a tool that affects the entire image.
How to Denoise in Lightroom Mobile (iPhone and Android)
Lightroom Mobile does not have AI Denoise, but it has every manual slider plus the masking tools. The workflow is identical to desktop once you know where to look.
- Open the photo and tap the Edit icon, then choose Detail at the bottom.
- You will see Noise Reduction with the same Luminance and Color sliders. Start at 20 for Luminance and 20 for Color.
- Use the Mask tool to select only the shadow areas if you want selective smoothing.
- Pinch to zoom to 1:1 before judging. Phone screens are sharp and forgiving, and noise that is invisible at thumbnail size can look obvious at full zoom.
For older iPhones, smaller Android sensors, and any photo shot at night, manual sliders in Lightroom Mobile are usually enough. If your phone photo is still noisy after that, export it as a DNG to your computer and use AI Denoise there. The Lightroom ecosystem syncs edits across devices for free with an Adobe account.
Common Mistakes That Make Skin Look Plastic and Edits Look Worse
Most Lightroom beginners do not actually need more noise reduction. They need less noise reduction and a smarter workflow. Here are the five mistakes I see every week in family and wedding galleries.
- Pushing Luminance past 50. This is the plastic-skin look everyone complains about on Reddit. Skin pores disappear, eyes go glassy, and hair turns into a painted blob. Stay at 20 to 35 on faces.
- Forgetting to zoom to 1:1. Grain looks 4 to 16 times worse at “Fit” zoom than it actually is. Always press Z twice before judging.
- Pushing Texture and Clarity. Both sliders increase mid-tone contrast. Combined with noise reduction they fight each other. Try keeping Texture under +10 and Clarity under +15 on noisy images.
- Applying AI Denoise to JPEGs. The button is greyed out for a reason. Use manual sliders, or re-import the original RAW.
- Sharpening after denoising without re-checking. Noise reduction softens edges, so many beginners crank Sharpening Amount back up to 100 and reintroduce crunchy speckles. Use the 100 rule and zoom to 1:1.
The Reddit photography community calls this the “waxy skin” trap, and it is the single fastest way to make a portrait look over-edited. The fix is simple: less is more, and any time the Luminance slider crosses 40 on a face, you should reach for the masking brush instead.
Before You Edit: A Quick Checklist to Avoid Grain in the First Place
No slider in Lightroom fully rescues a noisy photo. The best grain reduction happens before you ever open Lightroom. Run through this short checklist on every shoot.
- Shoot RAW. AI Denoise only works on RAW and DNG files, and RAW gives you two extra stops of recovery from shadows.
- Use the lowest practical ISO. ISO 100 to 800 on a full-frame camera is essentially noise-free. ISO 1600 to 6400 is workable. ISO 12,800 and above needs AI Denoise.
- Expose to the right. Slightly over-expose (without blowing highlights) instead of under-exposing. Brightening dark shadows later is what magnifies noise.
- Use a fast lens. An f/1.8 or f/2.8 lens lets in 4 times more light than the kit f/5.6 zoom, which means lower ISO and less grain.
- Stabilize the camera. Use a tripod or flash at slow shutter speeds. Blurry photos that you also try to sharpen create artificial texture that looks like grain.
- Clean the lens. A smudged front element forces you to over-sharpen in post, which exaggerates sensor noise.
For my own family sessions, I shoot full-frame at ISO 100 to 400 outdoors and ISO 800 to 1600 indoors, expose to the right, and rarely need any noise reduction at all. The post-processing workflow described above is really there for the candid reception dancing shots, the dim living-room birthday moments, and the indoor ceremonies where flash would break the mood.
Frequently Asked Questions
Is there any way to fix grainy photos?
Yes. In Lightroom, open the photo in the Develop module and either click the Denoise button in the Detail panel for a one-click AI fix on RAW files, or use the manual Luminance and Color sliders. Both methods reduce noise while preserving real detail when used at moderate values.
How can I remove grain from my images in Lightroom?
Switch to the Develop module, scroll to the Detail panel, and either check Denoise for an AI pass (RAW files only) or raise the Luminance slider to 15 to 30 for light noise and 30 to 50 for heavy noise. Always zoom to 1:1 to evaluate the result before exporting.
Why are my Lightroom photos exporting grainy?
Most grainy exports come from JPEG quality below 80, missing output sharpening, exporting in ProPhotoRGB instead of sRGB, or resizing down too far after export. Set JPEG quality to 80 or higher, choose Screen sharpening, set Color Space to sRGB, and export at your final display size.
Does Lightroom Classic have AI noise reduction?
Yes. AI Denoise was added in Lightroom Classic 12.3 (April 2023) and is built into the Detail panel. Click the Denoise button, set the Amount slider, then click Enhance. AI Denoise only works on RAW and DNG files and creates a new DNG sidecar file alongside your original.
How can I manually reduce noise in Lightroom Classic?
In the Detail panel under Noise Reduction, raise the Luminance slider (start at 15, go up to 50 for heavy noise), then raise the Color slider to 25 as a safe default. Use the Luminance Detail slider to recover edges and the Luminance Contrast slider to restore flat-area texture.
Conclusion
Learning how to fix grainy photos in Lightroom is one of the highest-leverage editing skills a photographer can build, because it rescues shots that would otherwise end up deleted. The cleanest workflow in 2026 is to start with a RAW file, try AI Denoise first, layer in a gentle manual Luminance pass only where the shadows still look rough, and zoom to 1:1 before judging anything. Finish with a sensible export at JPEG quality 80, sRGB color space, and screen sharpening turned on.
If you remember nothing else, remember this: keep Luminance under 40 on faces, export at the correct size, and prevent grain in the first place by shooting RAW at the lowest practical ISO. Do those three things and your final images will look smooth, natural, and ready to print.