
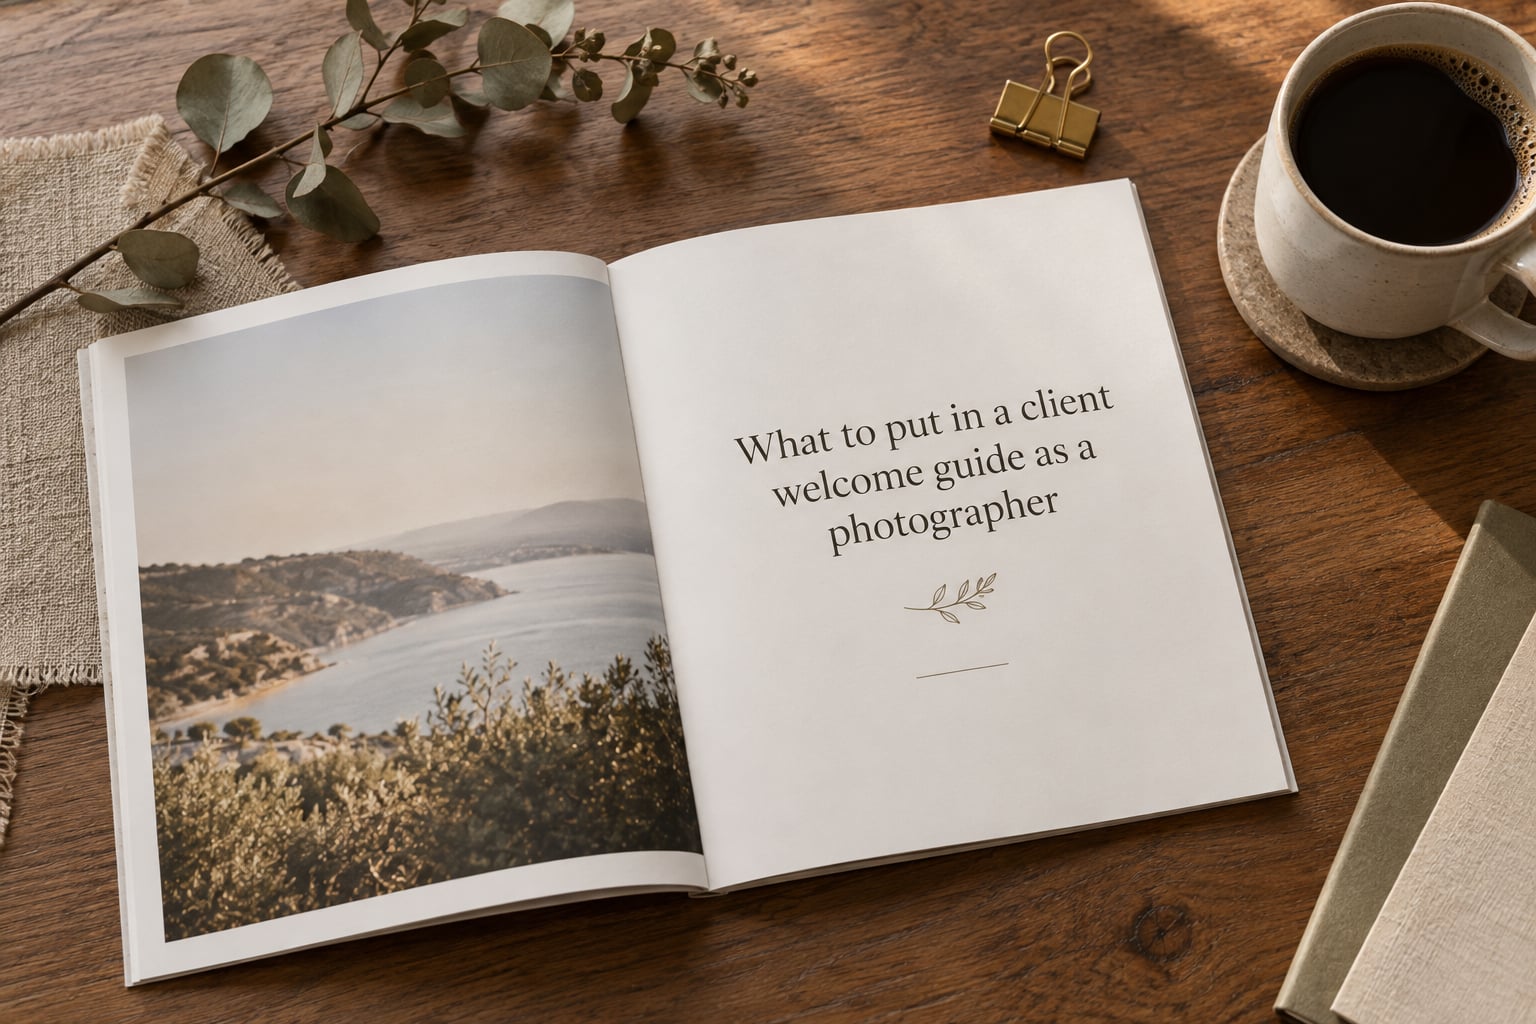
A photographer’s client welcome guide is a branded PDF (usually 8 to 12 pages) that you email to families and couples the moment their contract is signed and retainer is paid. It walks them through every step of working with you, from session prep through gallery delivery, so they feel held instead of left guessing.
If you’ve ever fielded the same five emails from every new booking, “what do we wear,” “when will our photos be ready,” “do you take credit cards,” you’re about to fix that for good. This guide on what to put in a client welcome guide as a photographer comes straight from how our family studio runs our own client experience, plus what we’ve learned shipping welcome packets to hundreds of families.
By the end, you’ll have a clear checklist, a sample welcome letter you can copy, and a short list of mistakes that quietly sabotage even beautiful guides.
Table of Contents
- 8 Must-Have Sections for a Photographer’s Client Welcome Guide
- How to Write a Welcome Letter That Sets the Tone
- Outlining the Client Experience Timeline
- Session Prep Tips and What to Wear for Family Photos
- Setting Photo Delivery and Editing Expectations
- Communication Boundaries and Response Times
- Common Mistakes to Avoid in a Photography Welcome Guide
- How to Design and Send Your Welcome Guide
- Frequently Asked Questions
- Final Thoughts on Building Your Photographer Welcome Guide
8 Must-Have Sections for a Photographer’s Client Welcome Guide
If you only have an hour, build these eight sections in this order. Each one answers a real question a nervous client is already asking.
- Personalized welcome letter. A short note from you, in your voice, that thanks them for booking and sets the tone for the experience.
- Client experience timeline. A visual walkthrough from booking day through gallery delivery, so clients know exactly what happens and when.
- Session prep resources. What to wear guides, location notes, and links to your favorite outfit inspiration.
- Photoshoot day tips. Posing reassurance, arrival instructions, and family-specific notes for parents with young kids.
- Photo delivery and editing expectations. Sneak peek timing, retouching approach, gallery link delivery, and print product previews.
- FAQ section. Answers to your five most-asked questions, written so clients don’t need to email you.
- Communication boundaries. When you reply, how fast, and which channels you use for what.
- Inspiration galleries. Sample images from past sessions that match their vision and your style.
How to Write a Welcome Letter That Sets the Tone
Your welcome letter is the first page clients read, and it’s the page that turns a transaction into a relationship. Skip the corporate language and write like a human being who is genuinely excited to photograph them.
A strong welcome letter has three moves: thank them by name, name the feeling you want them to have on session day, and tell them what to do next (usually, “read the rest of this guide”). Keep it under 200 words. Long letters don’t get read.
Here is sample copy you can adapt:
“Hi [First Name] family! I’m so glad you chose me to photograph this season of your life. My hope is that you walk away from our session feeling relaxed, silly, and a little proud of how loved your people are. Take a few minutes to read through this guide. It covers everything from outfit planning to when your gallery will land in your inbox. If you have a question I haven’t answered here, just reply to this email. I’m here. Welcome to the [Studio Name] family.”
Notice the tone: warm, specific, and confident. That last line is doing real work. It tells nervous clients that reaching out is welcome, not a bother.
Outlining the Client Experience Timeline
The timeline section is where you eliminate the most common source of pre-session anxiety: not knowing what comes next. Map every touchpoint from booking day through final delivery, and put it on a single visual page.
A clean timeline for a family photographer typically looks like this:
- Booking day: Signed contract, paid retainer, welcome guide delivered.
- 2 weeks before: Outfit consultation email or call.
- 1 week before: Final location and weather confirmation.
- Session day: 60 to 90 minutes of shooting, plus a 5-minute wrap-up chat.
- 48 to 72 hours after: Sneak peek of 3 to 5 images.
- 2 to 3 weeks after: Full edited gallery delivered via private online gallery.
- 4 weeks after delivery: Print product ordering window opens.
Photographers who send timelines inside their welcome guides report a sharp drop in “just checking in” emails. Clients know the plan, so they trust the process.
Session Prep Tips and What to Wear for Family Photos
Prep is the section clients actually screenshot. Make it scannable. Use short bullet lists and one or two mood-board photos per outfit direction.
Cover four things here. First, what to wear: neutral palettes, soft textures, avoiding logos and tiny patterns. Second, what to bring: a small snack for kids, water, a backup hair tie. Third, location logistics: parking notes, walking distance, whether strollers are welcome. Fourth, family-specific behavior tips, which I’ll cover next.
Family-Specific Prep: Kids, Naps, and Tantrums
If you photograph families, this paragraph belongs in every welcome guide you ever send. Parents arrive already nervous about whether their toddler will cooperate, and your job is to give them permission to relax.
Tell parents, in your own words, that wiggly kids, sudden tears, and snack-fueled mood swings are normal and expected. Tell them you have a 15-year-old cousin and a decade of family sessions behind you, so you’ve seen it all and have a plan for it. Tell them to bring a favorite small toy or stuffed animal for shy kids, and to plan a treat (ice cream, the park) for after the session so the kids associate photo day with something fun.
Family photographers who write this paragraph into their welcome guides consistently report calmer parents and better candid moments. The welcome guide quietly absorbs the parent anxiety before it hits your inbox.
Setting Photo Delivery and Editing Expectations
The “when will my photos be ready” question shows up in nearly every photographer’s inbox. The welcome guide is where you answer it once, with clarity and confidence.
Spell out three things. Your typical turnaround for the full gallery (most family studios land between 2 and 4 weeks). Your approach to retouching, including whether you remove blemishes, smooth skin, or correct flyaway hair. And how clients will receive their gallery, including whether it’s a downloadable gallery, a private Pixieset link, or a HoneyBook portal.
If you offer print products, this is also the section where you plant the seed. Mention wall art, heirloom albums, and framed prints briefly. Don’t hard-sell. Just name them. Clients read the welcome guide when they’re excited, and a single line about prints reminds them that this isn’t just a digital file package.
Communication Boundaries and Response Times
Boundaries are not rude. They’re professional. The photographers who get to enjoy their evenings and weekends are the ones who set clear communication expectations up front.
State your business hours (for most studios: Monday through Friday, 9 to 5). State your typical response time (most photographers aim for 24 to 48 business hours). Name your preferred channel for what (email for project questions, your CRM portal for contracts and invoices, text only for true session-day emergencies).
Add one warm line, such as “I am offline on weekends to spend time with my own family. If something urgent comes up the day of our session, the fastest way to reach me is a text to this number.” That sentence protects your time without making the client feel like an afterthought.
Common Mistakes to Avoid in a Photography Welcome Guide
No competitor covers this, and it’s where most guides quietly fail. Watch out for these five traps.
- Pasting your entire pricing PDF into the welcome guide. Pricing belongs in a separate, intentional conversation, not buried in a 12-page PDF. Clients who see the price on page 3 and the value on page 9 will fixate on the wrong thing.
- Writing in third person. “The studio’s process is as follows” sounds like a law firm. Use “I” and “we.” Clients hired you, not a brand.
- Listing every single thing you do. A 25-page guide overwhelms. Stick to 8 to 12 pages of essentials. Long guides don’t get read; they get skimmed and forgotten.
- Skipping the boundaries section. If you don’t write your response time down, clients will text you on Sunday at 9 p.m. and feel justified doing it.
- Forgetting to update the guide. A guide from 2022 with last season’s pricing is worse than no guide. Review it every January and after any major workflow change.
Avoid these five mistakes and your guide immediately outperforms 80 percent of what’s out there.
How to Design and Send Your Welcome Guide
You don’t need to be a designer to ship a beautiful welcome guide. Three tools cover 95 percent of photographers.
- Canva. The fastest path to a clean, on-brand PDF. Thousands of photography welcome guide templates exist, and the free tier is enough to start.
- Adobe InDesign. The right choice if you want full layout control and you already know the software. Slower to learn, but no design ceiling.
- HoneyBook or Pixieset. Built-in guide delivery inside your client portal. Best if you want clients to view the guide inside the same place they sign contracts and pay invoices.
When to Send the Guide
Send it immediately after the contract is signed and the retainer clears. Don’t wait until two weeks before the session.
The psychology matters: clients experience a small wave of buyer’s remorse right after handing over a large deposit. The welcome guide is reassurance that they’ve hired a pro who has done this a thousand times. Waiting too long to send it leaves that anxiety to fester in your client’s mind, and anxious clients email more, trust less, and refer less.
For most studios, the workflow is: contract signed in HoneyBook or Pixieset, automatic welcome guide email triggered within 5 minutes, followed by a personal note from you within 24 hours. That timing has been the single biggest client-experience upgrade our studio has made in five years.
Recommended Length
Eight to 12 pages is the consensus sweet spot across the photography industry. Long enough to cover the eight sections thoroughly. Short enough that a busy parent will actually read it on the couch that night.
Frequently Asked Questions
What is a client welcome guide for photographers?
A client welcome guide for photographers is a short branded PDF (typically 8 to 12 pages) sent to clients right after they book, covering the client experience, session prep, photo delivery timeline, FAQs, and communication expectations. It sets clear expectations and reduces repetitive emails.
How long should a photography welcome guide be?
Most photographers aim for 8 to 12 pages. That’s long enough to cover welcome letter, timeline, prep, delivery, FAQs, boundaries, and inspiration, and short enough that clients actually read it cover to cover.
When should a photographer send a welcome guide?
Send it immediately after the client signs the contract and pays the retainer, ideally within minutes via an automated CRM email and followed by a personal note within 24 hours. This timing counters the buyer’s-remorse window that opens right after a large deposit is paid.
What questions should I include in a photography client questionnaire?
Cover the client’s vision for the session, how they plan to display the photos, any must-have shots, outfit plans, family dynamics to know about (allergies, shy kids, nap schedules), preferred location, and how they heard about you. Keep it under 10 questions so clients actually finish it.
Final Thoughts on Building Your Photographer Welcome Guide
You now have everything you need to put together a client welcome guide that actually works. Build the eight sections in the order above, write the welcome letter in your own voice, drop in the family-specific prep paragraph if you photograph families, and avoid the five common mistakes. Send it the moment the contract clears and follow up personally within 24 hours.
A great welcome guide does three quiet jobs at once: it calms clients, protects your time, and quietly positions you as a premium studio worth referring. If you’ve been on the fence about building one, this is your sign. Spend a weekend on it in Canva, save it as a PDF, and watch how your inbox changes the next time you book a session.